Photography is all about lighting. Usage of the proper lighting is the biggest challenge to get a perfect photo. The lighting source may be natural or artificial, but it is essential to use it wisely. So to improve your photography skills, you should have enough knowledge of lighting.
Using natural light and manipulating it is the best and cost-effective way. However, because it is free and easily accessible, on the other side, artificial lighting helps to create eye-catching results. But here, the lighting setup needs a lot of work to do.
The article covers the basic 15 types of lighting in photography. However, before starting, let’s have a look at some preliminary information everyone needs to know.
What is Lighting in Photography?
Lighting in photography refers to the natural or artificial light that is placed about the subject. The intensity and position of the light source are essential factors in getting a true vibrancy of color, luminosity, and texture of the subject. By distributing the shadows and highlights accurately, anyone can create a stylish and professional-looking photograph.
Functions of Light
Some popular light functions are –
- Key light (leading light that creates highlight and shadow),
- Fill light (fill the dark area),
- Backlight (light behind the subject),
- Rim light (backlight that highlights the edges of the subject).
Besides it, lights are used for few other purposes, which are
- Reflector (reflect the light onto the subject),
- Diffusers (reduce the intensity and spread the light beam evenly),
- Strobe (emit a bright burst of light),
- Ring light (an intense light on the subject),
- Strip light (makes a linear beam of light)
Now let’s move on to photography lighting techniques. Learn how and where to use them. At the end of the article, you will gain practical knowledge to enhance your photography. And get a better idea to use different types of light in different situations. Let’s get started.
15 Light Photography Types
As you already understand, lights can be used for different purposes because of their versatile characteristics. First, let’s look at different light photography types.
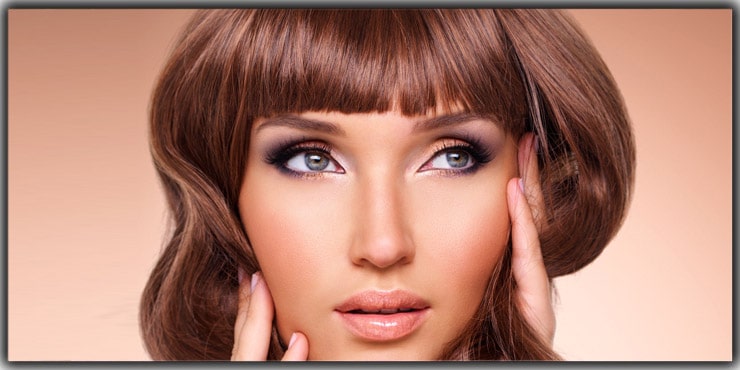
1. Flat Lighting Photography
Flat lighting, also known as front light, is when the light source is directly in front of the subject. It produces a slight contrast in the scene. It is a familiar incident in photography and It creates a uniform illumination across the subject of the photo.
While photographing a person, focus on her face, and it must be well lit so that there would not be any shadow on her face as shadows show up the imperfections of the face like acne, wrinkles, and blemishes. If you want to hide your model’s imperfections, use flat light. It also works well with an oozing character. But keep in mind that it is not the desired look. Because without shadow, sometimes the subject looks lifeless.
The lighting setup is straightforward for flat light. Place the light in front of the model. Then, adjust it slightly above the face until the light falls flat on the face.
Advantage:
- Fashion photography needs flat lighting to hide skin imperfection.
- Beauty photography uses it to fill blemishes and cracks, so the skin looks flawless and smooth.
- It is also helpful for a huge group shot like a wedding party photo, team, or class photos.
Disadvantage:
- To capture a striking shadow or glowing rays, flat light is not suitable.
- You cannot use it in nature and landscape photography.
- It doesn’t show any shadow or highlight, so the photo sometimes looks lifeless.
2. Broad lighting Photography
Broad lighting is also known as side lighting. Here one side of the subject is facing toward the camera. That is the most well-lit side. The shadow falls on the other side and away from the camera. It is the less well-lit side.
The broad lighting technique provides more contrast than the others. It works well for a person with a slim face. Its lighting setup is as simple as flat lighting. Place the light source at a 45-degree angle from the subject. The light should be slightly above the subject. Then the subject has to turn away from the light source. Once ensure that the face is partially lit, shoot the subject. Physically move the camera to find the brighter portion of the subject.
This lighting method is ideal for narrow faces. It can be used for babies to show their chubby cheeks.
Advantages:
- It hides one part of the face. So photographers use this to hide any birthmark or blemish.
- It creates a good depth. So for flattering and more neutral results, broad lighting is the best way.
- It widens the face and throws the short side in shadow.
- It provides more contrast than the other lighting patterns.
Disadvantage:
- For an overweight subject or a round face, it does not give a good result.
3. Short Lighting Photography
Short lighting is just the opposite of broad lighting. It is also known as narrow lighting. The word short indicates the side of the face that receives the light. Therefore, It hit the short side of the face, and the broadside remained in the shadow. Since the broad side of the face is in the shadow, the entire face looks thinner.
Set up the light source at a 45-degree angle like the broad lighting setup. It can be done with only one light. Place the camera in front of the subject. Then face the subject toward the light. The important thing is that the light must have to fall on the side of the face. And the face should turn away from the camera.
Advantage:
- It is ideal for low-key images and to create an image having a high depth.
- It is easy to hide imperfection and narrow the face.
Disadvantage:
- As it is shadow-centric, it sometimes needs a reflector. Or need to use fill light to control normal situations.
4. BackLighting Photography
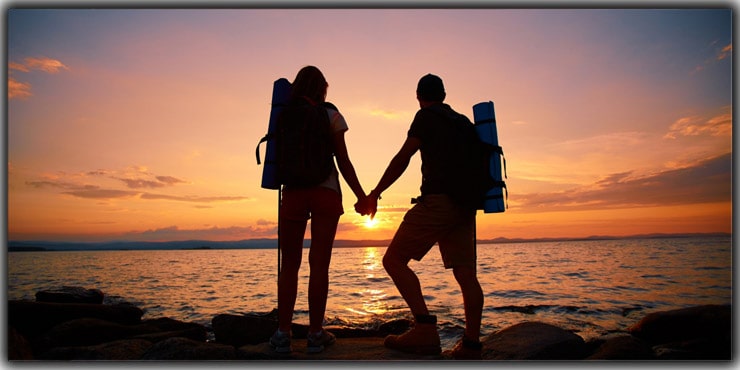
As the name indicates, in backlighting, light comes from behind the subject. It is used to create silhouettes. Using the natural light when the sun starts to set, you can create a silhouette or semi-silhouette. Combined with other atmospheric conditions like rain or fog, it will create a dramatic photo. If you don’t want a silhouetting image, use fill light.
It is a little bit difficult from the others because you need to ensure some factors. That is correct camera settings, the light behind the subject, different angles, and white balance.
Advantage:
- No extra lighting is needed for outdoor photography. Can use natural light.
- It emphasizes the depth between the subject and the background.
- Can create dramatic images with only black and white.
Disadvantage:
- The backlight sometimes destroys the clarity of the subject.
- To ensure clarity, it needs to use reflectors.
- For using natural light, you must choose the right time of the day.
5. Soft lighting Photography
Soft lighting is mainly used in portraits, travel, and food, natural and landscape photography. Because it makes the subject look more youthful. In soft lighting, the shadow edges are smooth and open. It creates less contrast.
To achieve this, ample light is placed closer to the subject. In the studio, a softbox is placed between the subject and the light source. Window lighting is also a great source of soft light. An overcast day is perfect for outdoor soft lighting.
Advantages:
- In the soft light, the subject appears warm and natural.
- It needs less retouching.
- It helps to smooth the acne and wrinkles.
Disadvantages:
- Soft light cannot create a sharp contrast image.
- To create a well-defined and dark shadow image with soft light is hardly possible.
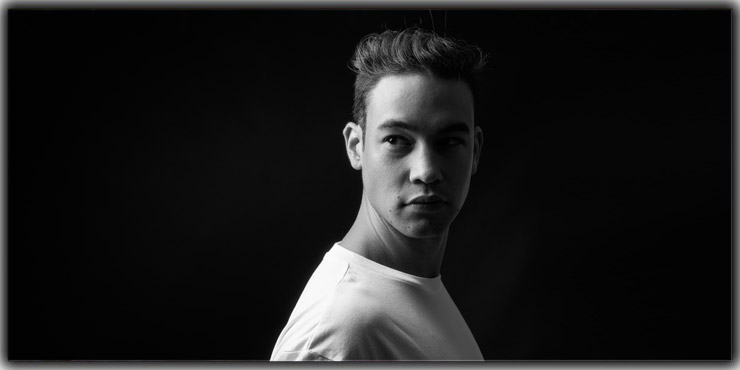
6. Hard Lighting
Hard lighting is the reverse of soft light. It is a bright light that creates a bright shadow with high contrast. The transition between the shadow and the light is noticeably harsh. That’s why it can create a more dramatic and sharp image. It focuses on a specific part of the photo.
The studio is created by positioning the light source in a place where it would cast a very distinct shadow. It does not need any diffusers because they soften the light. Camera flash is an example of hard light. When the hard light works as a spotlight, it increases the shadow.
It is considered suitable for newbie photographers when they first use flash.
Advantage:
- It adds a precise depth, dimension, and complexity to the subject.
- Its high contrast nature gives an edgy and gritty look to the photo.
- It creates a strong sense of drama in action shooting.
Disadvantage:
- Every model would not look good in the hard light.
- Hard light doesn’t work well for some places and ideas.
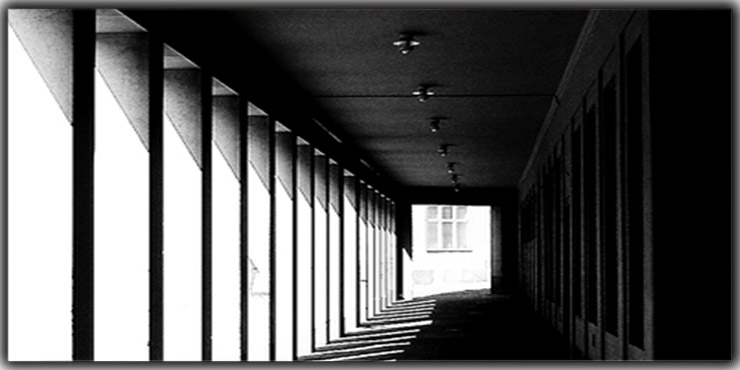
7. Rim Lighting
Rim lighting is a kind of backlighting. In rim lighting, the light strikes the subject from an angle. So that the edge of the subject is highlighted, and it clearly shows the subject’s shape and separates the subject from the background.
To create rim light in the studio:
- Set a single light source behind the subject.
- Turn the subject until its edges are highlighted.
- When you use natural light, try it on a sunny day.
- Choose the subject in a position where the light is from above and from behind it.
The key factor of rim lighting is contrast. The higher contrast gives a maximum rim effect.
Advantage:
- It is perfect when you need to separate the subject from the background.
- It can create two-dimensional silhouettes.
- Using only natural light rim lighting photography can create stunning images.
Disadvantage:
- It is tricky for beginners who do not have enough experience with artificial light.
- Finding the perfect position of light and the subject and keeping balance is challenging.
8. Loop Lighting
Loop lighting is sometimes called glamour lighting. In portrait photos, loop lighting is used widely. Because it is agreeable with almost every subject, it is less dramatic and creates more depth than others. Newbie photographers, who are not sure where to start with, can start with loop lighting. It is flattering and easy to pull off.
The lighting is 45-degree from the side and just above eye level. This creates a loop shape shadow under and the side of the nose. The key point of loop lighting is that the nose’s shadow must not make an entire triangle. To adjust the shape of the shadow, you can put up or down the light source.
Advantage:
- It is an easy lighting pattern to implement.
- Any subject can easily adjust to this lighting.
Disadvantage:
- If you want a dramatic photo, then loop lighting is not a good choice.
9. Butterfly Lighting
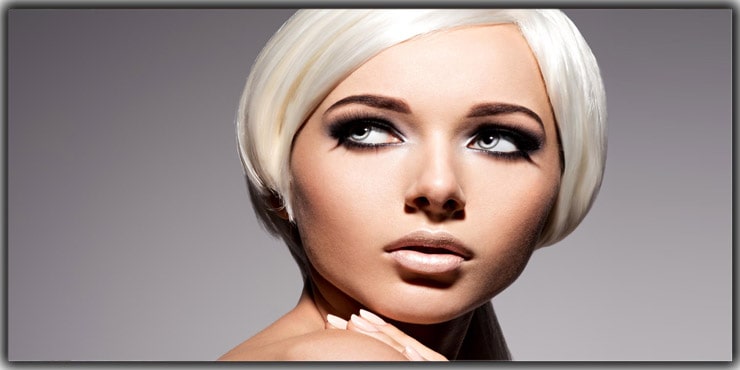
Butterfly lighting, also known as paramount lighting, creates a butterfly shadow under the subject’s nose. It is pleasing to most people because it beautifully highlights the cheekbones. Shadows of butterfly lighting create a slim look. So short lighting and butterfly lighting both create a thinner look for your model.
The lighting setup is done by placing a light in front and above the subject. It is excellent for fashion magazine portraits.
Advantage:
- It creates a fantastic result when you want to emphasize the angles of the face.
- It is very effective for glamorous photos.
Disadvantage:
- It creates shadow from the deep-set eyes. Thus the eyes look darker. So it is not recommended for the model with a deep eye.
- Not appropriate for children and family photos.
10. Split Lighting
Split lighting, another type of side lighting, creates a half shadow effect on a portrait photo. It is a fundamental portrait lighting pattern that splits the face into two halves. The light source is placed at a 90-degree angle with the subject. So that the subject will be in the half-light and half shadow, creating a more demanding and dramatic image. It emphasizes the details of the texture of the face. A harder light source makes the shadow more dramatic. A softer light source makes the image more profound and powerful.
It uses in fashion and commercial photography to create variety in a portrait photo.
Advantage:
- It can be done with a single light source. So inexpensive and easy for beginners.
- For a dramatic effect and to highlight glamour, split lighting is best.
- For its dramatic effect, it not only use in photography but also prominent in cinematography.
Disadvantages:
- It highlights the textures and blemishes of the face, and a broader face looks narrower.
11.Rembrandt Lighting
Rembrandt lighting is an iconic lighting technique in portrait photography. In this lighting technique, an upside-down light creates a triangle under the eye. Thus, it makes dramatic and eye-catchy portraits like split lighting.
The studio places a key light source with dark background at a 45-degree angle from the subject. The key light maybe a flashlight, studio lamp, household lamp, or even sunlight. A reflector or a fill light can use as an optional light source. Place the key light higher than the eye level. If there is a fill light, it should be kept at the opposite of the key light. Set the camera in a position that the triangle of the light is seen under the subject’s eye.
Advantage:
- It can create a more dramatic effect with less equipment.
- Where the other lighting setup emphasizes shadow, Rembrandt lighting emphasizes light.
Disadvantage:
- It suits well with black or a darker background. The lighter background would not produce a good result.
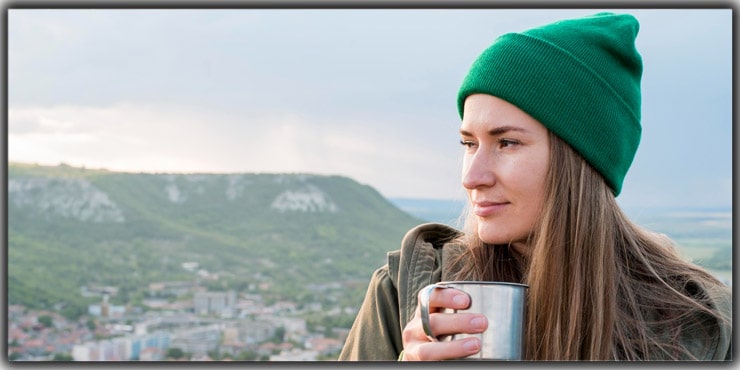
12. Ambient Light

The photographer does not add ambient lighting. That means the light is already available before setting up any other lighting. It can be a natural light like sunlight, moonlight, or street light, etc. It creates a soft and distributed light. This light bounces from one surface to another.
Ambient light can alter using a modifier. Such that reflects the natural ambient light into a shaded area. It creates a soft diffuse light. This lighting goes well with landscape photography. For event and wedding photography, ambient light gives an extra advantage.
Advantages:
- Ambient light is available everywhere. It does not need specific equipment and setup.
- Working with ambient light improves your observation skill.
Disadvantage:
- For indoor shooting, ambient light coming from the window is not always strong enough. So it needs an extra flashlight.
- When ambient light mixes with other light, it sometimes changes the actual color.
13. Sidelight
As the name refers, the sidelight hits the subject from the side. An intense side light makes an artistic photo. The side light may be the sunlight or any artificial light that comes from the side.
Shadows are a remarkable feature of sidelight. It appears more distinctly in side-lighting. The contrast of light and shadow constructs an exciting and impressive photo.
Advantage:
- It revealed the shape, dimension, and texture of the subject.
- Natural side light adds extra richness to the landscape photographs.
Disadvantage:
- Too much contrast creates an unattractive photo.
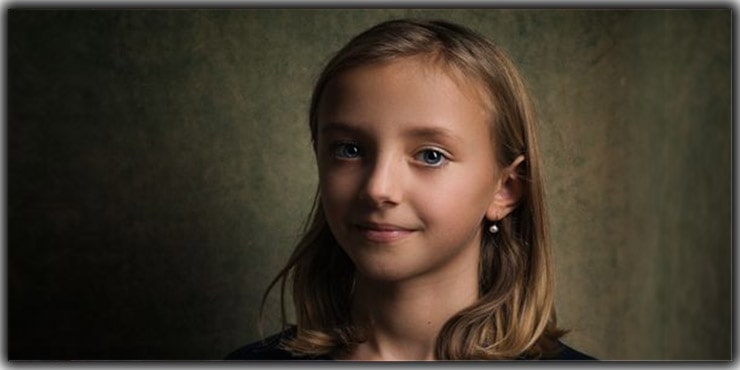
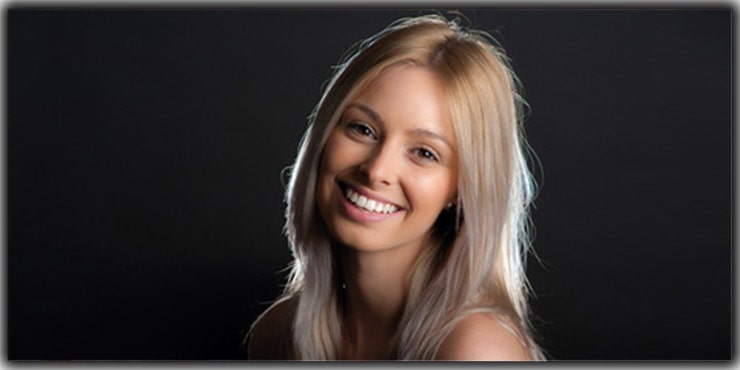
14. High Key Lighting
High-key lighting uses two or more lights to create a bright image. It is so bright that no shadows are visible. The background of it must be completely white without any details. In this multi lighting arrangement, the key light should be stronger than other lights. Two lights were used to light up the background and two softboxes to light the subject. The background must be far brighter than the subject.
High-key lighting is ideal for commercial use, child photography, and humorous shots.
Advantage:
- With the bright background light, any destructing element can be eliminated.
- It contains only the main subject.
- These types of images are minimalist because only the subject and white background.
Disadvantage:
- Ultra-bright background does not suit every situation.
- It needs complete control over lighting to get a perfect high-key photo.
- Complex lighting setup.
15. Three-point Lighting
As the name refers, three-point lighting uses three different light sources. These three lights illuminate the subject and control the shadows from three positions. Thus, the subject gets a good depth. A key light, a fill light, and a backlight are used for this purpose. Therefore, it is a more versatile and most straightforward lighting method.
The key light is the primary light source. It ensures the subject is well-lit and creates overall exposure. It places at a 45-degree angle and a little bit higher than the subject. Then the fill light sets opposite to the key light. It softens the harsh shadow created by the key light. A reflector, lamp, or whiteboard can use as a fill light. Then the backlight sets at the back of the subject. It separates the subject from the framework. It extends the outline and the depth of the subject.
Advantage:
- A good lighting setup creates an exciting and dynamic image.
- It represented an image with better width, height, and depth.
- It widely uses in both photography and cinematography.
Disadvantage:
- In three-point lighting, each light has a relationship with one another. This is the light intensity ratio. This ratio must maintain for a good outcome.

Final Word on Types of Lighting Photography
Lighting is the most crucial matter in photography. Every photographer should know how to manage it properly. Different lighting methods are great for different perspectives. It depends on the subject, environment, what kind of mood you are trying, and for what purpose it would use.
Once you understand the lighting effects, then you can manipulate them easily to create your signature photo. Keep experimenting!
FAQs
Lighting determines everything — color accuracy, texture, mood, and depth all come down to how light falls on your subject. Even with an expensive camera, poor lighting produces flat, lifeless results. Understanding how to control and manipulate both natural and artificial light is honestly the single biggest skill gap between beginner and professional photographers.
Loop lighting is widely considered the most beginner-friendly option. The light sits at roughly 45 degrees from the subject and just above eye level, creating a small, natural-looking shadow beneath the nose. It works well for almost any face shape and doesn’t require a complicated setup — one light and a reflector is enough to get started.
Flat lighting and soft lighting are both solid choices here. Flat lighting eliminates harsh shadows that would otherwise draw attention to blemishes or uneven texture, which is why it’s a go-to for beauty and fashion photography. Soft lighting does something similar but adds a bit more warmth and dimension, making the subject look natural rather than washed out.
The core difference is in how the shadows look. Hard lighting creates sharp, defined shadow edges and high contrast — think dramatic, edgy, cinematic. Soft lighting produces smooth, gradual shadow transitions that feel warmer and more flattering. Hard light comes from a small, concentrated source like a flash, while soft light comes from larger or diffused sources like a softbox or overcast sky.
Backlighting works beautifully when you want to create silhouettes or add a sense of atmosphere to a shot. Shooting just before sunset with the light source behind your subject naturally produces this effect. If you don’t want a full silhouette, adding a fill light from the front balances the exposure and brings detail back into the subject’s face.
Split lighting and Rembrandt lighting are the top picks for drama. Split lighting divides the face exactly in half — one side fully lit, the other in shadow — which creates a bold, intense look. Rembrandt lighting adds a small triangle of light under one eye on the shadow side, which gives portraits a classic, painterly quality that’s both striking and timeless.
Yes, and many photographers prefer it. Ambient light — whether it’s window light indoors or open shade outside — is free, flattering, and widely available. The key is learning when and how to use it. Overcast days are ideal for soft natural light, while golden hour before sunset gives you that warm, rich quality that’s hard to replicate artificially. A simple reflector helps bounce the light where you need it.
Three-point lighting uses a key light, a fill light, and a backlight working together. The key light handles the main exposure, the fill softens the shadows it creates, and the backlight separates the subject from the background by adding depth. It’s popular in both photography and film because it gives subjects a fully dimensional, professional look without requiring an overly complex setup.
You may read:

Salim Ahmed is the CEO of Graphic Experts India, with over 25 years of expertise in photo editing, clipping path, image retouching, and eCommerce image editing services.