18 Beautiful jewelry photography tips for product photographers to know about lighting, background, camera settings, or editing.
There are many sectors of photography that you can choose as your profession. Product photography is one of those kinds which comes under the commercial photography section. Jewelry photography is a branch of Product Photography that you can choose to work. Different companies can hire you to take pictures of their jewelry and other ornaments for marketing purposes.
No matter which section of photography you work in, you need to click catchy pictures to make money. When you take the jewelry pictures, you need to make sure the jewelry looks sparkling, gorgeous, and attractive. The 18 beautiful jewelry photography tips will enhance your skill and help you in this regard.
Things to Consider for Jewelry Photography
Camera and Lenses
Jewelry photography requires the proper camera and lenses from the photographer. You need to capture the jewelry pictures from 1 to 3 feet away from the object. All the cameras can do the job these days, but you can start with a cheaper one if your budget is less.
Taking jewelry pictures requires proper skill in aperture and shutter speed controlling. In this case, lenses are very crucial. Unfortunately, you can’t do jewelry photography with a 200-600mm lens. So, you should choose wisely and take professional’s advice in this matter.
Prime lenses will be perfect for these jobs as you can choose 105mm, 100mm, or 50mm, which suits your camera. You can also use an 18-55mm Macro Lens to get your job done.
Lighting
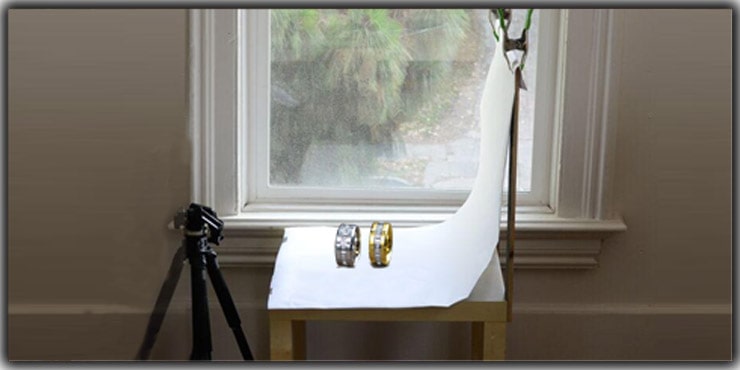
Lighting in jewelry photography depends mainly on the situation and the photographer’s requirements. You can either use natural light or can go with artificial lighting with a whole setup. But you should arrange a lighting set up as you will do most of the ornamental photography indoors.
When you do so, you need to stay focused on every object’s angle to get enough light. Lighting from the back and both sides are also much crucial in this regard. You can also use a Lightbox to produce soft lighting and photography umbrella.
Background
The background has much importance in every photography sector, and it becomes way vital in jewelry photography. In both indoor and outdoor, the background should consist of soft and single colors.
18 Beautiful Jewelry Photography Tips to Gain Perfect Result
Sometimes, small tips can help to get exceptional outputs in photography. In jewelry photography, you need to stay entirely focused, even on a minor thing. Complete dedication and determination are the paths to achieving success in this field. The tips which can be a real deal-breaker in your professional jewelry photography are:
1. Set Preparation for Jewelry Photography
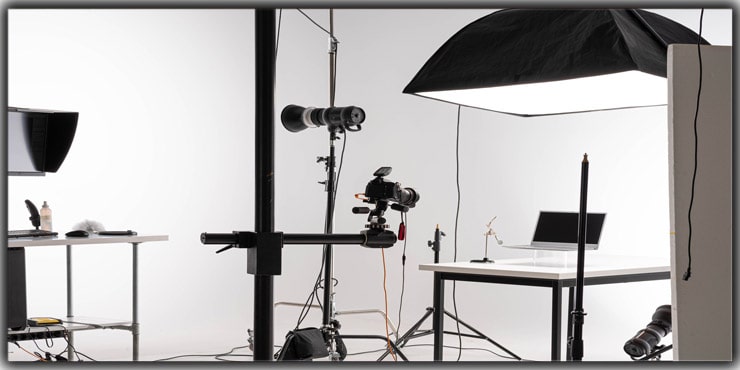
Preparing the photography set to take the jewelry pictures is the first thing you should care about. Setting up a perfect studio doesn’t require too much money, as your dedication and creativity are enough. So create a set by mixing all your creativity and passion, and hopefully, it will be the best.
Taking pictures on a perfect set will make the images look sparkling and way attractive.
2. Getting the Light Right for Jewelry Photography
Proper lighting is the most vital thing for perfect jewelry photography. Whether indoor or outdoor, ideal lighting is a must to make the images look attractive. When you are shooting outdoors, choose a location that suits the jewelry. The scorching sunlight will not be suitable in the maximum cases.
Choose a comparatively cloudy day to shoot outside with your product. It will help the product to look more natural and shinier. On the other hand, while shooting indoors, you should avoid aggressive lighting and choose soft light. You need to stay focused on the lighting from each angle.
Some photographers use strobe lights, and some use tungsten lights. At the same time, many photographers use HMI lights to produce intense daylight colors. You can even use the combination of tungsten, strobe, and HMI lights as per the situation and product requirements.
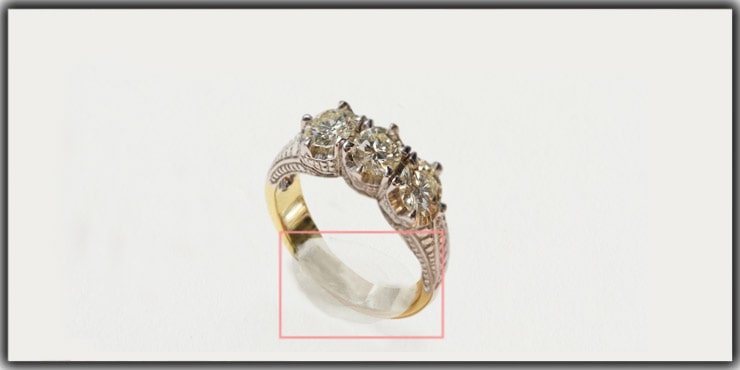
3. Stay Careful about the Light Reflection
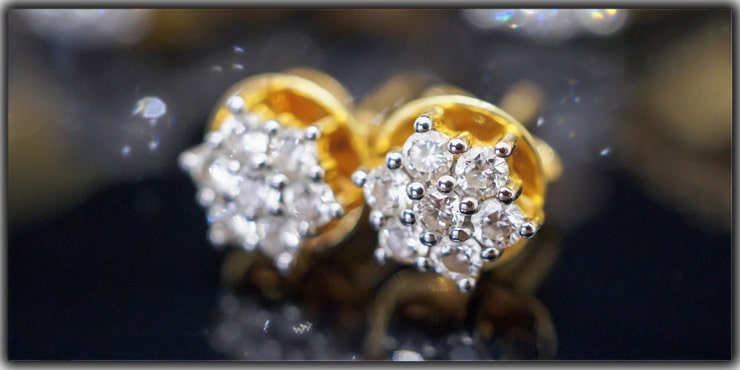
Most jewelry reflects light through its body. Reflection of lights can provide the product a sparkling look. But excessive reflection can ruin the shot and damage the face of the image. So, choosing the angle of photography is way vital here. You need to capture the picture from an angle that has the perfect amount of light reflection.
4. Using a Strong Tripod for the Shoot
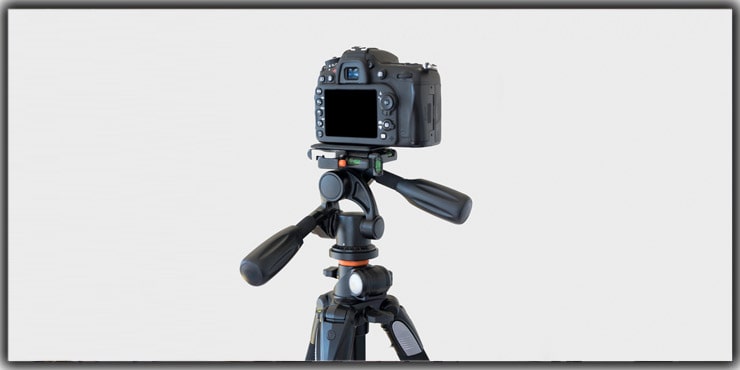
Some photographers take the shot by holding the camera in their hands. But I will strongly prohibit doing this while taking a still object shot, especially the jewelry. Instead, you need to use a tripod to hold the camera and then click to take the image.
As you will use a tripod, it will provide much stability while shooting. Thus, there won’t be any shaking while taking the photo, and it will prevent the picture from being blurry. You can focus the jewelry ideally by using a tripod attached to the camera.
5. Work with Models in Jewelry Photography
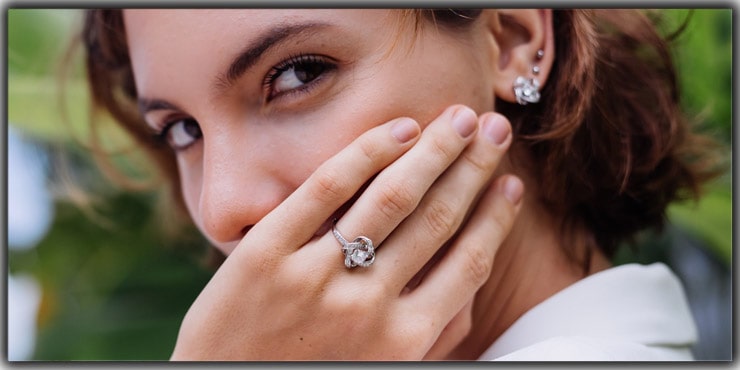
Working with models for capturing pictures is the best way to express the product. When the viewers see the jewelry with any model, they can understand better how it may suit them. It may be a bit expensive for any photographer, but it will present the ornaments attractively and realistically.
Working with models will help you to gain more publicity and projects. In addition, your skill in capturing jewelry images will enhance as well by doing so.
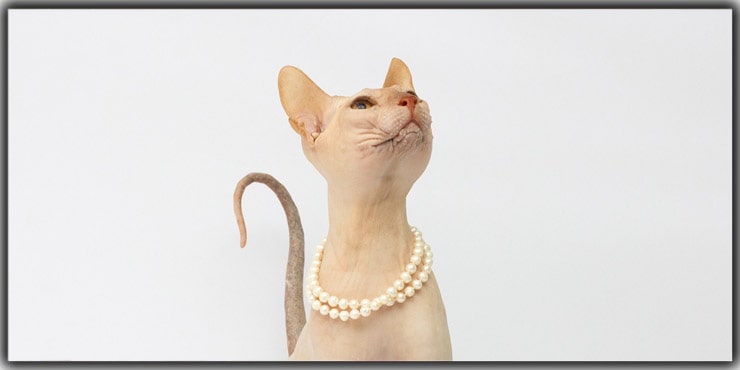
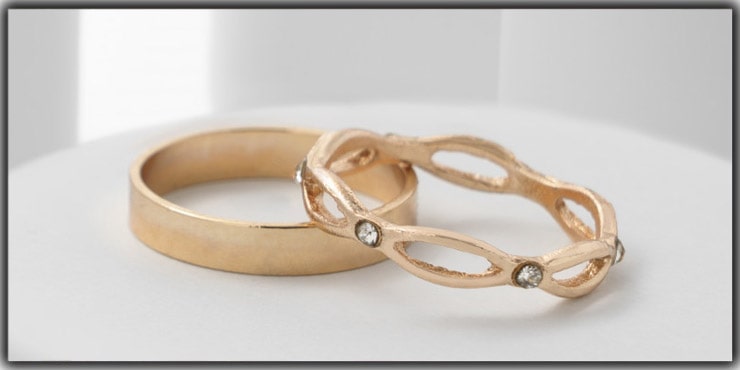
6. A Mannequin Bust
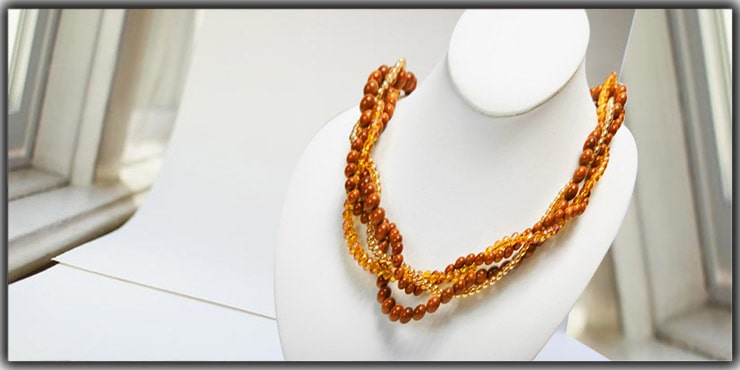
You can use a dummy to take the photo when managing models is way costly. It will make the image look much realistic and acceptable to the viewers. Whether the product is a necklace, ring, or earring, setting it on the mannequin will help viewers get a better look.
Depending on the jewelry color and shape, you need to choose the mannequin shape and color. When it is a hand-related ornament, using only a hand-shaped mannequin is enough. You need to put the ornament on a face and body-shaped mannequin when it is a face or body-related ornament.
7. Using the Cardboards
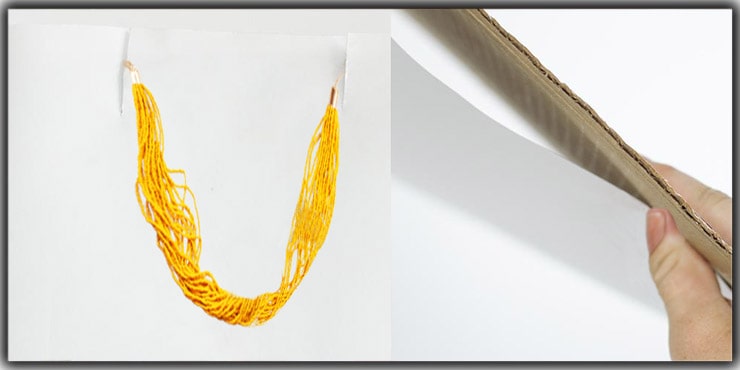
If you are short on budget or want to reduce the expense, you can use cardboard instead of a mannequin. First, attach a white paper with the cardboard by using a pin or a paper clip. Then attach a necklace, a nose ring, an earring, or a ring with it. After attaching, look for the perfect angle from where the object will look stunning.
When you find the angle, capture the image, and remove the unnecessary parts while retouching it. Thus, it will be less expensive for you, along with providing efficient results.
8. Using Backdrops for Jewelry Photography
The white sheets are perfect to use as backdrops for capturing jewelry pictures. However, using darker backdrops will absorb the color from the ornament, and it may cause the object to look dull. In this case, the white backdrops will make the ornament look more attractive.
9. Usage of Blue-Tack, Glue-Dots, Tape, and String
When taking pictures of the jewelry from the flat grounds, you can’t always lay down the product. Sometimes you need to change the standing position and angle of the ornament. But those objects can’t stand without any support, and that’s when the above materials come into the game.
Use blue-tacks, glue-dots, and double-sided tape to attach the ornaments to the surface. Thus, the products will get a standing look, and you will have the new angles to take photos. By using the string, you can set the jewelry in the midair and then capture the picture. It will provide a whole new stunning look to ornament.
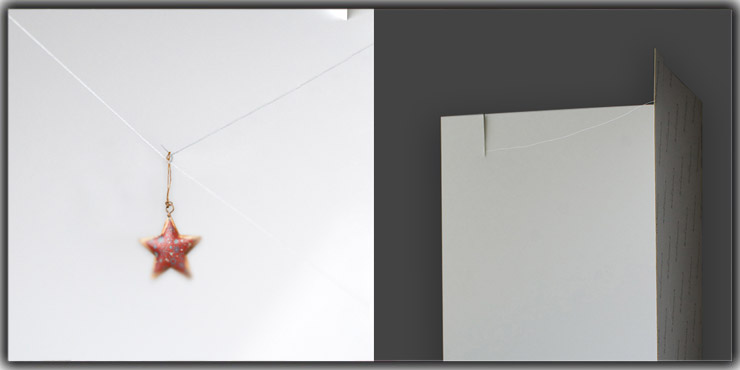
After taking images, remove those blue-tacks, glue-dots, strings, and tapes from the picture through editing.
10. Correct Aperture and Framing
Aperture mainly depends on the light condition on where you are shooting the images. A larger aperture is not ideal for the jewelry as you will capture them from a distance of 1-3 feet. Choosing the gap between f2 – f4 will make most parts of the object look blurry.
That’s why you need to select a comparatively smaller aperture for the proceedings. The gap between f10 –f16 is considered perfect for doing jewelry photography. All the parts of the ornament will look way clear with these apertures. There won’t be any focusing issues as well.
Your framing should be perfect as well. The main object should be in the middle of the frame that the viewers can notice it quickly.
11. Controlling of Shutter Speed and Focus Perfectly
Shutter speed has a vital role in jewelry photography. For exposure control, you need to vary the shutter speed depending on the light and location. Sometimes it is better to set it at 1/100 second, and sometimes it provides the best result in 1/125 second. But there is a safe range of shutter speed that most professional photographers prefer.
You should keep the shutter speed between 1/50 to 1/250 second based on the lenses, light, and location. Focusing is another vital part, as you shouldn’t be shaky while focusing. Finally, you need to keep your hands still whether you use your hands or a tripod. Trembling hands will prevent having perfect focus, which will lead to blurry images.
So, you should set the shutter speed properly and focus ideally to get the best result in clicking jewelry images.
12. Details Capturing and Zoom Enabling
Pictures with higher quality and details provide the viewers with a better overview of the products. You should capture the images from near the object and make sure you have perfect focus. Capturing high-resolution images is the best way of having enough details about the ornaments.
If you have your jewelry photography website, you will showcase your captures there. Therefore, you need to enable a zooming system on the photos to better view the image to the viewers and clients.
13. Usage of Moving GIFs
After capturing the image, you will supply it to the client or showcase it on your website. But before you do so, you can convert the jewelry image to a moving jewelry GIF. As you do so, the ornament will look sparkling. Again, it is not a common thing but an excellent way of catching the viewer’s eye and attention.
You can convert the image to a moving GIF while retouching it using Photoshop or other software.
14. Color Correction
Showing the actual color of the ornament is a must. Many consumers prefer to buy online, seeing the product images. If any customer orders any golden jewelry and finds the product color is silver after receiving it, it will be shameful. Check the circumstances, focus on capturing the actual image color, and then make the picture shiny.
You should remain careful on this while retouching the image as well. The normal image may look dull, so you should correct the colors there. But you need to edit the image and correct the colors by sticking to the actual color of the jewelry.
15. Keep the Image Size Consistent
Image size is another thing you should keep in mind while capturing. The main object shouldn’t be small that the customers barely see them on the eCommerce websites. On the other hand, you can’t also keep the image all over the frame, as it won’t look acceptable. So, balancing is necessary in this case.
Consistent image size plays a significant role in jewelry photography. So you should keep focusing on that while capturing the jewelry pictures.
16. Capture as Many Images as You can
One mistake that most of the newbies in the jewelry photography section make is not capturing enough images. Of course, these shouldn’t be done if you are taking this as your solemn profession. But that doesn’t mean your entire focus should be on capturing more and more images.
When you capture a bunch of images, the chances of getting the desired one among them increase. You will have more options in your hand to provide the client. Capturing fewer images shuts that door. So, capturing the maximum number of quality images should be one of your major focusing plots.
17. Thinking Out of The Box
Always following the textbook styles of jewelry photography may look dull. But, that’s the time when you need to show your kind of creativity. You can use an unfamiliar setup or location to shoot the images. Or can use different side materials to make the ornaments unique and catchy.
You can give a touch of your creativity in each section you want. Just use your experience, skill, and photographic mind to take things to a whole new level. Of course, continuing experiments doesn’t mean you will always succeed, but it will grow your skills and experiences in the future.
18. Keep Things Simple and Consistent
You shouldn’t always think out of the box as well. For example, when you are doing a series of projects for the same company or client, you should follow a sequence. You shouldn’t do any experiments in that series of images, as the background should remain the same.
The backgrounds of every object on that series should also remain the same as it will give the viewers a better idea. So, when you are unsure about what to do, follow the basics and try keeping things simple. Hopefully, that simplicity will help you to achieve the best possible result.
FAQs on Jewelry Photography Tips
You need to follow the basic rules and acquire the skills first. Then choose a camera considering your budget. While selecting the lenses, you should always go for the macro and prime lenses for ornaments photography. Finally, use a perfect lighting condition or set it up and a tripod while capturing.
Staying careful about correct aperture, shutter speed, focusing, details capturing, and color correction are also essential.
For jewelry photography, lighting is a sensitive issue as it differs from photographer to photographer. But I would suggest you avoid aggressive lighting and use soft lighting for jewelry photography. You can shoot in natural lighting as well, depending on the outside weather. Preparing your lighting setup is the best way to go for it.
Light reflection plays a vital role in this section of photography. Excessive light reflection in the image can be painful for the eyes, and lower reflection can dull the image. So, it is necessary to control the light reflection while capturing ornament images. You can use light umbrellas, white paper sweep, or white cardboards to control light reflection.
Conclusion on Jewelry Photography Tips
Jewelry photography is not a challenging task as it seems to most people. But acquiring knowledge and basic skill is a must before entering this sector professionally. In addition, selecting the proper kits and materials is vital for the process. When you are doing jewelry photography, the smallest of things can significantly impact the image.
So, you need to stay focused on lighting, background, camera settings, and editing. 18 beautiful jewelry photography tips will assist you massively to gain success in this sector. You should also focus on marketing to get more projects, clients and expand your jewelry photography business.
You May Read:

Salim Ahmed is the CEO of Graphic Experts India, with over 25 years of expertise in photo editing, clipping path, image retouching, and eCommerce image editing services.