Merging images with BG is nothing new in Photoshop CC. Many professionals use this method to enhance the overall appeal of an image.
However, the process may seem challenging for beginners. I crafted this guide on how to merge images with Backgrounds in Photoshop.
You can follow different methods like Blending modes, Clipping Masks, or Photoshop Generative Fill. With the process, photo manipulation will be more effortless than before.
So, let’s get started.
How to Merge Images with Background in Photoshop with Blending Modes
Clipping Masks or Blending modes are two popular methods for merging images with BG in Photoshop. You can easily combine images with a solid, white BG or a transparent background. I will be using Blending Modes in this tutorial. Speed up your editing workflow by learning the below steps.
Step 01: Select the Tool
Adobe Photoshop CC is full of different tools. So, finding the correct tool for the process is crucial. Blend modes and smart objects are Photoshop’s two popular tools for image merging.
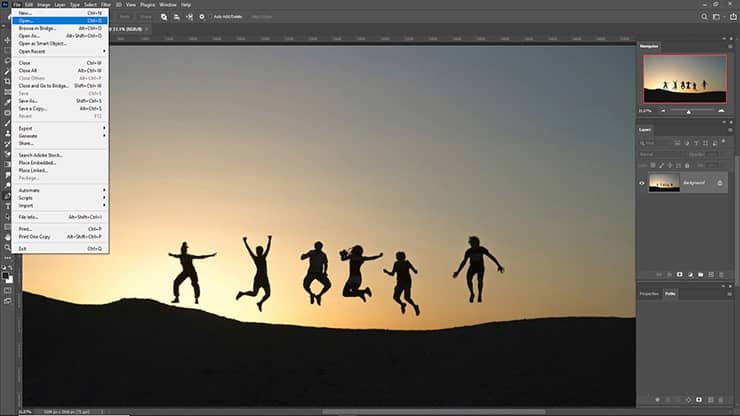
Open the image in your Adobe Photoshop CC. Then, drag and drop the desired image you will be working on into the project. You will find the File above the main BG.
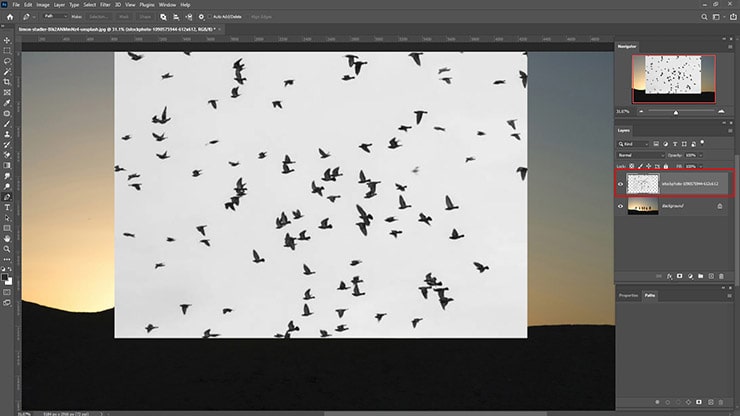
Step 02: Convert the Image to a Smart Object
Choose the New Layer. Right-click on the mouse, and a drop-down menu will appear. Choose Convert to Smart Object from the Menu.
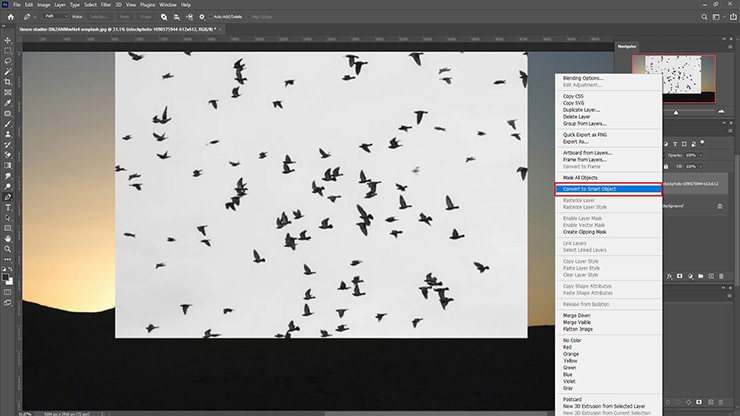
You must convert the image into a smart object before proceeding to the next step. The reason is that objects’ visual information is better than other formats. Otherwise, the image may look pixelated once you scale it.
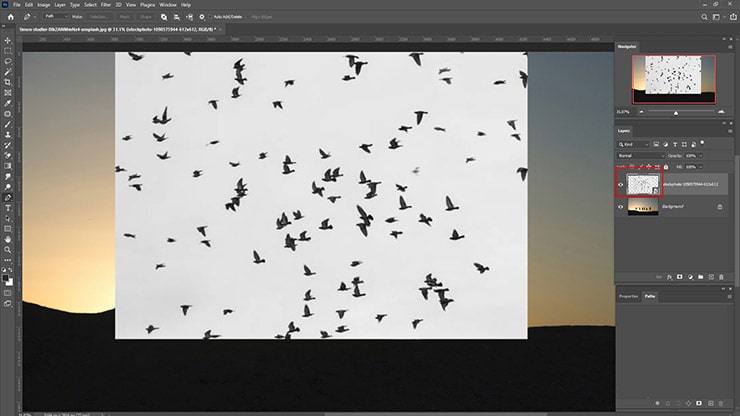
Once done, a smart icon will appear in the corner of the layer. The icon tells that the image is now a Smart Object.
Step 03: Scale the Image Size
Image size also plays a crucial role in the success of this process. So, choose Edit from the Top Menu section and choose Free Transform. This way, you can scale the size of the image according to your preferences.
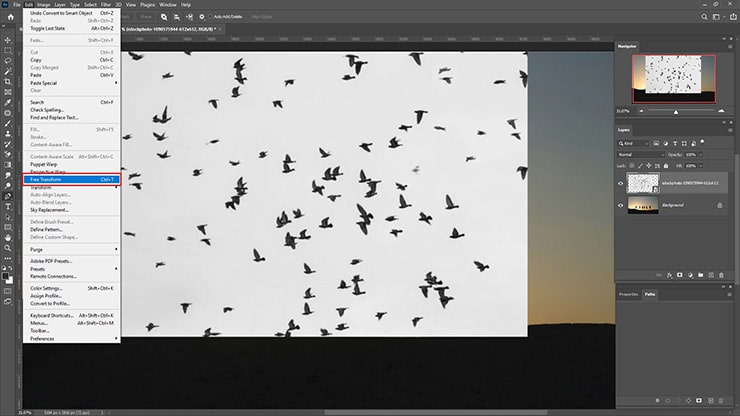
Next, press Enter from your keyboard.
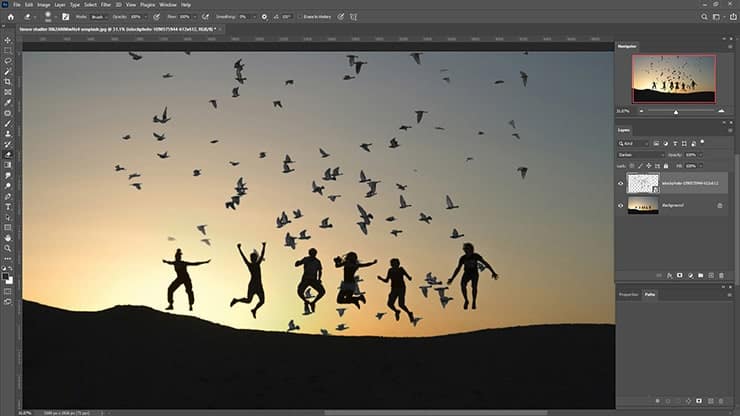
Step 04: Choose a Blending Option
Now, go to the Layers Panel and select the Blending Mode tab. Hover your cursor over all the blending options. As a result, you can see previews of every option.

For this process, I have selected “Darken.”

Here is the outcome.
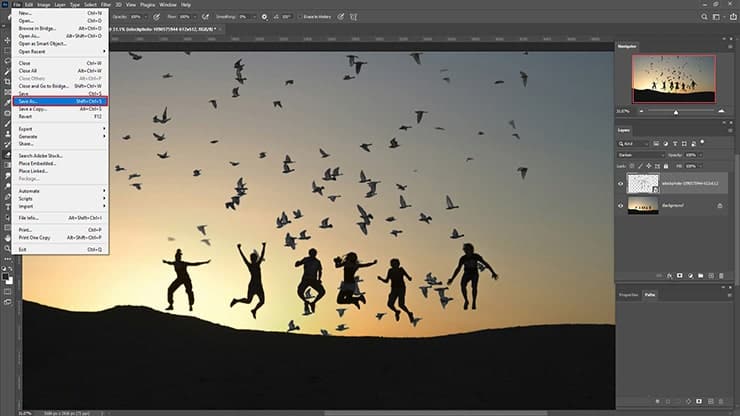
Step 05: Save the Image
Saving the image in the correct format is vital. Generally, most users use JPEG format to save a file. I won’t discourage you from using this format to save your File. Here, the trick is to learn the purpose of your edited photo and save it accordingly.
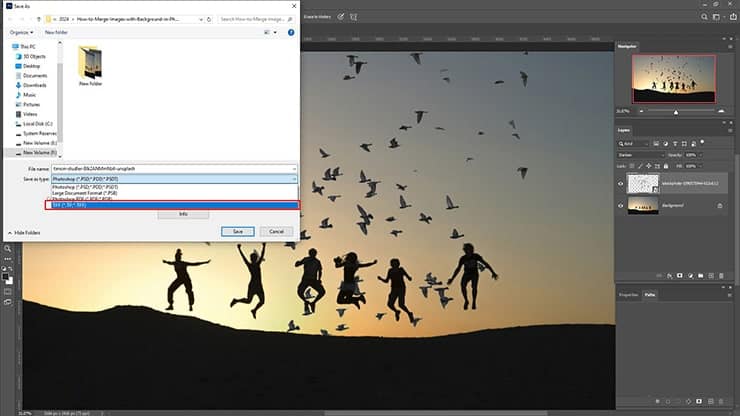
TIFF or Tagged Image File Format permits a higher number of bit counts. This file format compresses your files and lets you open the image in separate layers in Photoshop. Also, it has better resolution while incredibly editable. When compressing a file, TIFF is the most advisable.
Go to the top Menu and choose File > Save As. Then, a window will appear, and click on the drop-down Menu of Format option.

Finally, select the TIFF option from the drop-down Menu and click OK.
How to Merge Photos with Background in Photoshop Generative Fill
When combine two images with a Background in Photoshop Generative Fill, keep in mind that the BG has to be similar. Otherwise, merging the images will take a lot of work.
Step 01: Canvas Set Up and Image Placement
Once the two photos you want to merge with BG are selected, create a new doc in Photoshop. The doc will work as the Canvas.
Then, position the images with generous amounts of space in the center. Thus, creating the transition with Generative fill will be easier.
Next, select the Rectangular Marquee tool and choose the empty spaces and a portion of each image.
- Hover your mouse to File> New or hit Ctrl + N together.
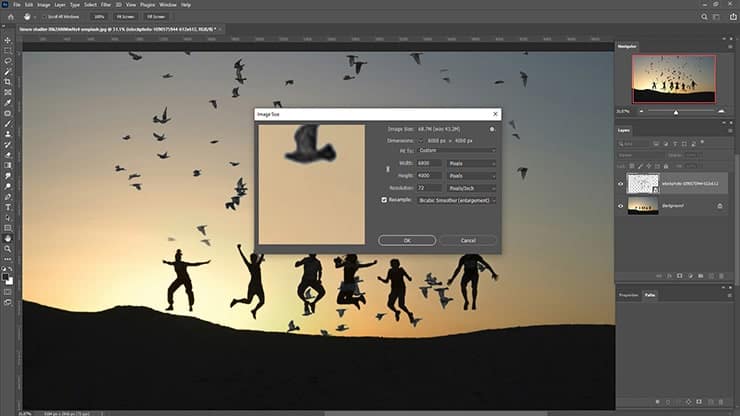
- The width and height of pixels need to be changed based on your needs. I choose height= 6,000 pixels and Width= 4,000 pixels for my images. Then click OK.
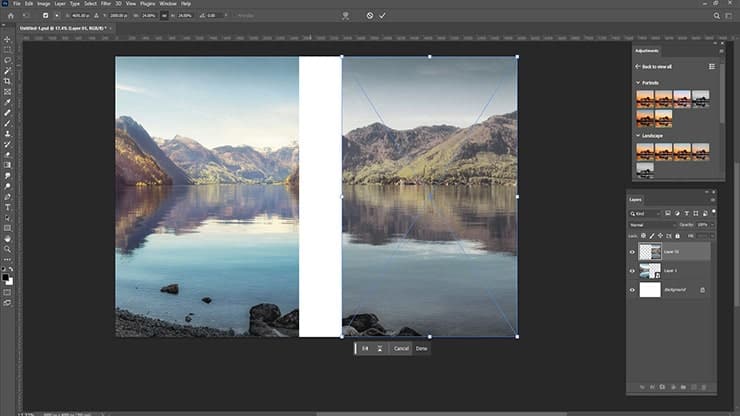
- Afterward, go to File> Place Embedded and select a photo file for placement. This step needs to be followed for both images.
- Align the images, leaving a gap in the middle.
- Now, choose Rectangular Marquee Tool from the left panel. You can also hit the shortcut key “M” on the keyboard.
- Create a Rectangle in the middle of the photo. While creating the Rectangle, select some portions of the images.
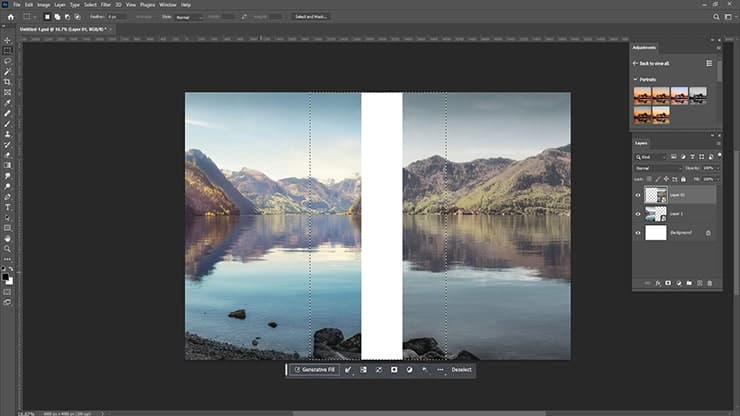
Remember that any selection tools are workable for marking the pixels you must use in the Generative Fill. Also, placing the selections in the center of the image is only sometimes necessary.
Here, the critical point is to select an adequate portion of each image. Thus, the photos’ pixels will be chosen, and the images will merge seamlessly.
Step 02: Use Generative Fill to Combine Images with Background
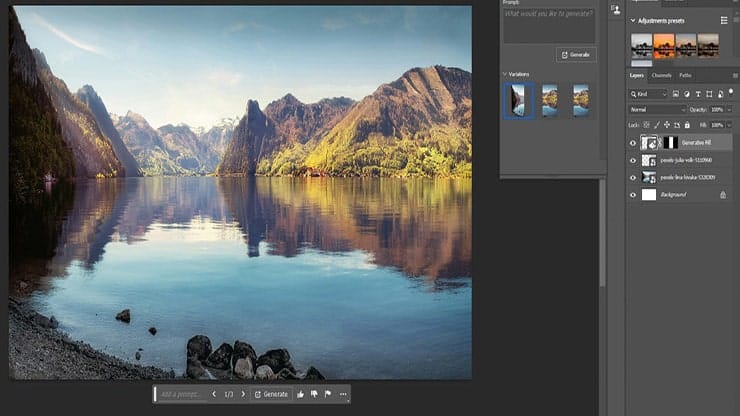
Generative Fill is straightforward to use in Photoshop. After following the above steps, you only need to click the Generative Fill from the Menu and choose Generate. You will see a blank text field where you have to write the prompt.
- Choose Generative Fill.

- Write the Prompt and Select Generate.

- Photoshop will show you three variations of the Merged photos with Background. You can select the one that looks best. If you are unsatisfied with any of the options, click Generate again. You can generate new images until the photo matches your expectations.
Why Image Merging with Background in Photoshop is Necessary?
You may wonder why merging images with BG is necessary. Here are a few reasons.
- Image merging with a background in Photoshop is necessary to blend different elements seamlessly.
- It creates a cohesive look for designs, like posters or advertisements.
- Merging helps remove distracting or unwanted backgrounds from images.
- It allows you to place subjects in different environments, enhancing storytelling.
- This technique is crucial for product photography, making items look like they belong in their surroundings.
- It enables artists to compose fantasy or surreal scenes by combining various elements.
- Merging with the background enhances the overall visual appeal of images.
- It gives flexibility in manipulating and arranging elements to create desired compositions.
FAQs
Yes, using Adobe Photoshop, you can easily merge a picture with a background. Import both the picture and the background image into Photoshop on separate layers. Adjust the size of your picture using the resize feature to fit well with the background.
Merging two photos in Photoshop can be done using the layer feature. First, open both images in Photoshop. Drag one image onto the other to create two layers. Then, use the move tool to position the two pictures as you desire.
The best way to combine images is by using the Photoshop layer mask feature. This allows you to blend two images together in a non-destructive manner. With the images loaded as separate layers, apply a layer mask to your top image.
To combine multiple images into one in Photoshop, start by opening all images in the same project. Place each image on its layer and use the move tool to arrange them. Use layer masks to blend images together seamlessly.
For beginners looking to merge photos in Photoshop, start with simple projects to familiarize yourself with basic tools such as the layer masks, the brush and move tool. Practice adjusting the opacity to blend images smoothly.
Last Notes
Now you know how to merge images with Background in Photoshop using the above steps. Merging images with BG is required for several reasons, like making posters, creating storytelling, etc. Moreover, image manipulation will become easier with the process. Practice the steps and hone your skills.
You may read:
- Photoshop Layers Tutorials – A Beginner’s Guide
- How to Use Adobe Photoshop Generative Fill
- How to do Double Exposure in Photoshop
- Photo to Color Pencil Sketch with Photoshop CC : Tutorials
- How to Blend colors in Photoshop

Salim Ahmed is the CEO of Graphic Experts India, with over 25 years of expertise in photo editing, clipping path, image retouching, and eCommerce image editing services.