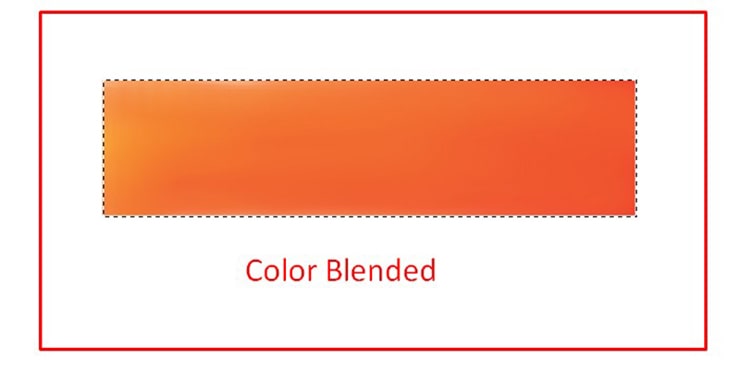
Photoshop is used for remaking things, and professional image editors make many creative things using various tools. Color blending works great for creativity purposes. But you might need to blend colors for some other reasons.
The reason can be isolated colors in an image destroying its overall dazzling appearance. Such shape of image flaws is fixed with blended colors. You can approach several ways to blend colors and make your imperfect picture look picture-perfect.
However, we will discuss the two most simple methods in the “how to blend colors in Photoshop” tutorial that will take only a few minutes to finish, plus the chance of making errors is zero. So, without further ado, let’s begin the learning procedures.
Color blending is one of the easiest tasks you can do using Photoshop. Like a pro, you can blend various colors using 4 tools. Let’s find out how you can do it from the two methods shared.
Blend Colors in Photoshop Using Rectangular Marquee and Mixer Brush tool
The Rectangular Marquee tool is primarily used for making selections in rectangular shapes. The Mixer Brush tool does the job of mixing colors. Using these two different tools together, you can blend colors following the steps mentioned.
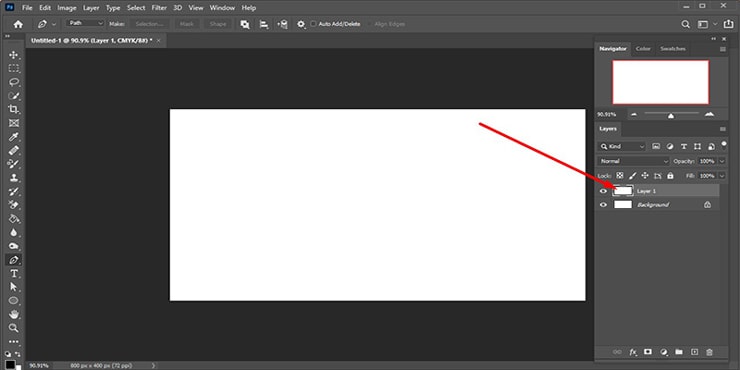
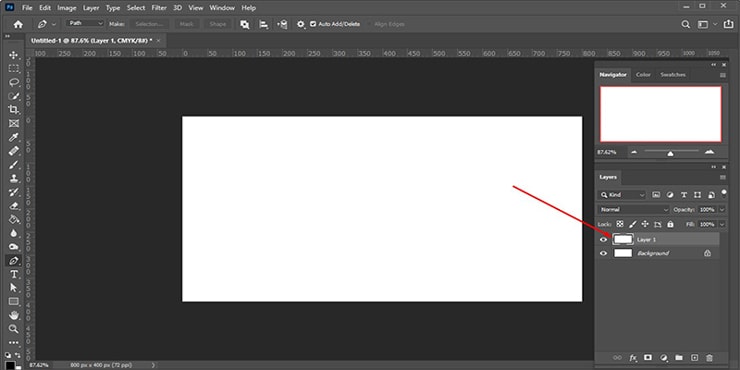
Step 01: Duplicating Background Layer to Blend Colors
The first thing to do is open Photoshop. Now, make a workspace for duplicating the Background layer. Click over the right side on the mouse or press Ctrl + J.
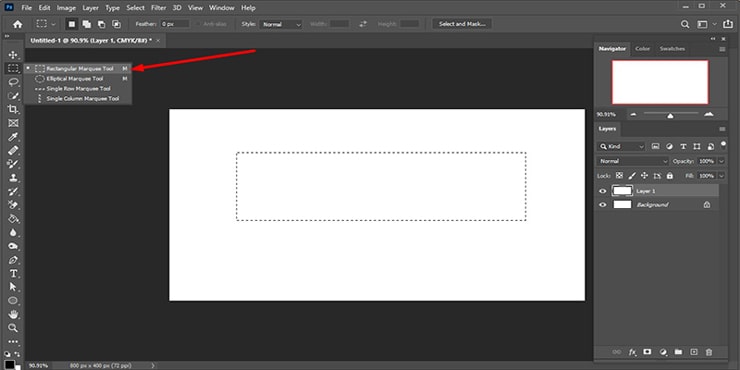
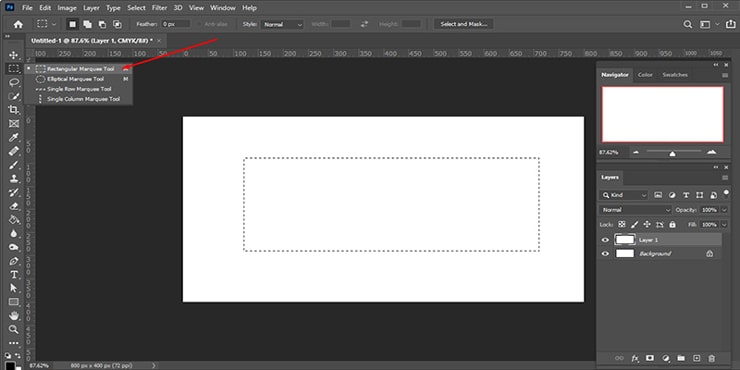
Step 2. Selecting the Rectangle Marquee Tool
Check the toolbar, choose the Rectangular Marquee tool, and start drawing a rectangle over the chosen canvas.
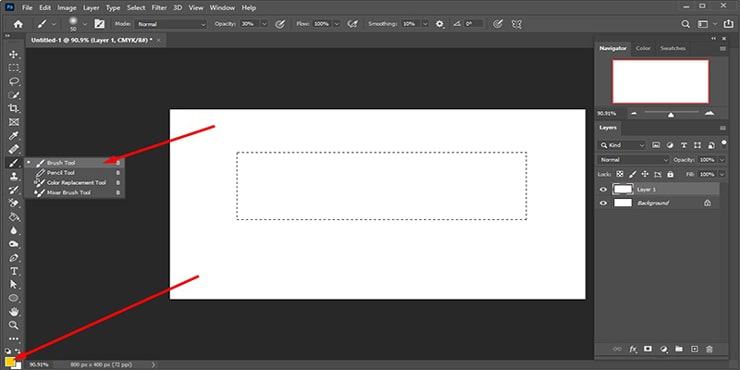
Step 3. Selecting the Brush and Color
Since you plan to blend colors, you should pick two different colors. First, with the help of a color picker, pick any visible color and then select the brush tool.
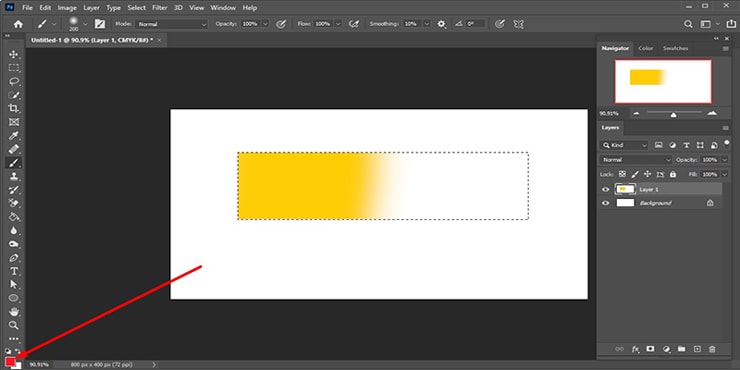
Step 4. Picking the Second color and Painting the Rectangular
After selecting another color, you can now start painting on any rectangle part. After painting one portion, pick the other color and paint on the rest of the potion.
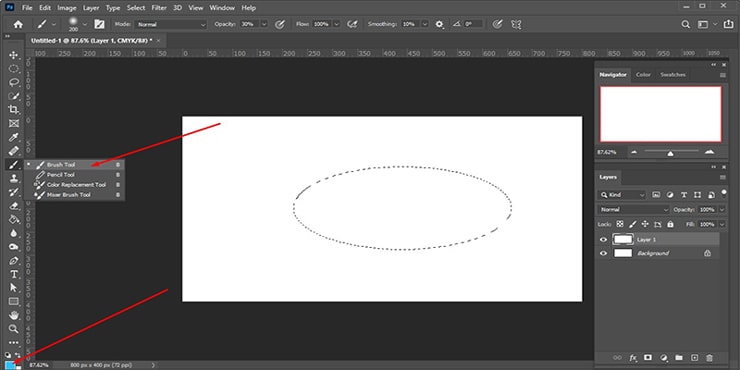
Step 5. Selecting the Mixer Brush Tool to Blend Colors
Once you are done painting, the rectangle has two colors in two parts, but they look isolated. You need to fix this using the Mixer Brush tool. Select the brush and adjust its softness/ hardness and size as you require.

Step 6. Painting in the Colors
With the mixer brush, you can start painting the existing colors smoothly by being careful. Don’t stop painting until you achieve the desired output. The final output will be a rectangle with blended colors.
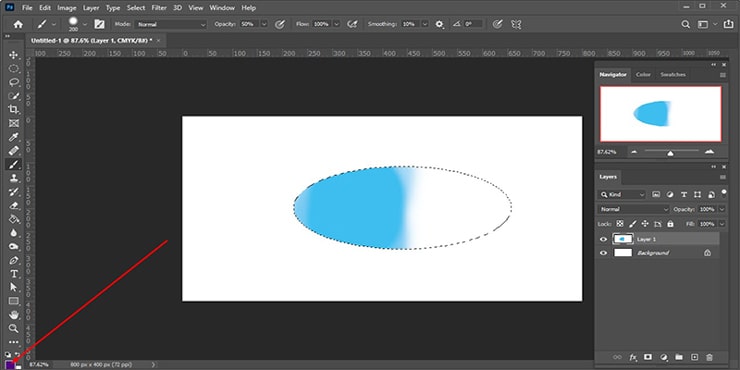
Blend Colors Utilizing Ellipse Marquee and Soft Round Brush Tool
The Ellipse Marquee tool is used when someone needs to make an ellipse-shaped selection. While the Soft Round Brush tool applies brush effects and leaves faded looks with softened edges. These two powerful tools can together be used for blending colors.
Step 1. Creating a Corresponding Layer
We meant to make the duplicate layer of the background again following the same process mentioned in the first step of the first method.
Step 2. Choosing the Ellipse Marquee Tool
Choose the tool from the toolbar to draw an ellipse over the selected background.
Step 3. Picking the Brush and Color
For blending colors, you at least need to pick different colors. But remember always to pick the visible color first and then choose the brush.
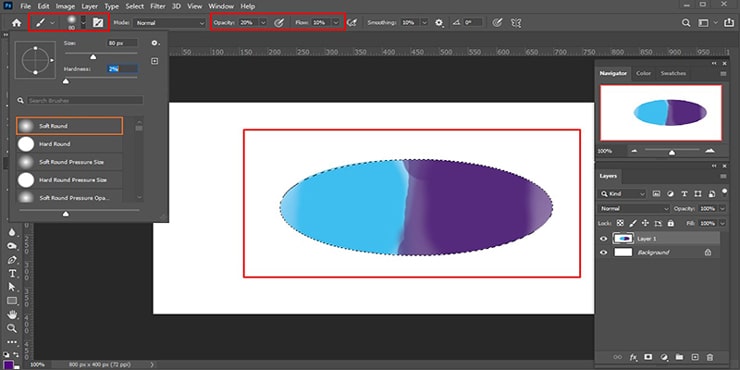
Step 4. Selecting Another Color and Paint
Pick another color you prefer and paint any of the portions first. Once you are done coloring one side, select the second color and paint the other side left white.
Step 5. Choosing the Soft Round Brush
Once the coloring is finished, it will show two different colors separated from one another. Use a soft round brush found in the Options bar to solve this issue.
Adjust its softness and size, set its opacity to 20, and adjust the parameters. You can see the picture below and adjust it as shown.
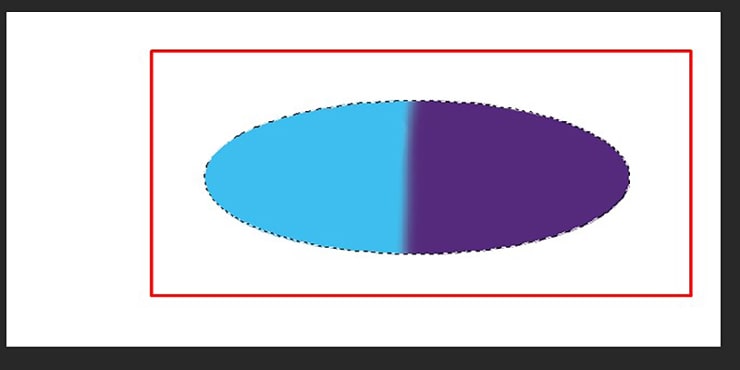
Step 6. Painting on Colors
Press over the Alt key to select the color picker tool. Start brushing on the colors to see how the colors are blending. Keep brushing until you see a perfect blend is made.
FAQs
To change the blending color in Photoshop, you need to use the “Blending” option found in the Layers Palette. Click on the option and set Hue mode in New Layer’s Blend.
Pick a brush tool. Select a color you want to add with the help of a color picker. Click okay and start painting. The blending color will change to the newly applied one.
With the Smudge Tool in Photoshop, you can blend smoothly. You need to select the Tool first from the toolbar. Pick a brush and turn on the blend mode at the options bar. Brush on the desired area and see how smooth the blending gets.
Take two pictures and save them as a document first. Choose the top layer to bring the Blending Modes menu on the computer screen. It will be shown in the Layers Panel. Now adjust light, hue, and saturation, and you are done blending layer colors.
Closing Remarks
We hope now you have properly learned how to blend colors in Photoshop. These two excellent but easy techniques will help you blend any colors. Others may adopt various methods, but the methods we discussed can bring the best results with less effort.
Whether you have used Photoshop before or not, following these steps and blending colors will be like a piece of cake for you. Besides following our techniques, you can get professional results in just a few minutes. Keep practicing following the methods mentioned in the tutorial and see how you become a master.
You may read:

Salim Ahmed is the CEO of Graphic Experts India, with over 25 years of expertise in photo editing, clipping path, image retouching, and eCommerce image editing services.