Here is a step-by-step guideline & complete solution on how to make a simple flyer in photoshop. It is an easy & creative process to reach your target audience.
You get enough space to make the customers impress your services or business idea with a simple eye catchy flyer.
A flyer is one of the popular marketing materials. You may find many flyers on social sites, commercial websites, adobe stock, or schools & colleges. When you plan to arrange an event, you also need a flyer.
Are you planning to make a simple flyer in Adobe Photoshop and Adobe illustrator?
There is some trick to grabbing the audience’s attention with your innovative design style of a flyer. If you want to know the secret tricks & complete guidelines to make a simple flyer in Photoshop, read through the article.
Now let’s start our project in photoshop. Al the steps of making a flyer with necessary secret tips are attached below:
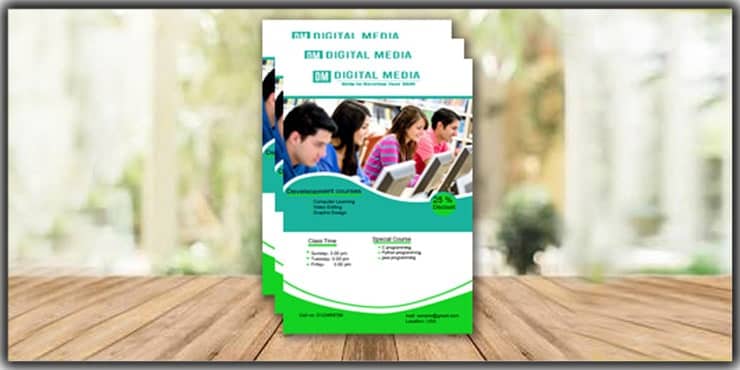
The simple flyer that we will make will be like the below images.
What is a Flyer?
A flyer is a form of paper that represents some information, designing layers, images about events, products, websites, or services.
For example, if you have a coaching center & you want to let people know about the detailed course, you offer. It is a creative asset.
You can easily make a flyer by mentioning the necessary information & relevant images. Also, if you design it in an exclusive & simple way, that helps to wow the audience about your services.
It is the best option to share different offers with the customer.
Photoshop is an excellent image editing & designing software that is easy & efficient. So, I chose the best design tool to create a simple flyer so that you can learn the efficient technique.
In this digital age, there is a huge demand for a flyer. As a result, many organizations are looking for a flyer designer. If you can learn it properly, it will be a good source of income.
Flyer Size
It depends on your needs & the size of the necessary information. The ideal & popular sizes for a corporate flyer are A4 & A5, but you can select your sizes according to the need.
The standard size that uses for professional & marketing purposes are given below-
- The shortest standard size is 4.25 * 5.5 inch
- Medium standard size is 5.5 * 8.5 inch
- Most using standard size is 8.5 * 11 inch
These are the standard sizes that use all professional designers. So when you create your flyer with creative content, you can consider the standard size to make it excellent.
Make a Simple Flyer in Photoshop
Now let’s start our project in Adobe Photoshop. Al the steps of making a flyer document with essential secret tips are attached below:
The simple flyer that we will make will be like the below images. Let’s learn the steps of how to demonstrate simple flyers efficiently.
Step1: Take a New File in Photoshop
We will create a new file and set the height and width in this step.
Open Photoshop. Now Select File > New & you will get a pop-up window like the below images.

You can enter any name of your project. As we make flyers, I set the name as flyer & now select International Paper from the preset dropdown. Select your preferred sizes & click on Ok.
Step2: Make the Paper Caves Ready for Printing
Your flyer paper is ready. You should need to keep bleeding on each side so that it would be safe for printing.
You can use the cursor to set the bleeding with the ruler tool. If you don’t find a ruler, select view & from the dropdown and click on rulers.
Now, you also have the rulers on the left side of photoshop & upwards. Using the cursor, set the ruler to each side, like in the images below.
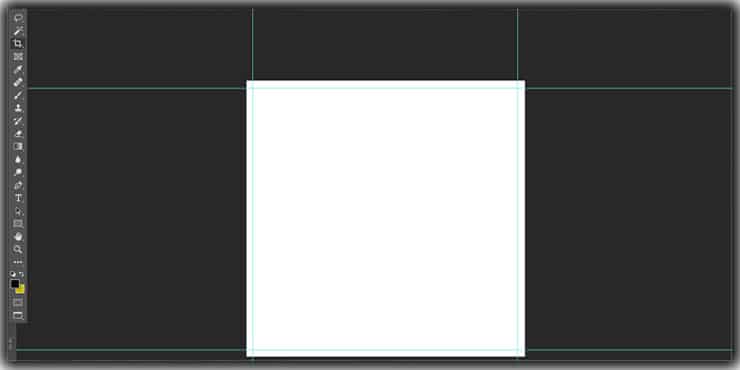
One important tip is that you should do all of your designing inside the bleed. Otherwise, your design can miss after printing.
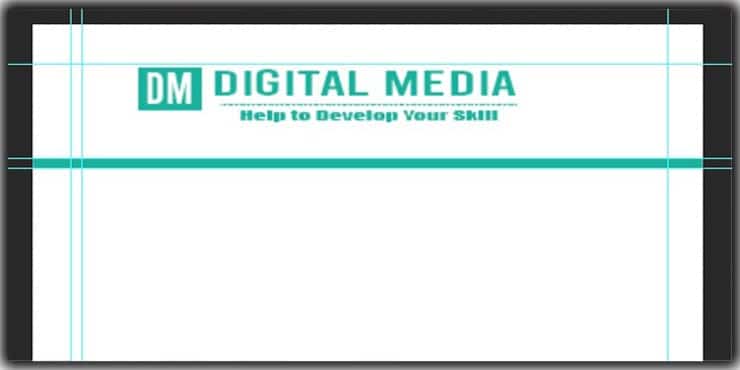
Step 3: Create the Header Section
In this section, we will learn how to create a simple header. We will use a frictional logo here. Therefore, you should use your company logo. You can use our vector conversion services if you don’t have one.
From the toolbar, choose the rectangle bar & create a little rectangle & select the color from the color palate.
Here, I use the color code #0596c2 from the logo (that I have used). Color is an important part of designing.
If you create a logo for any corporate use, try to include their logo color. However, don’t create a mess by using lots of colors. For example, an elegant flyer usually needs a 3-4 color maximum.
- Now, open the logo PNG file & set it above the rectangle. Now choose the text tool from the toolbar & set the font size according to your need.
- You can modify the font style from the Options Bar & also set the color. All the headings should be selected in Bold.
- Now I write the company name & under that, I use the line tool to attach a line & then attach their motto using the text tool. See the below images. I use the same color in the whole header design.
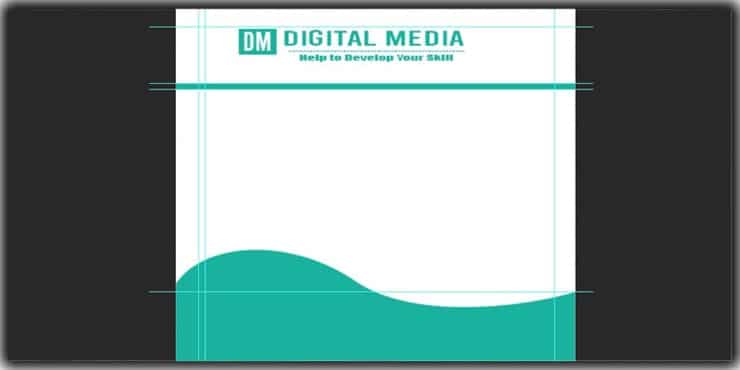
Step 4: Make it Eye-catchy
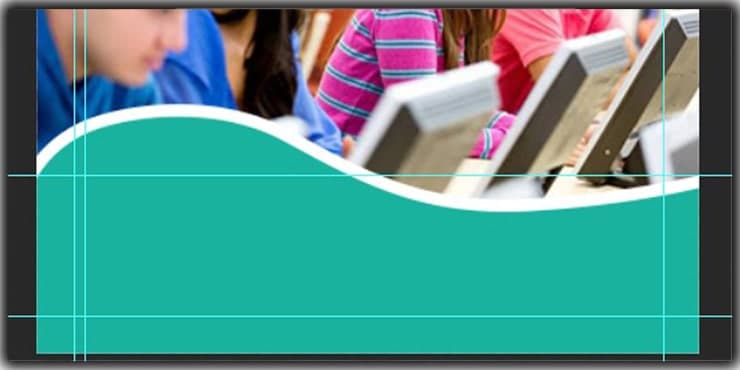
Here, I have used the Photoshop pen tool to make a simple shape in the footer area to add some ingredients to the flayer. However, you can use other Photoshop tools to create incredible shapes.
Now you are done with the header portion that looks simple but exclusive. Now I take the pen tool to draw a smooth slope.
Here I set the stroke & fill color according to my choice. The slope I draw is the main highlighting point of my flyer. See What I draw with the pen tool.
Step 5: Add a Relevant Image to the Main Section
You can add relevant product or model images that match the flayer’s subjective.
Now open any images from your computer & place them below the header. Choose the image file & right click on the mouse & select Create Clipping Mask that will fix it above the designing box like the below images.
Suppose you want to set an image into a box or circle. You need to place the photos on it & click on the clipping mask. It will fix the pictures onto your desired size or pattern like the below images.
Step 6: Add Marketing Elements
Here, you will learn how to add a simple design that promotes and highlights things.
Choose the rectangle tool & create a rectangle on the right side of your slope area. Now I pick an eclipse tool & press shift to draw a circle.
And Repeat this procedure to create another circle. Finally, I overlapped both circles to create a white border in the middle of the circle.
Now I attach some necessary text using the text tool. Finally, I use a custom shape tool to create an arrow beside the text like the below images.

I use heading text such as Exam Preparation & Skill Development to highlight the informative text. Also, pick the line tool to draw a line under the Heading text.
Step 7: Rapping Up the Design
Now almost your flyer is ready. But one of the significant parts of a flyer is the footer. The end should be fantastic to create a good expression.
This part contains the contact information of your organization. First, I used the pen tool to draw a customized footer part. Then, I use the text tool to share contact information details.
To enhance the beauty, I also use the eclipse tool & draw a little circle & attach relevant icons. That is highly professional practice for designing. See the below images on how it looks now.

You may read:
- How To Make A Photography Watermark In Photoshop
- How to Make Background Transparent in Photoshop
- Photoshop vs Gimp: Which One is Best?
7 Simple but Elegant Flyer Ideas
Here I pick some professional & excellent designing flyers to engulf your designing concepts. These various unique designs give you an idea of how to organize or decorate a simple flyer exclusively. Besides, it also improves your creativity.
You can create this elegant flyer with a few steps.
# 1: First, you need a pen tool, Rectangular tool, Eclipse tool & text tool. Then, you can recreate this design to enhance your skill & capability.

# 2: Here are other exclusive & easy concepts of the flyer. You can demonstrate your promotional offer using this concept. The most important thing is the solid color combination.
You should enrich yourself with how the color can match & make it eye-catchy & smoothing.
# 3: This style can be a good option if you want to make a flyer for eCommerce or a product-related flyer. Here you can make it within five minutes. Just use a rectangular tool & select product images & create a clipping mask.
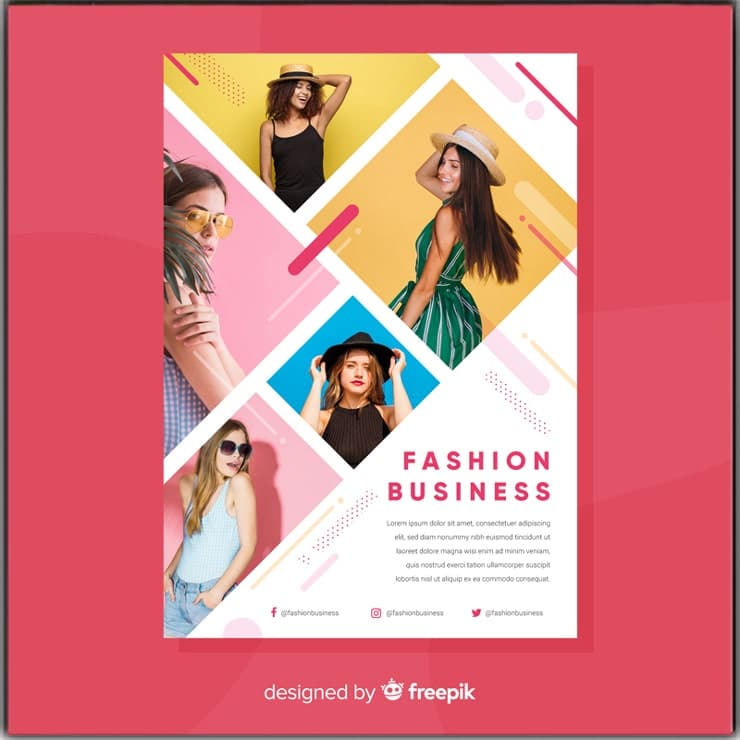
That’s you are done with the excellent flyer design.
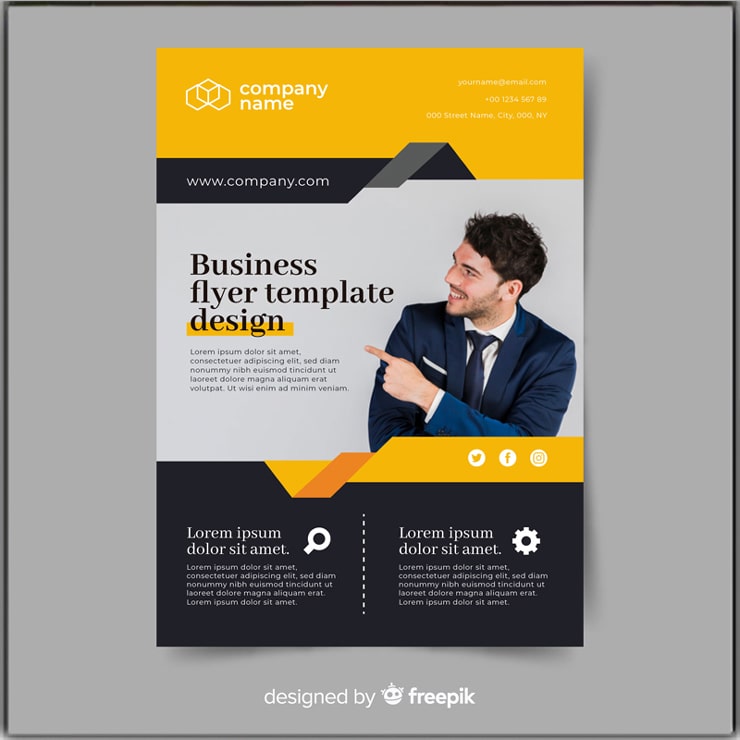
# 4: The quicker & more brilliant business flyer idea. Just use a rectangular tool to create some rectangles. Select all the rectangles together & make a clipping mask of your images.
Attach the necessary information & get your excellent flyer like the above one.
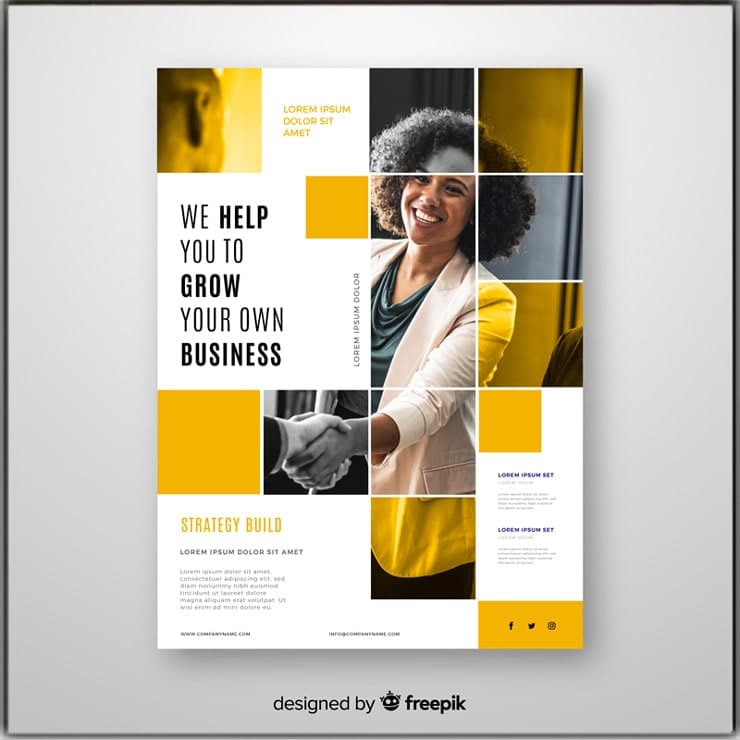
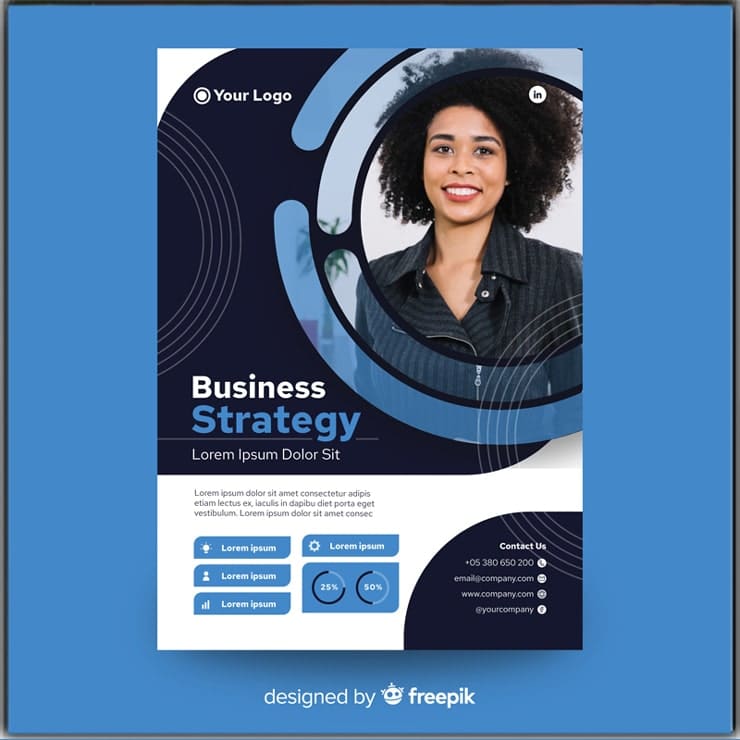
# 5: This type of flyer is best for corporate use. You can make it using the pen tool, rectangle tool & eclipse tool. You should try it because this idea is so popular & mostly used by flyers.
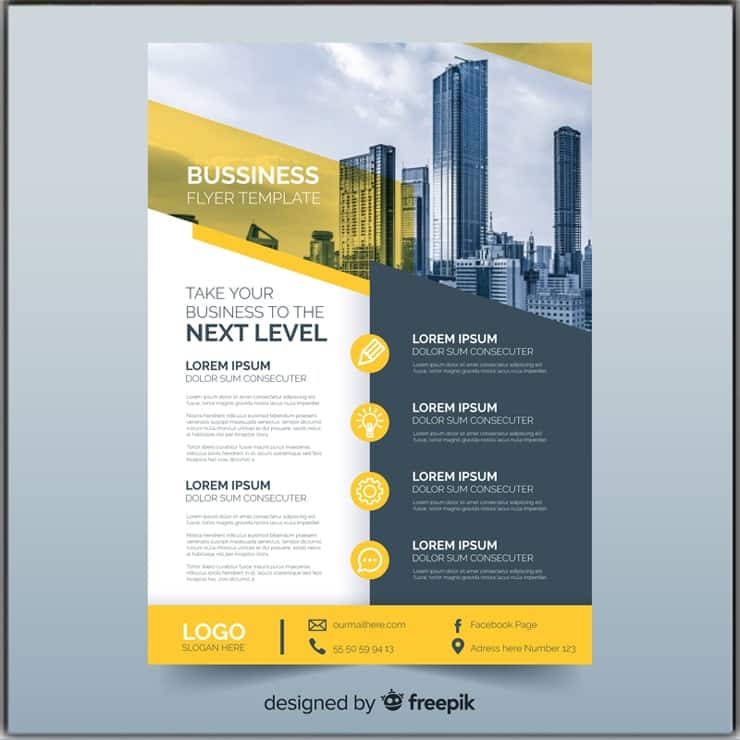
# 6: This is simply an exclusive idea to create a prominent flyer. This type of design can easily attract an audience.
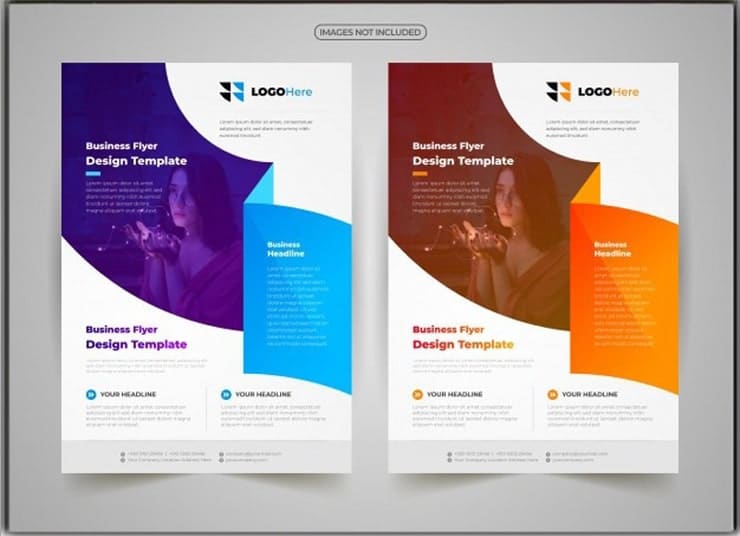
# 7: This style is impressive with the change of image opacity brings an artistic vibe. It is an exclusive idea to design a business flyer. In this design, Gradient color is applied, making it more attractive. You can try gradients to make it focus.
This is the overall step & exclusive idea to make a standard flyer for clients, customers, or the marketplace serving Photoshop Services. Now you are ready to make your flyer. It is really easy to create your design.
FAQs
It depends on where the flyer will be used. The most widely used standard is 8.5 by 11 inches for full-size marketing materials. Half-sheet flyers at 5.5 by 8.5 inches work well for events and promotions, while the smaller 4.25 by 5.5 inch size suits quick handouts and postcard-style designs. Choosing an International Paper preset in Photoshop keeps everything properly formatted from the start.
Bleed is a small margin around the edges of your design that gets trimmed during printing. Without it, even a tiny misalignment during cutting leaves a thin white border around the finished piece, which looks unprofessional. Setting the bleed with the ruler tool before starting ensures everything critical stays safely inside the print area.
Three to four colors is the generally accepted sweet spot for most professional flyers. Too few can make a design feel flat, while too many creates visual chaos that pushes readers away rather than drawing them in. Pulling colors directly from the client’s logo keeps the branding consistent and eliminates a lot of guesswork around color choices.
The core toolkit is surprisingly small. The Rectangle Tool, Eclipse Tool, Pen Tool, Text Tool, and Line Tool handle the vast majority of layout and design work. The Clipping Mask function is particularly useful for placing images cleanly inside shapes without any awkward overflow or cropping issues.
A Clipping Mask locks an image inside the boundaries of the shape or layer directly below it. In practical terms, it means you can drop a product photo into a circle or rectangle and it automatically conforms to that shape without needing to manually crop or resize anything. It keeps designs looking clean and intentional rather than haphazardly assembled.
Contact information is the most important element — phone number, email, website, and social handles depending on what’s relevant. Visually, the footer deserves as much design attention as the header. A well-finished footer with small icons beside contact details looks significantly more polished than plain text sitting at the bottom of the page.
Absolutely, especially starting with a structured step-by-step approach. The tools involved aren’t technically demanding — most of the skill comes from understanding color combinations, layout balance, and how to make information hierarchy clear through font sizing and spacing. Consistent practice with a few real projects builds that instinct faster than any amount of reading about it.
Final Verdict on Making Flyer in Photoshop
But design is all about practices.
How much dedication you give that much efficiency you can achieve to make a simple flyer in Photoshop. So, to be a pro-flyer maker, focus on practicing. Your dedication is the key to bringing success.
So, start practicing with photoshop to make a high-standard flyer.
You may also read:
- Photo to Color Pencil Sketch with Photoshop CC: Tutorials
- A Guide to Remove White Background Using Photoshop Tools
- Blend colors in Photoshop
- How to Smooth Skin by Using Adobe Photoshop
- How to Find Real Estate Photography Client?
- Create a Clipping Path in Photoshop

Salim Ahmed is the CEO of Graphic Experts India, with over 25 years of expertise in photo editing, clipping path, image retouching, and eCommerce image editing services.