Learn how to change the color of an image in Photoshop CC from the 07 different tutorials and be a color replacement master.
Photoshop is a powerful tool for editing images. The program has a wide range of features, from basic adjustments to advanced retouching techniques. One feature that makes Photoshop stand out is its ability to edit colors.
This tutorial teaches you how to change the colors of an image in Photoshop. The steps include opening the original photo, selecting the area where you want to change the color, and then choosing a new color from the palette.
After capturing an image, many of us think of changing the color of a photo. It can be a background or partial color change of an image.
How to Change Color of Image in Photoshop CC
In today’s modern society, everyone uses computers and smartphones to communicate, shop, pay bills, etc. The same goes for graphic designers who manipulate images using Adobe Photoshop.
In order to create a new design or modify an existing one, designers often need to adjust colors. The problem is that they don’t always know how to change color of image in Photoshop CC.
In this tutorial, we will discuss 7 different ways to change the color of an image in Photoshop CC. So, let’s begin to play with the colors in Photoshop using its tools & toolbar.
#01
Change the Partial Colors of a Photo in Photoshop
If you want to change the partial colors of a photo in Photoshop, then you can easily do so yourself. Just go through this article. Here we will explain how to change the partial colors of a photo in Photoshop.
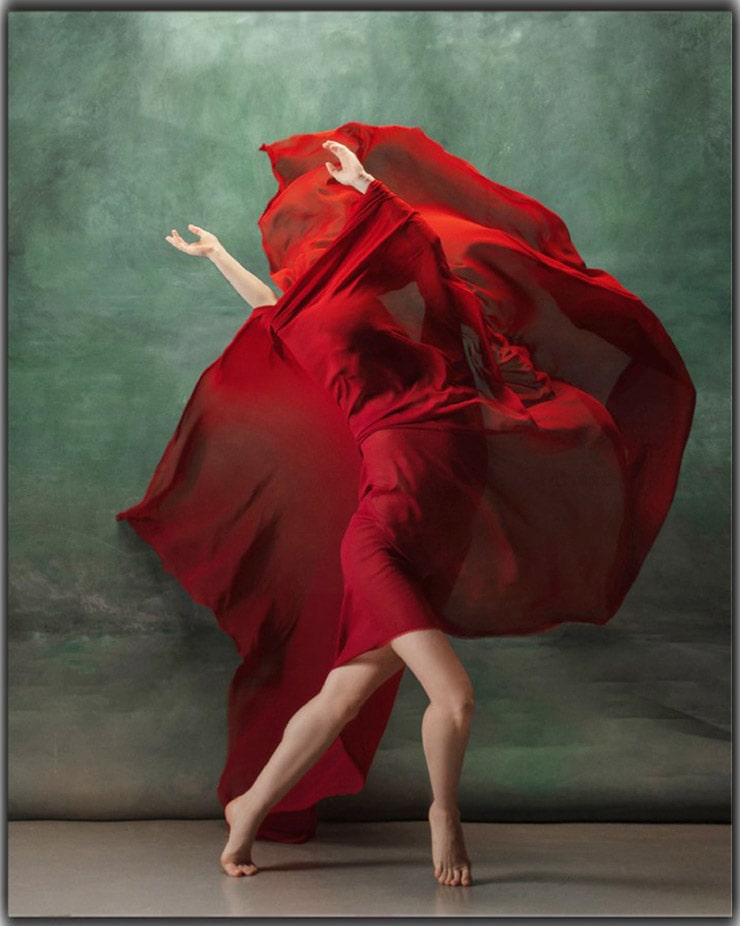
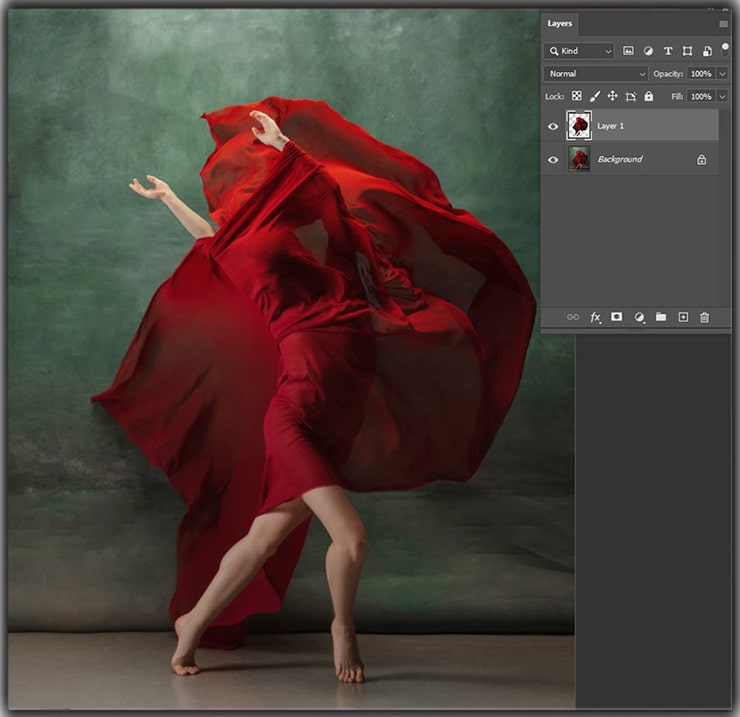
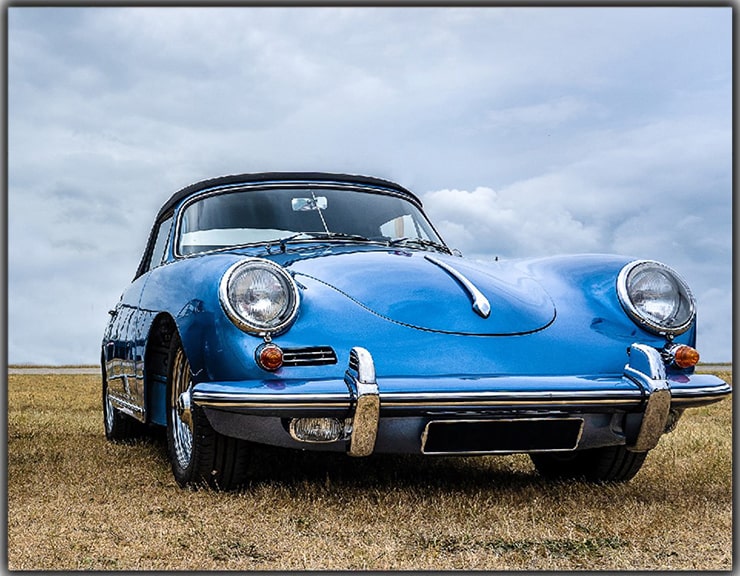
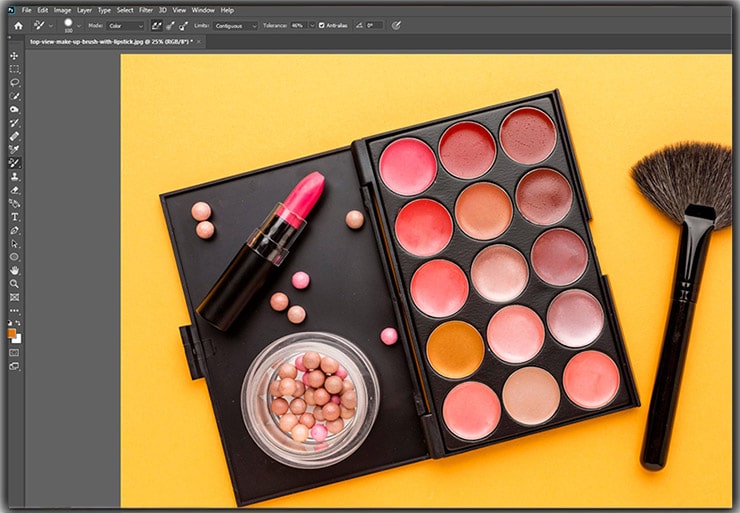
For this method, we choose the below original image.
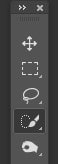
Step 01: Pick the Quick Selection Tool
Pick the Quick Selection tool from the Options Bar.
Always go with a more solid background in this method and make a selection around the solid colors.
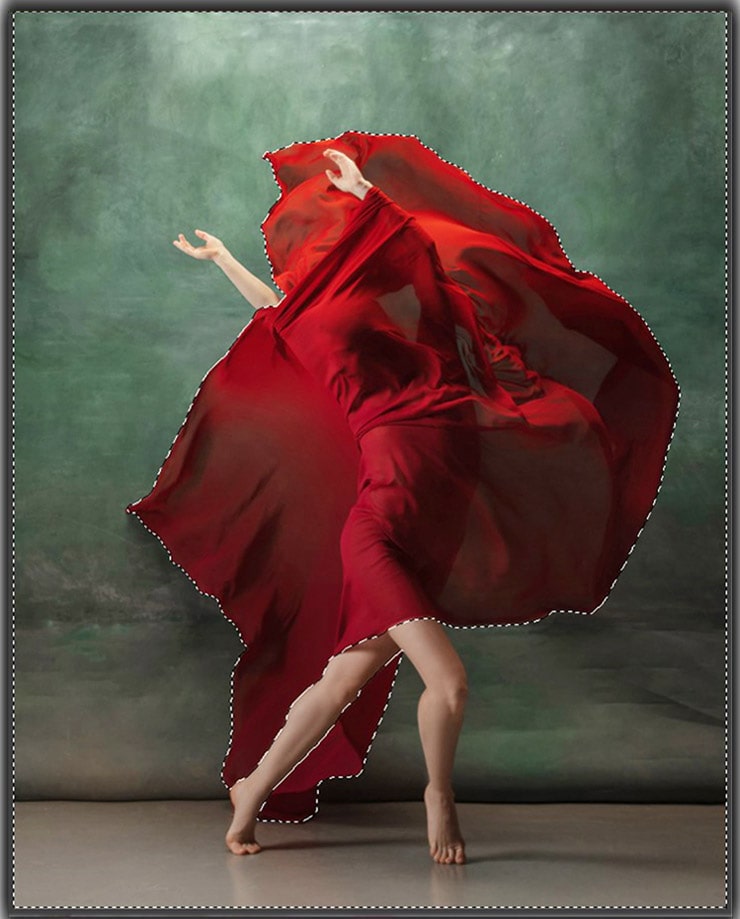
We will change the image’s dress color, so press Ctrl / Cmd + Shift + I to select the dress. Again, we are not touching any portion of the person’s body, and deselected areas will be unchanged.
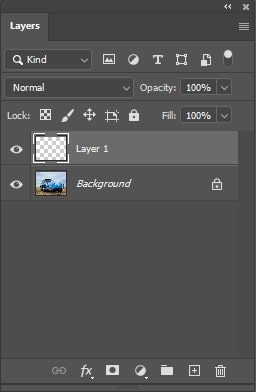
Step 02: Create a New Layer of Selection
Remember to create a new layer of selection. You can easily make a new layer by pressing Cmd / Ctrl + J.
Step 03: Color Changing
In this step, we will work with Hue/Saturation. Press Cmd / Ctrl + U for this.
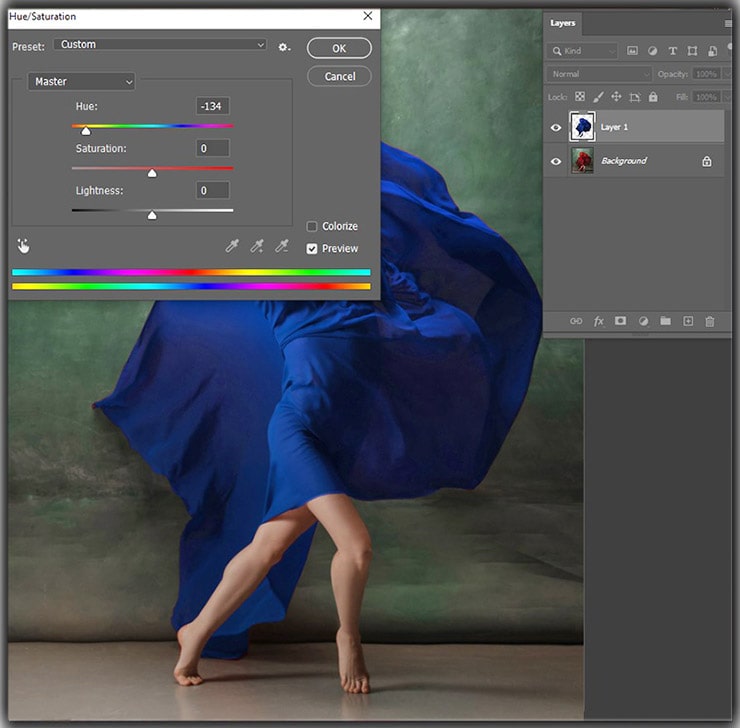
Continue moving the Hue slider to the left and right. Once you get the expected color, stop moving the slider.
Step 04: Color Blending
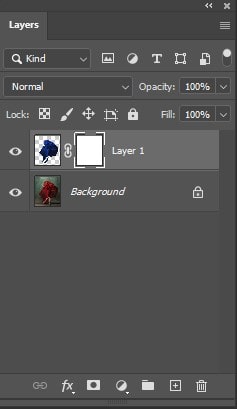
Now you will need to add a layer mask in the layer panel. The layer mask button is positioned just right of the fx option. Click on it.
Step 05: Selecting the Gradient Tool
The next step is selecting the gradient tool.
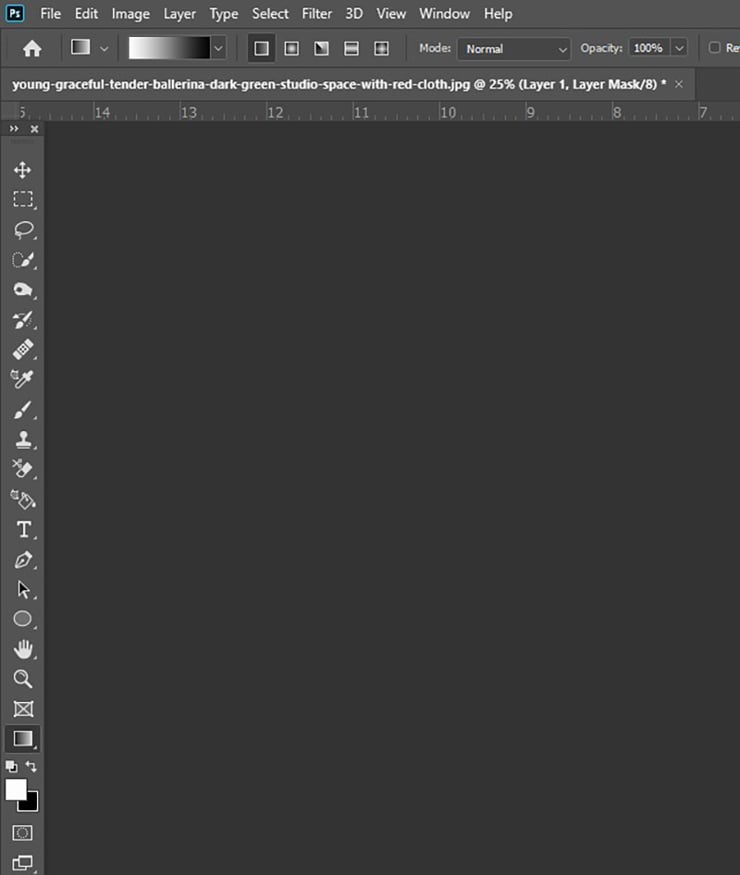
It must be confirmed that the gradient tool is set to the foreground in the background and linear. Then, in the Mode option, select NORMAL, and OPACITY should be 100%.
You can choose both options from the drop-down menu.
Step 06: Dragging Gradient to Horizontal
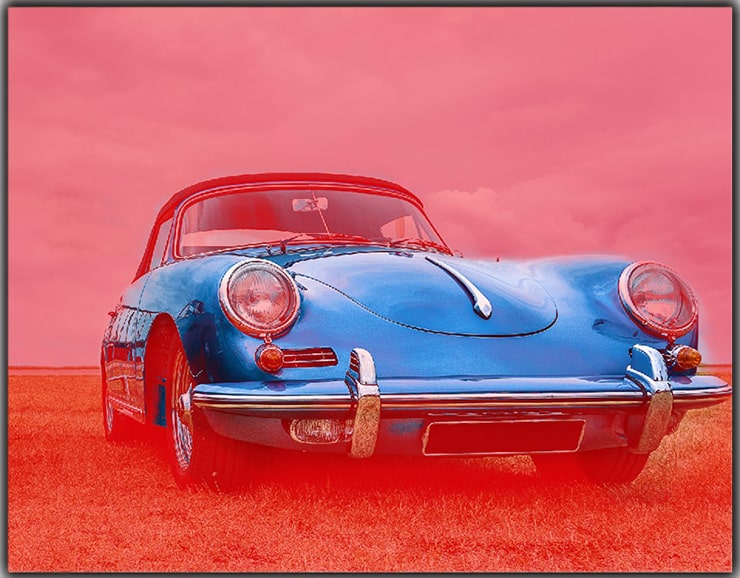
Now horizontal dragging of the gradient throughout the image will give you an eye-catchy blend of the color. Ensure to do this when the mask is selected.
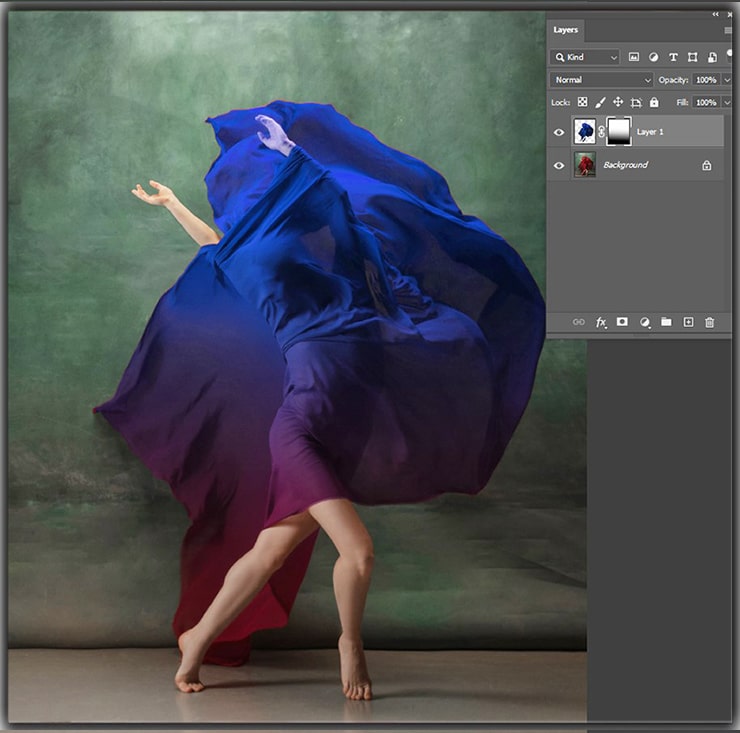
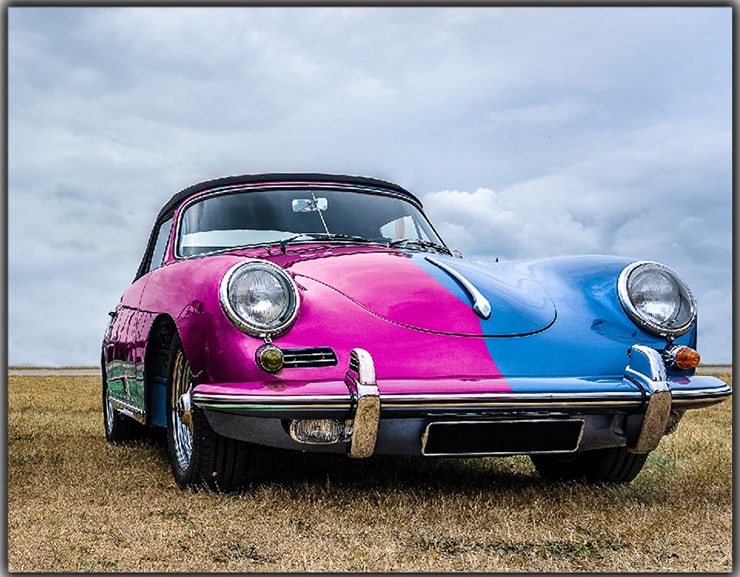
The blue and red colors in the image turned purple, where they were mixed.
You may read:
- How to Whiten Teeth in Photoshop (A Helpful Guide)
- Photo to Color Pencil Sketch with Photoshop
- Replace the Sky in a Photo Using Photoshop
#02
Background Color Changing in Photoshop
People waste time following a few unnecessary steps to change the background color. However, this method of background color changing is pretty effective and easy too.
In this tutorial, we will show you how to change the background color of any image in Adobe Photoshop CC. It’s easy!
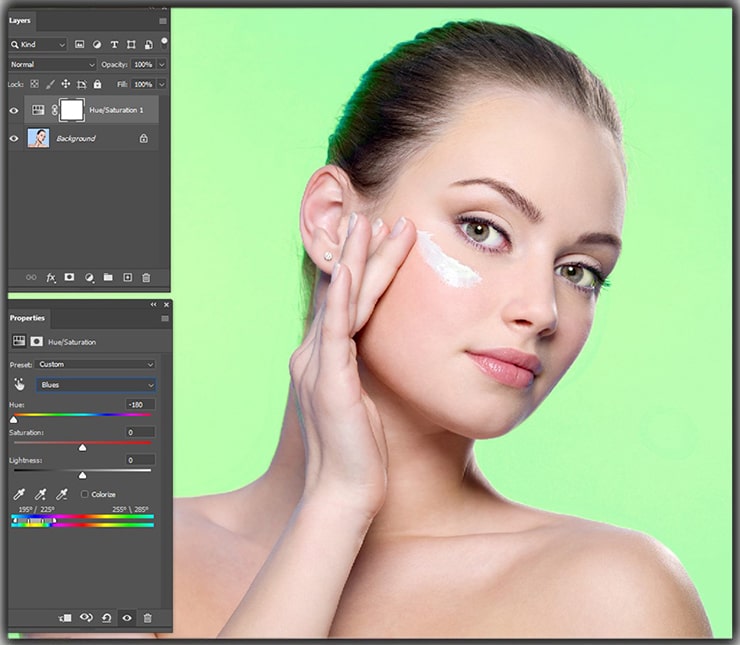
Step 01: Make Hue Saturation Adjustment Layer
Make a layer of Hue/Saturation adjustment.
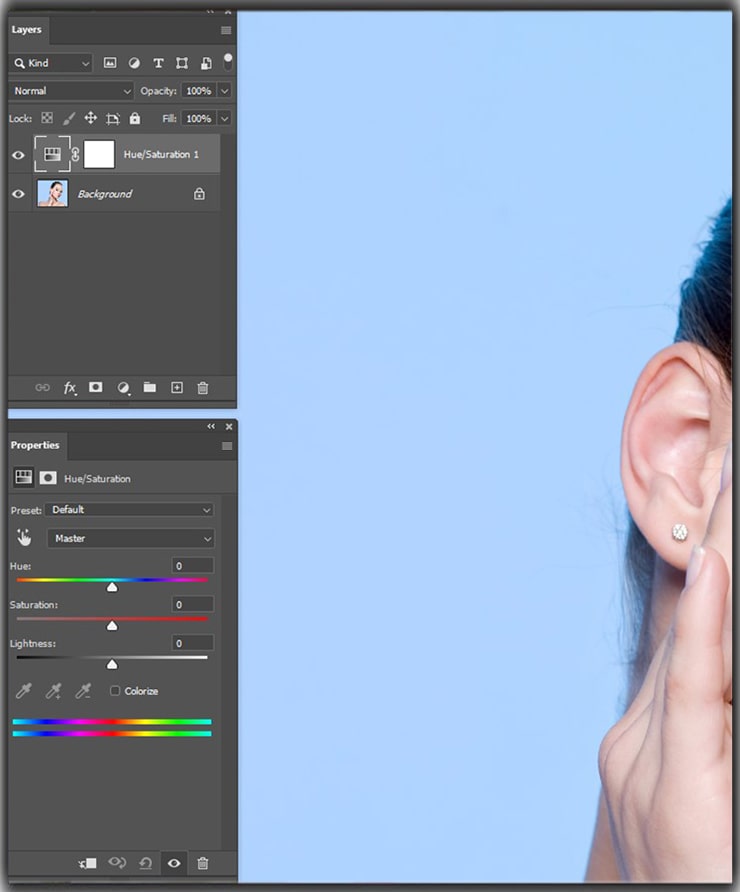
Step 02: Go to The Properties Panel
Now go to the Properties Panel. Look for an icon with Finger. You will find it underneath the Preset option. Click on it.
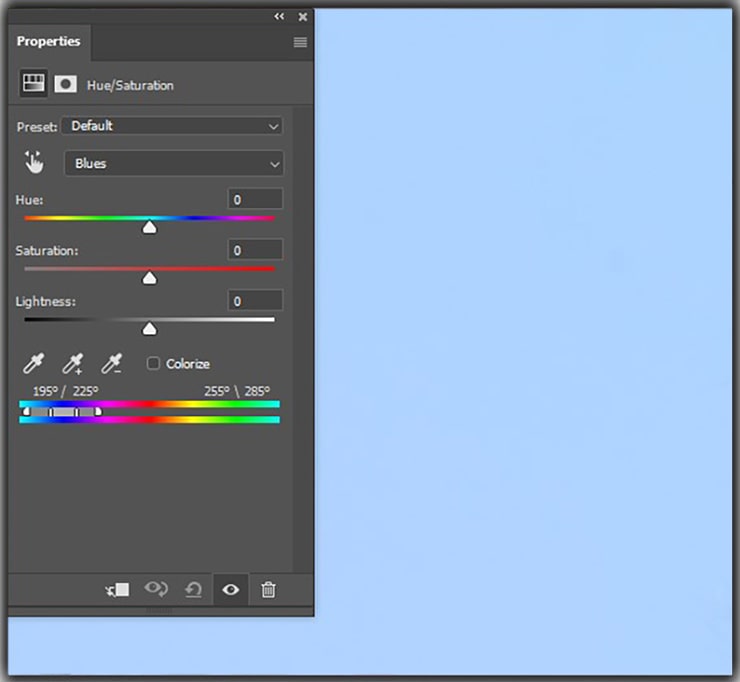
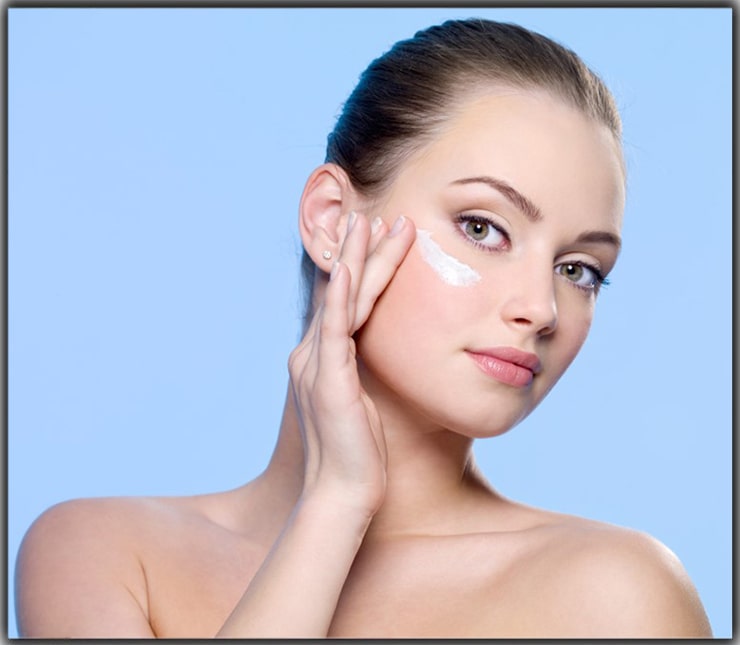
Then, to select the sky blue color, click on the color. This way, the sky blue color will get isolated. But how will you understand that the sky blue color is isolated? Well, you will see that some sliders surround the sky-blue color in the gradient.
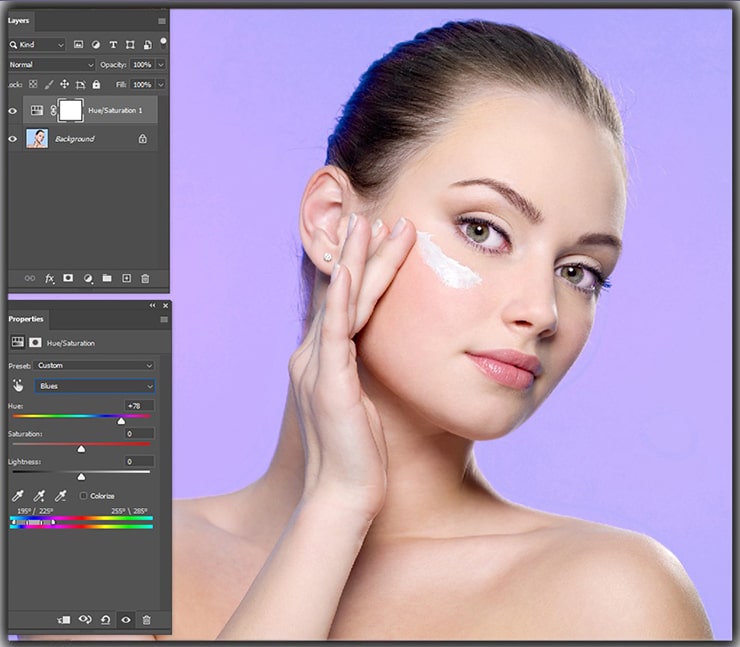
Step 03: Change the Background Color
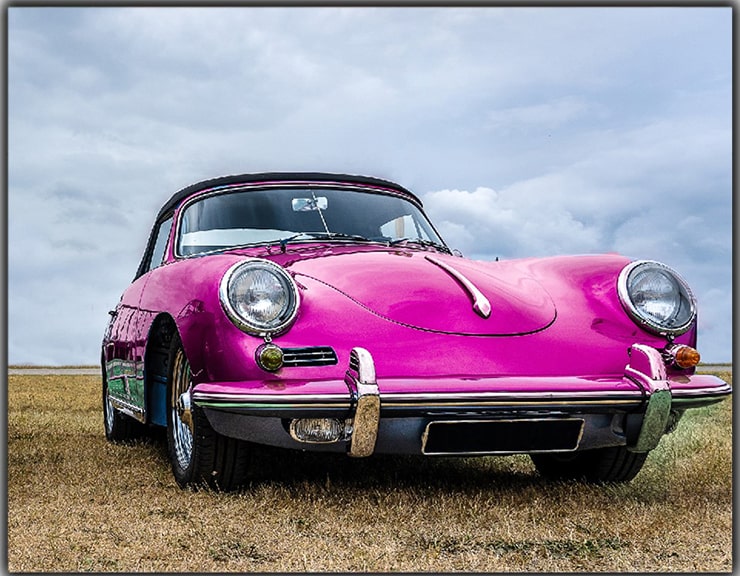
Once you start moving the Hue slider, the image’s sky blue colors will start changing.
You can change the background color to any color following this method.
Isn’t it fun? No selection is necessary, and the process is more comfortable than expected.
#03
Clothing Color Changing (Replace Object Color in Photoshop)
Are you changing the clothing color of an image frequently? Adobe Photoshop allows you to change their clothes color by simply touching them. You can change colors based on the amount of light that hits it.
Changing cloth color is straightforward with this method.
You may find this method similar to Method # 2. But the steps will start changing from Step # 3 in this section.
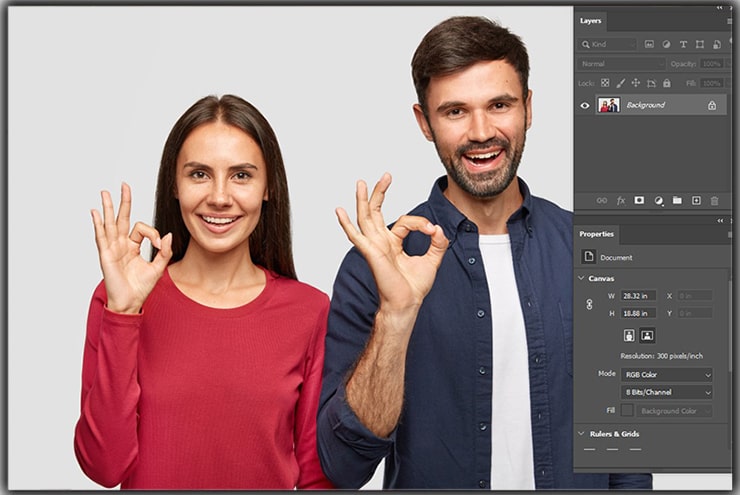
Step 01: Create a Hue Saturation Layer
Create a layer of Hue Saturation adjustment.
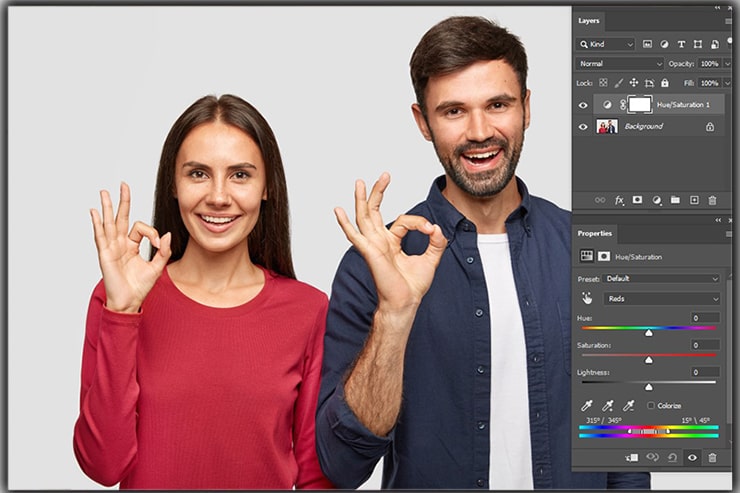
Please hover your mouse over the Finger icon and click on it. Also, the sample color needs to be selected. For instance, we are clicking on red T-shirts.
Step 02: Move the Hue Slider
Move the Hue slider; the image will get a magenta/pink color from red.
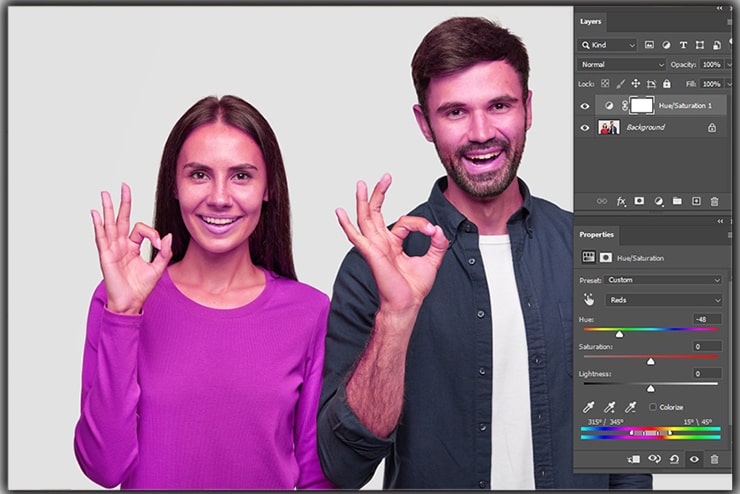
You already noticed that the subject’s skin and hair color also changed to magenta/pink. But we want to change the cloth color. So, how to stop changing your skin and hair color?
Follow the next step.
Step 03: Color Selection Refining
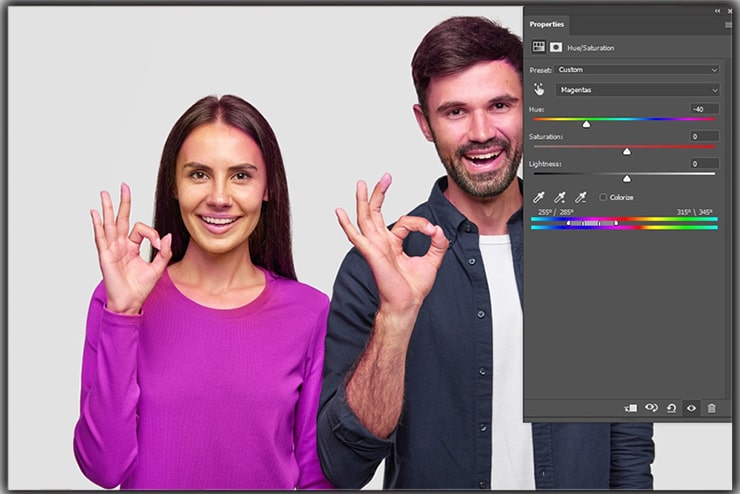
The sliders need to be moved to the gradient to refine the color selection. However, you can only fix a few colors in this step, such as lips and color reflections on the face. But these areas will look better for sure.
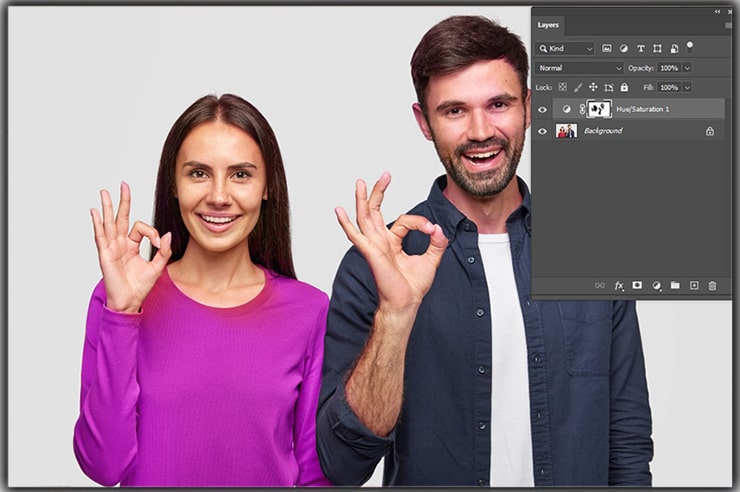
Step 04: Use Layer Mask for Hue Saturation
We will use the layer mask of the Hue/Saturation.
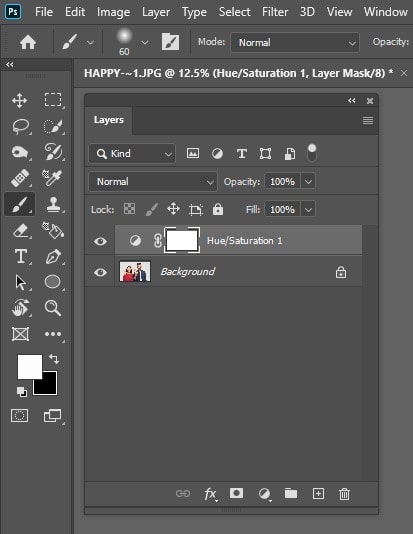
Select a brush, and a foreground color swatch must be set to black.
Once the mask option is selected, paint any portion of the image you want to keep the original color.
#04
Recoloring a Subject Using Color Range
If you want to change the color of a subject, then you can recolor it by changing the background color of the image. Recolor a subject with color range, then you can simply select the area that you want to change.
Some people look for an option in Photoshop to paint the colors with their hands. This method is an excellent tutorial on Freehand coloring.
Step 01: Select Color Range
To make the task easier, pick the car’s paint colors by following.
Choose Select > Color Range
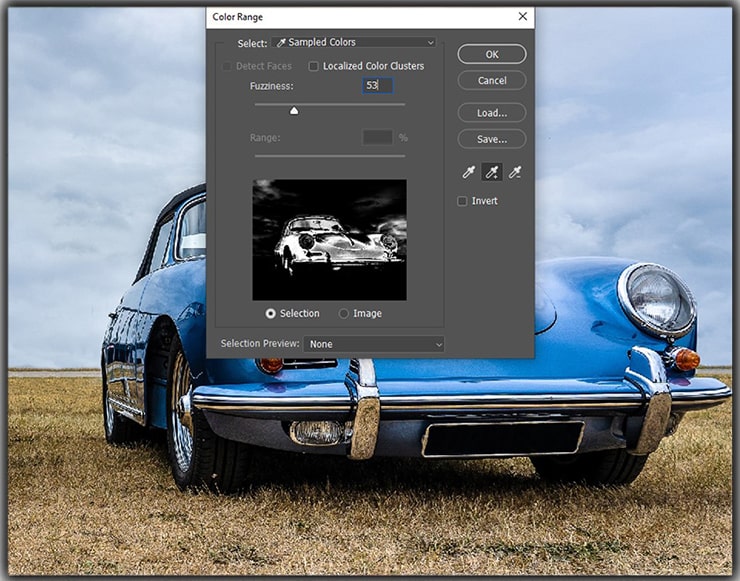
Select the primary color when the eyedropper tool is selected. You will require to add the color selection. Use the eyedropper+.
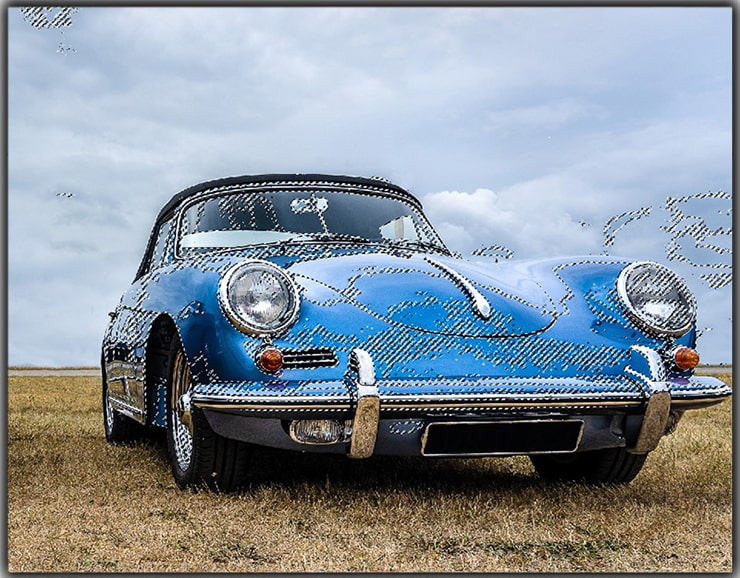
Using the fuzziness slider, you can refine the image effortlessly. Once you click OK, you will see the marching ant selection. Again, a bit of cleanup is necessary.
Step 02: Color Overlay Selected Areas
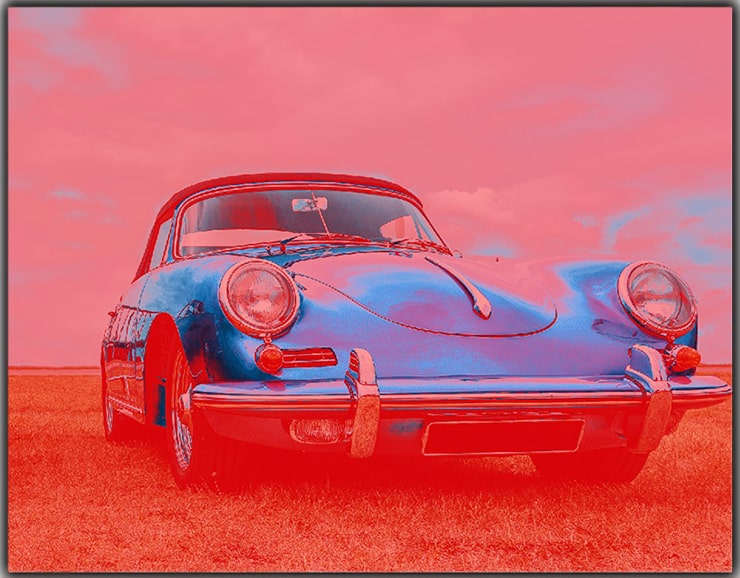
Now press the shortcut Key “Q.” A RED overlay will appear, and the selected areas will be indicated.
Step 03: Subtract the Selection
To add selection, use white to paint.
And black painting will allow you to subtract the selection.
Step 04: Create a New Layer
Now a new layer creation is mandatory and ensures changing it to color blend mode.
Step 05: Keep the Selection Active
Select a paintbrush and ensure to keep the selection Active.
You have to choose the color now. To do this, go to the foreground color swatch.
Then start painting. You will find that the colors are changing, not the tone.
Continue painting until you finish painting with the color.
The color range feature will put a thin smile on your face because the reflected areas will also be selected, which means the image will not receive an artistic look.
Step 06: Change Color with Hue Saturation Option
Changing the color will also be straightforward at this point with the Hue/Saturation option.

This option will assist you in evolving car colors to different colors at any time.
#05
Color Overlays and Grading Adding
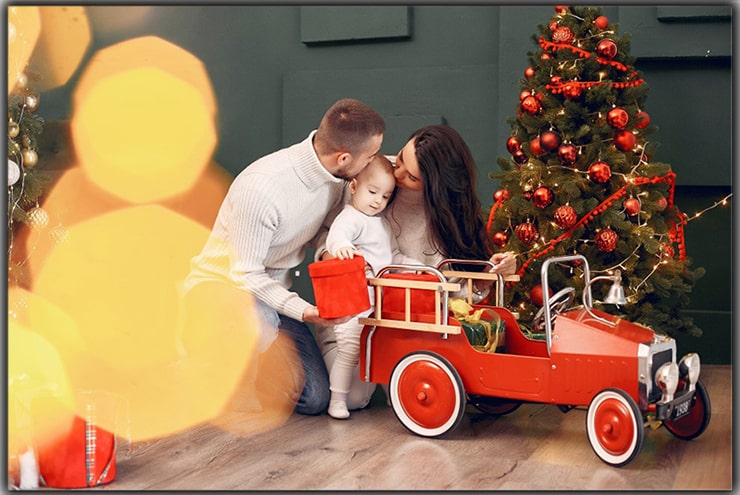
If you are looking for a way to add color overlays or gradients to your images, then this tutorial is perfect for you! This tutorial explains how to add gradients and overlays to any image with Photoshop CC.
Step 01: Open Gradient Panel in Photoshop CC
In Photoshop, open the Gradient panel.
Pick a gradient and drag it onto the image.
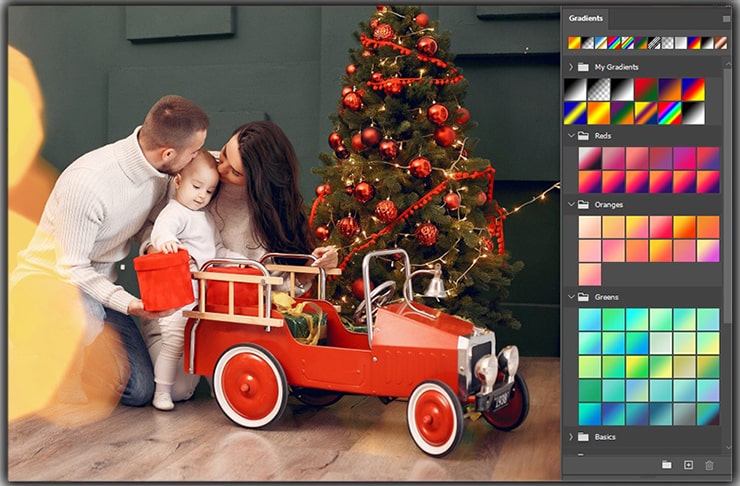
Then go to the layer panel to alter the color blend mode and the opacity.
Remember, you will get a realistic result if you choose a lower opacity level.
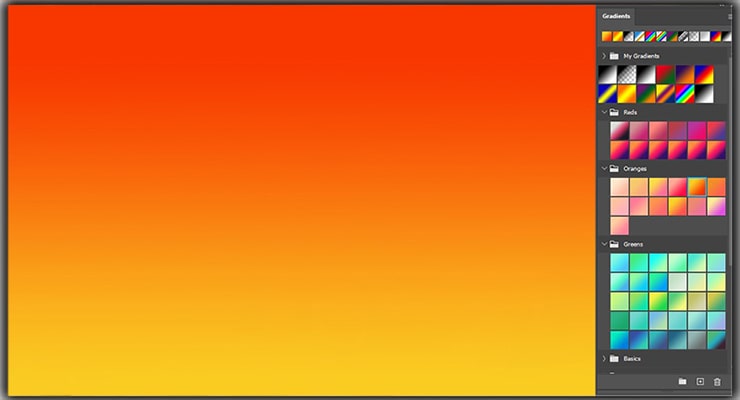
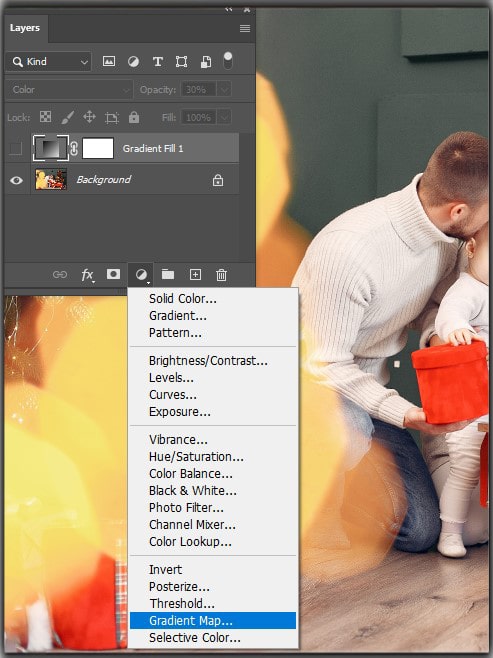
Step 02: Gradient Mapping
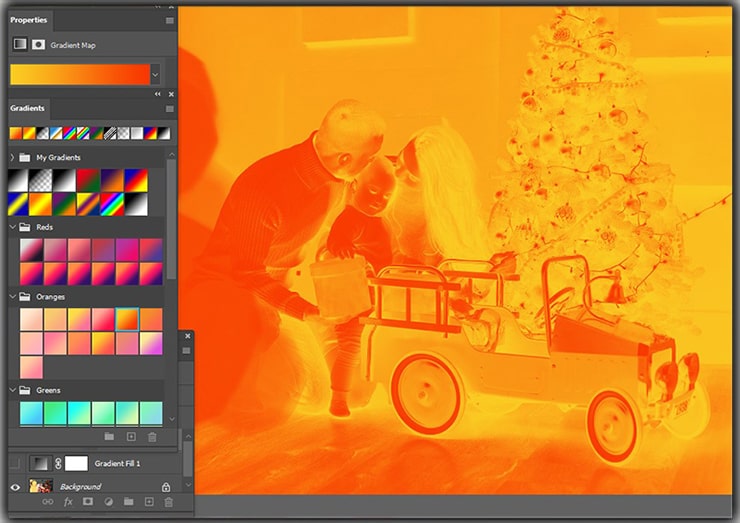
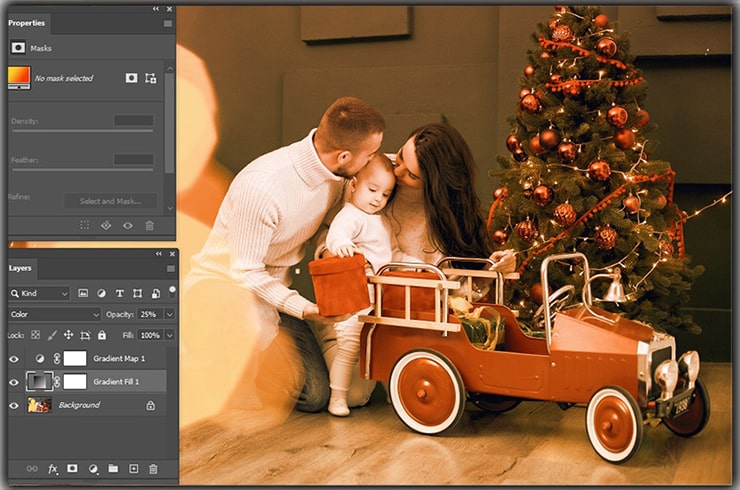
A gradient map will give you different results for sure. For this, the gradient map adjustment layer needs to choose. And it would be best if you pick the same gradient for Step # 1.
You will find that in the gradient map, the left portion is orange-colored; this is the shadows.
And the right portion is red-colored, which is the highlight.
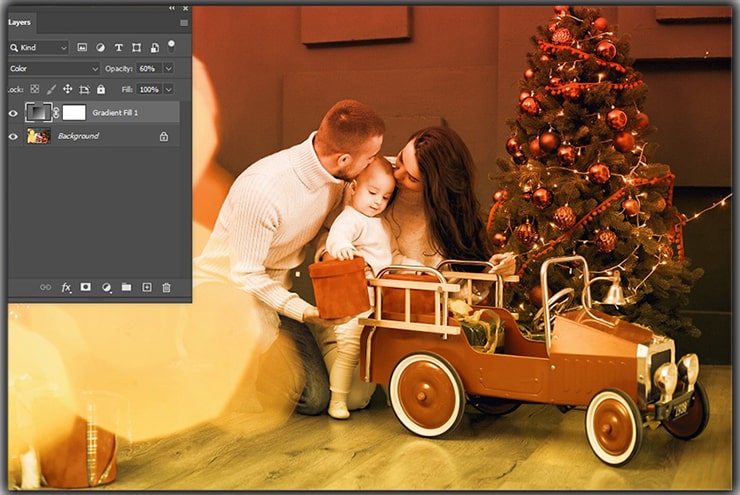
Now alter the color blend mode.
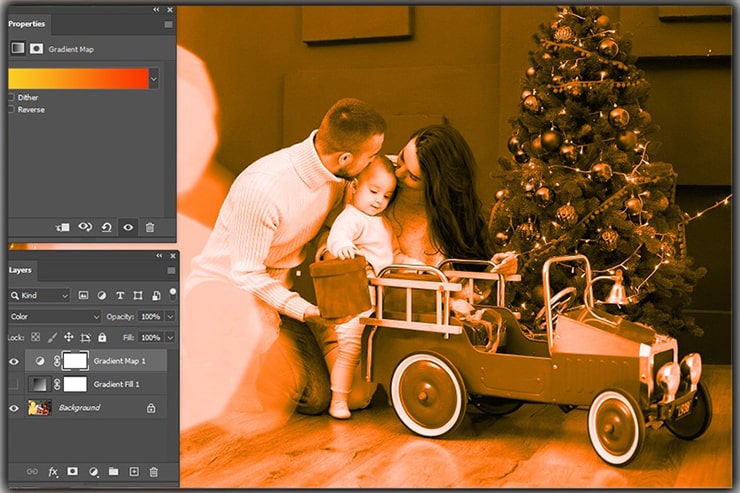
You can also play with Gradient mapping. To do this, click on the Reverse option box. Thus, the orange color will become highlights, and the red color will change to shadows. Lighter colors in highlights will always give you a better result.
Once you change the Opacity level to low, the image will get a nice look.
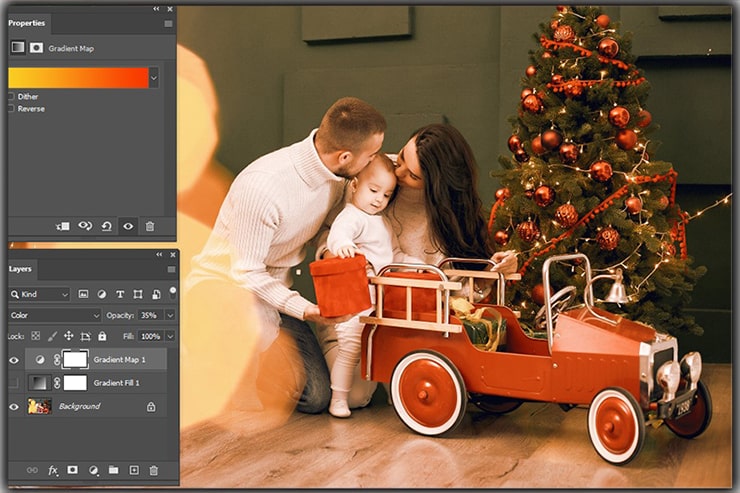
A combination of gradient map and gradient overlay will add a vibe to the image. Also, tweaking opacity on both adjustment layers is unavoidable.
#06
Color Overlay Effect
The below image is an example of gradient overlay variation. Of course, you can do this using a straight gradient layer, but we followed the gradient overlay adjustment layer.
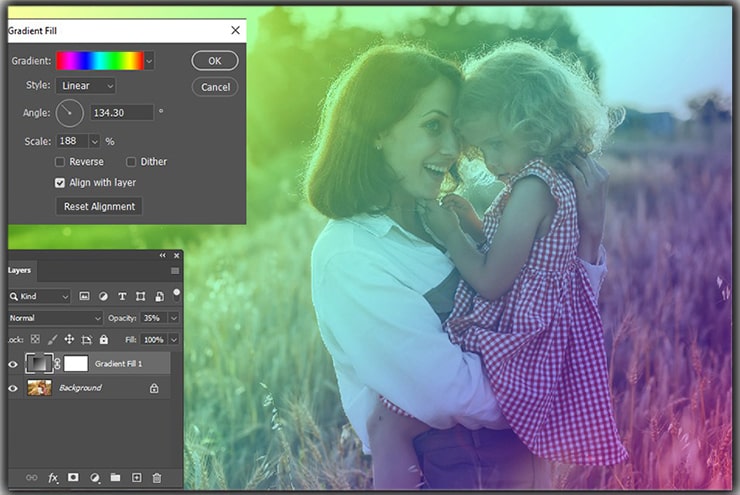
Using a straight gradient layer will give you the advantage of altering the angle and quickly scaling the layer. Also, when the gradient fill box is opened, drag the gradient into the image.
#07
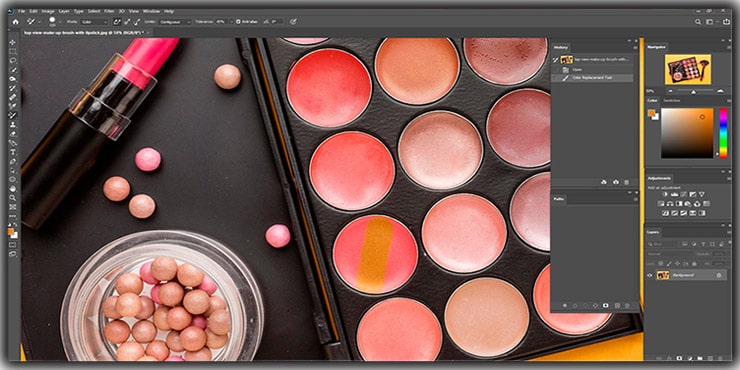
Using the Color Replacement Tool
Color replacement in Photoshop becomes much quicker with the color replacement tool.
This tool is unique compared to other tools because it retains the shadows, mid-tones, and highlights of the original image in the replaced color image. As a result, an image’s realistic look is confirmed after returning the color.
The color replacement tool is located in the tool panel under the Brush Tool’s flyout menu.
Moreover, you can follow by pressing the shortcut key B. This will allow you to select a brush. Then press Shift + B. This way, you can toggle between multiple brush options and, from there, like a color replacement tool.
Process of Using the Color Replacement Tool
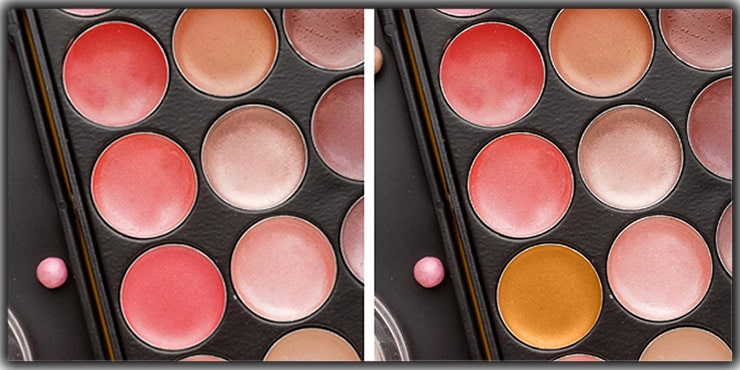
We took the above image for this section to work.
Step 01: Pick the Replacement Color
The first thing that you will need to do is pick the replacement color. Remember, this should be the foreground color too.
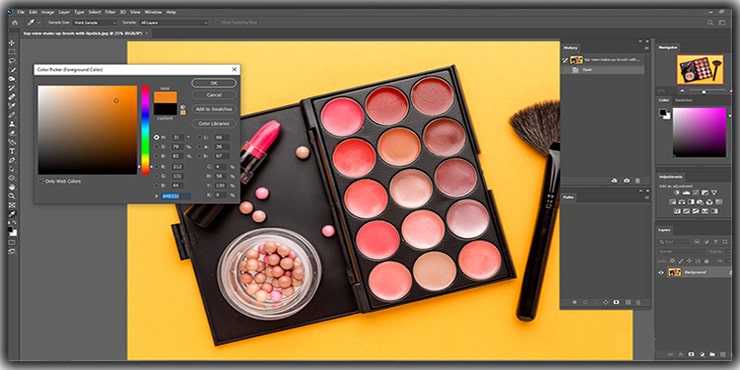
Step 02: Pick the Foreground Color
Go to the box of the foreground color. A wide range of color options will appear, and you can pick any of them per your requirement. Then pick any original color that is required to be replaced.
However, it is essential to give the image a realistic look. For this, select something that comes with the same luminosity. Also, only pick a sufficiently bright and dark color since the change will be entirely visible.
Step 03: Replace Color of an Image
Once you select the color replacement tool, paint over the chosen area of the image; this way, you can replace colors of an image.
Adjust Color of Image in Photoshop
The functionality of the changing color of the Image requires adjustment. Adjustment includes
- The ability to size tweaking
- Adjusting the brush hardness
- Changing the brush spacing.
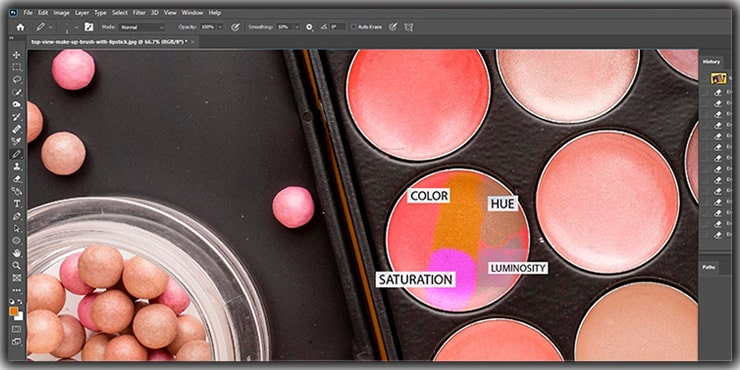
You will need to adjust the Hue, Saturation, limits, tolerance, and sampling mode in this panel.
Color is selected as the mode by default, which is the best option for adjusting the colors of any image as required.
Hue
Hue will allow you to replace a similar color to the foreground color. Depending on what you are recovering, the colors may appear more muted or more intense.
Saturation
Saturation will happen more often than not to increase the color intensity. In the meantime, performing the opposite is the luminosity characteristic, and the result could be better when working with a color replacement tool.
You will get the best result if you explore this tool to see the results as you see in different modes.
Continuous
Once and background sampling options icons are positioned between mode and restricted menus. By default, these options are set as constant.
You can get an idea of the continuous feature from the name itself.
Continuous options samples and replace color without interruption when you change the mouse position.
Once the option allows you to select the sample color in your first selection, the background option samples the background color and replaces the color of an image that matches the background color.
Limits
The limits option is also set as Continuous by default. And within the brush area, it replaces and adjoins the pixels.
Simultaneously, discontinuous replacement color pixels with the foreground color in the field, whether they are adjacent or not.
Find edges that will help replace color by maintaining the subject edges. This option delivers the best result with defined lines.
However, you will undoubtedly not receive the best result when the focus is soft and blurred. At this point, you should pick a more delicate brush along with the continuous option.
Tolerance
Moreover, when the tolerance level is selected, you can control how much pixel color is required to match the foreground’s color.
You can choose the sample color by reducing the tolerance level, and increasing will allow you to select the wider application.
In the end, to smooth the jagged edges, you have to choose the anti-aliasing option.
FAQs
Right-clicking on the brush tool will allow you to reach the color replacement tool.
Moreover, following a shortcut key, you can press B to select the Brush tool.
Then press Shift + B, multiple brush options will toggle this way, and you have to select the brush tool from different options.
The command: replace color already gives you an explanation of your question. In fact, gray tints, from pink to magenta, are not colors.
Therefore, if you must fill any area with gray tints or colors, it is advisable to use the Hue/Saturation feature. Also, ensure switching on the Fill Colors element.
Image or color mode defines how colors combine depending on the channel number in the color mode. Multiple color modes offer detail and file sizes of different color levels. In Photoshop, there are 5 types of color modes
1. RGB mode (millions of colors)
2. CMYK mode (four-printed colors)
3. Index mode (256 colors)
4. Grayscale mode (256 grays)
5. Bitmap mode (2 colors)
Yes, you can use the selective colors, Hue/Saturation & Color balance panel options. Sliding these panels will allow you to change specific colors. Adding a clipping mask will help you work with the layers you are working with; other layers will not affect you.
There are seven distinct methods covered in Photoshop for color changing — partial color changes using Hue/Saturation, background color adjustments, clothing color replacement, recoloring subjects with Color Range, adding color overlays and gradients, applying Color Overlay effects, and using the dedicated Color Replacement Tool. Each method suits a different situation, so knowing all of them gives you serious flexibility.
The Hue/Saturation adjustment layer combined with the Finger icon in the Properties Panel is probably the smoothest route. You click directly on the color you want to isolate — say, a sky blue — and Photoshop locks onto that specific tone. From there, dragging the Hue slider shifts it to whatever color you need, no tedious selection work required.
Start with a Hue/Saturation adjustment layer and use the Finger icon to sample the clothing color. After moving the Hue slider, some skin or hair tones may shift too — that’s normal. The fix is adding a layer mask to the adjustment layer, grabbing a brush with black as the foreground color, and painting over any areas you want restored to their original appearance. It gives you surgical control over exactly what changes.
Unlike most approaches, the Color Replacement Tool preserves the original shadows, midtones, and highlights of the image while swapping out the color. This is what keeps the result looking realistic rather than flat or painted on. It’s found under the Brush Tool’s flyout menu and can also be accessed by pressing B then cycling through with Shift + B.
Tolerance controls how closely a pixel’s color must match the sampled color before it gets replaced. A low tolerance narrows the selection to colors very similar to your sample, while a higher tolerance casts a wider net. The Limits setting controls whether the replacement spreads only to adjacent pixels (Continuous) or jumps across disconnected areas (Discontinuous). Find Edges is useful when your subject has well-defined borders.
Last Words
That’s all today, playing with the colors. Following multiple options, a person can change the colors of an image. And depending on your final result, you have to follow different methods in replacement color.
Let us know which method you tried. And share the final result. We will be glad to assist you if you want to be an expert in Photoshop.
Hopefully, you enjoyed the tutorial today. We have a bunch of creative people playing with several Photoshop features and fulfilling the requirement of individuals. You also can ask for the service.
We shared many tutorials on Photoshop. If you want to be an expert in Photoshop, start surfing other tutorials like the following on this website.
You may read:

Salim Ahmed is the CEO of Graphic Experts India, with over 25 years of expertise in photo editing, clipping path, image retouching, and eCommerce image editing services.