The smoothing the edges of a photo is critical for blending objects seamlessly into new backgrounds, creating composite images, or simply refining portraits and product shots.
if you are keen to get the perfect result, polish your designs, or eager to perfect your creations, understanding how to smooth edges in Photoshop can elevate the quality of your projects significantly.
Smooth Edges in Photoshop play a vital role in Photoshop editing services. You will see a dramatic change in the image after smoothing edges. By the way, are you want to learn how to smooth edges in Photoshop CC?
I will share a complete guideline to get a sharp & smooth edge in any complex background. The smooth edge is integral to making composite, product, or magazine photos. I will also share secret tips to avoid bumpy edges.
What is Smooth Edge?
Photoshop Smooth Edge is the blending process of the edges of your image into the background layer which makes the main object and the backdrop more seamless. While you cut out images from the background, making the cutting edges smooth is essential.
But unprofessional clipping services need to cut your important outer edges more accurately. But your subject contains jagged edges that can distract the audience.
Thus While you fix all the rough & unsmooth edges from a cut out & low-quality image called smooth edges, soften the middle pixel between the border & background.
Why We Need Soften Edges in Photoshop?
In this digital age, E-commerce businesses, digital photography, advertisements, and magazines depend on high-quality product photos or portrait images without jagged edges. Here the perfect image is the key to their business success.
In this competitive business field, winning the race with low-quality images is impossible.
When you capture photos with a low-quality camera, it can result in a rough edge. Moreover, while you cut out the distracting background to make the edited image appealing, it can also make harsh edges. Unfortunately, rough edges give you low-quality photos.
So, refine the imperfect edges to create it smooth & appealing. You can’t skip edges if you want to reach your goal.
Which Tool is The Best?
Photoshop is the best software among all other tools to fix rough edges. It allows flexibility, depth controlling & proper selection to make the edge smooth and smooth skin.
Here we use the below tools to smooth edges in photoshop.
- Refine Edge brush
- Burn Tool
- Dodge tool
- Gaussian Blur
- Level
Why Photoshop Smooth Edges?
Photoshop is the leading photo editing tool. This giant software has magical retouching tools to make your digital photograph attractive. It allows dozens of features to solve your image edges problems.
Moreover, while you cut out images or capture photos with low-quality cameras that produce uneven edges, your image looks ugly & the photo could be better.
Photoshop allows you to smooth bumpy edges & makes your photo appealing. However, it will help your image to create it more natural & appealing.
How to Smooth Edges in Photoshop
To make your cutout object perfect, I bring an effective channel pull technique with dodging & burning & smooth edges. We will use a powerful dodge & burn process to create a mask. You will be glad this channel pull technique will apply to all Photoshop.
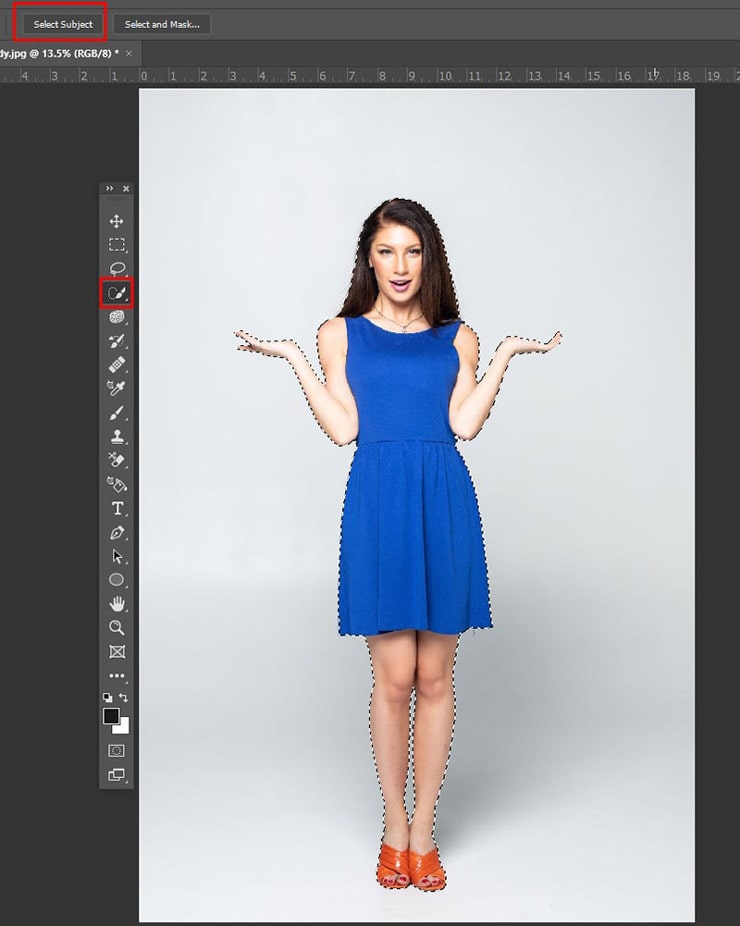
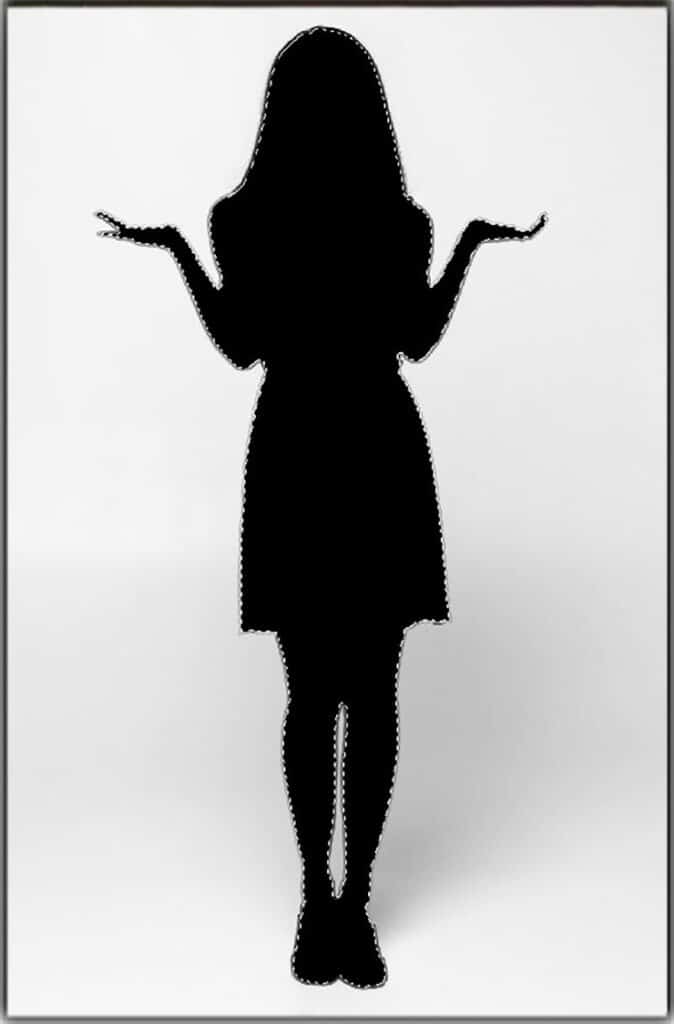
Make Selection
Firstly, select the subject from the image. From the left toolbar, choose the Quick Selection tool & select the subject.
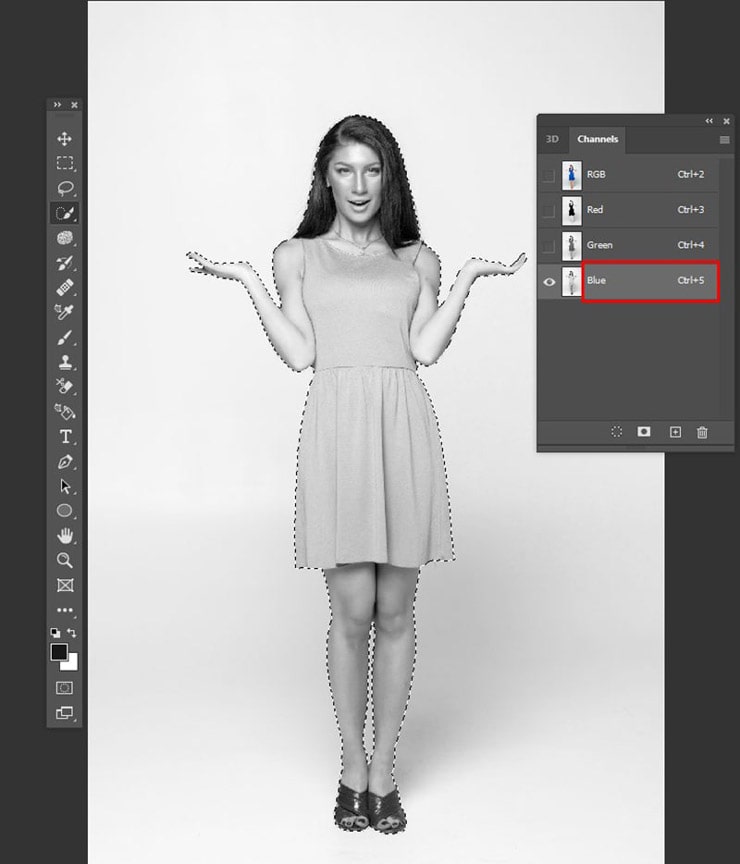
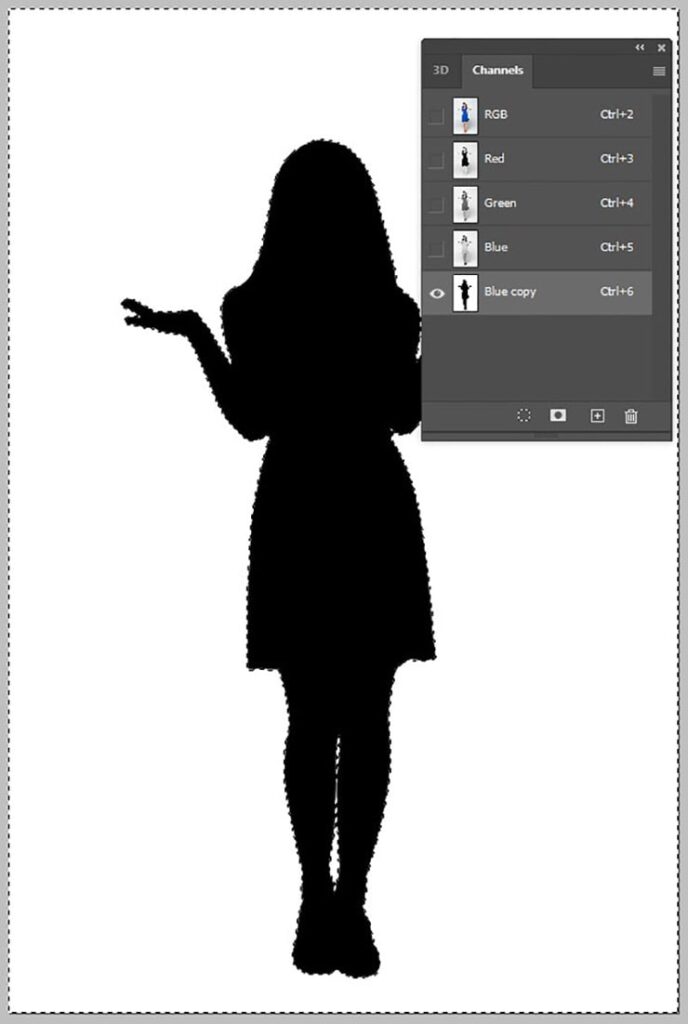
Select Channels Panel
Now look at the bottom right side & click on the channel. Then you will find a new window showing your images’ contrasting color percentages.

Now select the channel that contains the most contrast color. Our sample images are blue & we choose the blue channel.
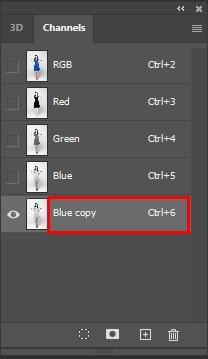
Create a new Channel
Now keep the mouse pointer on the Blue channel & drag it to the new channel icon from the bottom of photoshop. It displays a “+” icon. It helps to make a new copy channel to develop our tricks.
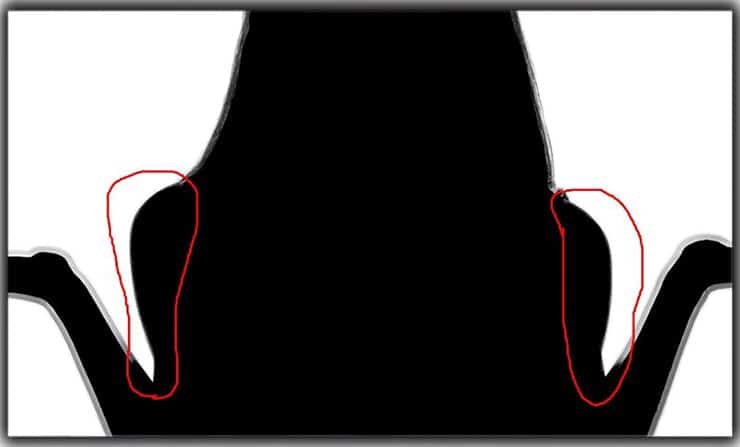
Contract Selection
Then From the top Options bar, click Select-Modify- Contract, then enter 12-16pixels to smooth selection.
Finally, click on, Ok.
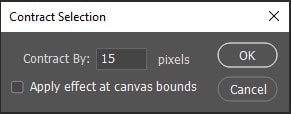
As a result, your selection will bump inside the photo.

Fill Selection
Choose black colors to fill the selection. You can directly select the Foreground color from the Toolbar, or to make a quick selection, you can enter D to change the color. To fill in the foreground color, enter Alt/Option Delete.
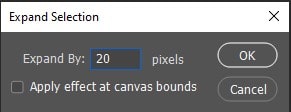
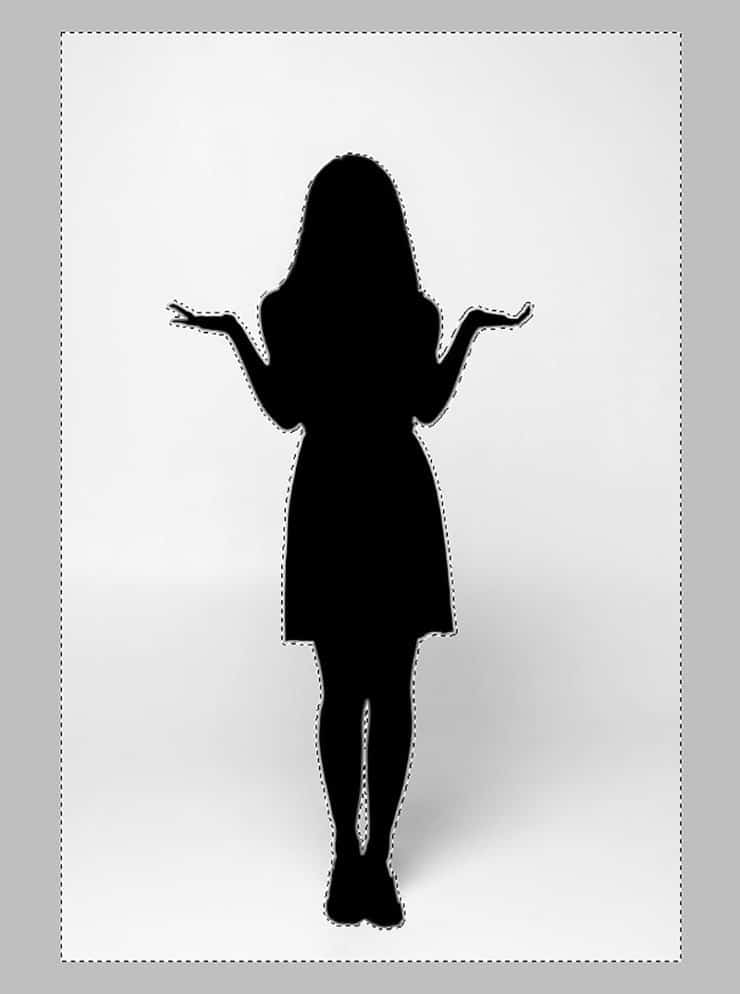
Expand Selection
From the option bar, click on Select-Modify- set expand by 20-35 pixels based on your image resolution.
Inverse Selection
Now it’s time to reverse the selection. It’s a simple task. Just follow the command below.
- Enter Cmd/Ctrl+ Shift+I
Are you surprised to see the fantastic inverse selection? It helps to make your cutout image more accurate.
Replace Fill Color
Change the fill color to white. Press Ctrl/Cmd + Delete. It will change the foreground color.
Then deselect the inverse selection. Follow the command below.
- Ctrl/Cmd+ D
See the below results and how it works.

Now you are done with the cutout, but zoom in on the photo & crucially, watch the edges. Still, it contains a thin edge that needs to be fixed.

Follow the approach to make it sharp & smooth.
How to Detect Edges
To make smooth edges, at first, discover the rugged edges. If your picture contains undulations & hair or fur edges, including lights from the background, then you can apply edge detection to find the rough edge.
In your Edge Detection window, you will find the Radius slider & Smart Radius checkbox. To control your output, initially, you should set a low value. Then gradually raise it. Besides, you should keep the smart Radius unchecked.
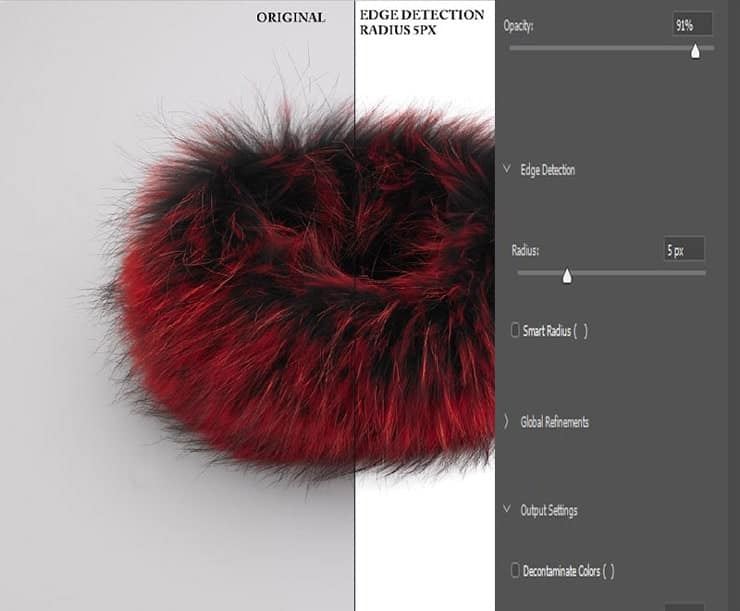
If you are unsatisfied with the detection results, you need to increase the Radius pixel. Again, check whether the work edges can detect all the triggered edges. In the case of hair, a 5-pixel can give perfect edge detection.
So, based on your image complexity, this value can vary.
Use Refine Edges Brush Tool
If your image contains hair or fur, this type of edge is challenging to make smooth. I use different techniques, but none can satisfy me with the result.
After various experiments, I found the Refined Edge Brush tool, a valuable for smoothing intricate hairy edges. This tool will magically smooth any flyaway hair or fur or fix fuzzy hair edges.
From the left toolbar, click on brush & select the 2nd brush.

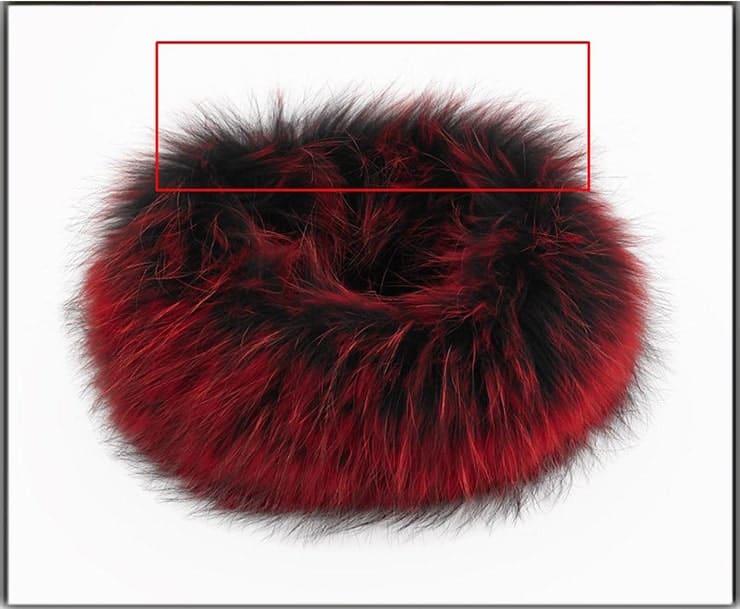
You already mark the critical or blur edges. You can change the brush size by pressing an open or closed bracket. It is better to start with a small size brush.
Now take the mouse pointer over the fur edges. Then begin painting with your mouse on a little hair area. It will make that hair area smoother within a moment.
Gradually move the mouse pointer & drag it on the rough edge to fix it. It will change the craggy, sloppy, or rough edges to new smooth, clear & sharp edges. The perfection of the hair edges must impress you.
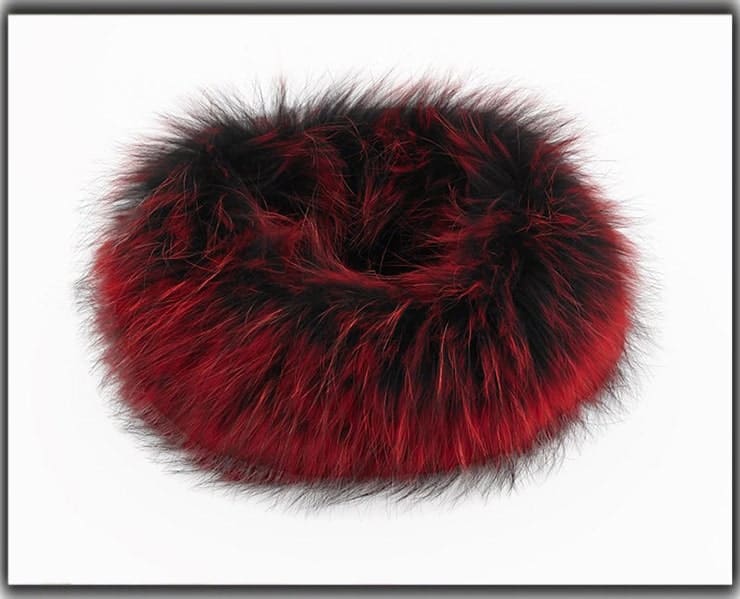
See the below images where we apply a brush edge. Even you can examine it with a 400% zoom-in mode. But you won’t find any extra light or craggy hair.
This technique gives the best result in the case of hair, fur, or other complex issues that exist in the subject. You won’t get these perfect smooth edges with any other method.
Use the Burn Tool
From the left toolbar, select Burn Tool & check the top Options bar. Change the Range drop-down to Shadows & Exposure to 15%.
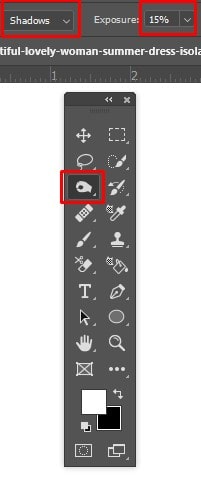
Press Alt & zoom in on the photo to view the rough edges. Then start painting with your mouse over the jagged edge. Then notice the changes it makes and smooth out the edges amazingly. You watch the below images to feel the differences.
Use Dodge Tool
After smoother with the burn tool, apply Dodging.
From the toolbar, now choose Burn Tool — Zoom the images. Now find out the dark edge. Then change it to highlights & drag over that edge to lighten it. You need to do painting gradually with the burn tool to make the edges softer & natural.

While fixing hair edges, you can apply Dodge & Burn tools to get the best output.
Suppose you are still unhappy with the edges & want to make it smoother. Then follow the below two techniques. But if you have already fixed your edge issues, you can skip it.
Apply Gaussian Blur
You can also apply the Gaussian blur to fix jagged edges. Follow the command.
- Choose Filter- Blur- Gaussian blur.
It will smooth your craggy edges within a moment. Select a high blur radius if your image contains a more bumpy edge.
You can change the radius slider to increase or decrease it. Check the visual display to select the right RadiusRadius for the best improvements.
Use Level
Level adjustments are an effective method to convert your rough edges into smooth ones. Follow the command below to make the level adjustments.
- Choose Image- Adjustments – Levels.
Now you can see a new window that displays three sliding arrows. Here the right arrow will help you make your image white, the left one will make the image thin & the middle arrow helps generate a combination of both.
You can also check the output in the visual display. Gradually slide the arrow & check the edges to determine the ideal level to get a smooth edge.
Lead Selection
Now it’s time to lead the selection. Follow the below command.
- Press Cmd/Ctrl + Click on the Channel. Thus, it will select the white areas on the images.
Now from the channel panel, select RGB. As a result, you will get the main channel back.

Masking
Now you need to do masking. Follow the below command to create a new layer mask.
- Hold Down Alt/Option & press the new layer mask button from the bottom right side.
See the below images. You are making clean & friendly cutout images with smooth edges.

FAQs
Photoshop is the leading tool to do photo editing. It has multiple smooth tools to fix your rugged edge. It is handy & flexible to make smooth edges accurately.
You can apply a smooth brush tool, burn tool, dodge tool, Gaussian blur tool, etc. You can use 2-3 tools combined to generate the best result.
Generally, low-resolution images face text fuzziness. Follow the below steps to smooth the text edges.
# First, click on your Text & press Ctrl+ T. And you will get a Character display pop-up.
# In this window, you will find anti-aliasing options to smooth edges. From the drop-down, select the smooth edge option.
It is simple to fade edges using photoshop. You can follow the following steps.
Apply any preferable selection method to make a selection near your desired edge.
Now, click Select- Modify-Feather from the top options bar.
Now you will get a new window & place 25 in the Feather Radius field & then select Ok.
Then select Image- Adjustments – Curves. Select the center point of the curve & attach the anchor point. Then move it to fade your edges.
Adobe Photoshop is the best tool for making smooth edges. It allows depth control to fix rough edges accurately. Moreover, the various handy smooth tools make the task simple to fix rough edges & make the image appealing.
Smooth edges are an urgent need for online marketers. Simultaneously in this digital age, maximum people need a smooth edge to grow their businesses. Photographers, e-commerce owners, advertisers, magazines, and celebrities robustly require a smooth edge. It helps them to attract their target audience. Soft edge makes eye-grabbing images that can help you achieve site traffic.
Feathering in Photoshop to smooth the rough edges of the selection, begin by creating a selection around the object using a tool such as the Magic Wand or the Object Selection Tool. Once you have your selection, go to the Select and Mask workspace.
Here, you can adjust the Feather slider to soften the edges of the selection. Feathering blurs the edge transition between the selection and the rest of your photo in Photoshop, making the borders less harsh and more blended with the background.
The Blur Tool in Photoshop is another effective method to soften the edges of an object directly on the image layer. After selecting the Blur Tool from the tools palette, you can gently brush over the edges you want to smooth out.
The key here is to apply the tool evenly around the edges to naturally blend them into the background.
The Smooth Edges feature allows you to refine the edges of your selection for a cleaner and more polished look. After making an initial selection with any selection tool, open the Select and Mask workspace.
Inside, look for the “Smooth” slider under the Edge Detection section. Dragging this slider will help smooth out the jagged edges of your selection, essentially feathering the border’s line to remove any roughness. This can be complemented by adjusting the Feather and Shift Edge options for even smoother results.
The Magic Wand Tool can help smooth edges in Adobe Photoshop by allowing you to make quick selections based on similar color ranges, which can then be refined further for smoothness.
Final Verdict
This article will solve your selection struggle. Now you will easily make smooth edges of the object. Follow all the steps to get a sharp edge without a jaggier & ragged edge.
Making smooth edges & cutting out images with perfection is time-consuming work. That needs dedication & attention. If you have no time, taking an image masking or clipping path expert help is better.
If your cut-out image contains rugged edges, that can make a bad impression on viewers & clients. So, it’s essential to smooth the edge to attract the audience.
You may read:

Salim Ahmed is the CEO of Graphic Experts India, with over 25 years of expertise in photo editing, clipping path, image retouching, and eCommerce image editing services.