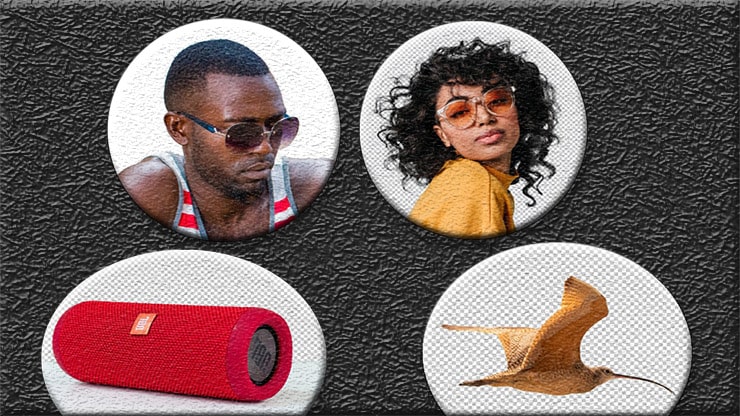
Are you looking to cut out an image or a specific part from an image? Adobe Photoshop offers some outstanding tools that can help you accomplish these tasks.
Whether you are a graphic designer, a photographer, or someone who enjoys photoshop editing services, you need to know how to cut out images. If you can master this, you can cut any object or subject out of the image and use it later somewhere else.
This guide will help you to learn how to cut out an image in Photoshop CC.
Plenty of other software than Adobe Photoshop can automatically cut out images, but of course, it will not be a professional output. If you like perfection in everything, why not learn this easy task and cut images out independently?
Read the step-by-step procedures and three different methods and master them in a few days by practicing. So, let’s begin.
How to Cut Out an Image in Photoshop
Cut Out an Image in Photoshop is an easy task. There are 7 different methods that you can follow to cut out pictures. These various methods have made image cutting an easy task.
Thanks to Photoshop for providing some valuable tools for photo editing. Each tool we will discuss is used not only for cutting pictures but also for further enhancement.
With these 07 tools, it’s possible to cut photos to remove the subject or remove the background like image editing experts. Let’s get introduced to the 07 tools in Photoshop that you can use to cut out any image. These are
- Pen Tool
- Background Eraser Tool
- Quick Selection
- Subject Selection
- Rectangular/ Elliptical Marquee Tool
- Layer Mask
- Color Range
There are some similar things to do in each of the methods. First, you have to cut out the image by eliminating the background. The common keys used are Ctrl, Alt, and Shift keys. Also, a New layer is commonly added in some methods to make a precise cut.
These similar actions will make things easier for you and help you master using all the 07 tools to cut any image out. Hence, let’s dive in to learn the methods and steps. Here we go with the first method.
(Method 01)
Cut Out Image Using Pen Tool
Are you looking for a tool to help your image subject get the best and crisp edges? Then you should pick a Pen tool. It does the cutting out best with straight edges. So, let’s find out how to use and get a perfect, clean cutout.
Step 1. Making an Uneven Edge
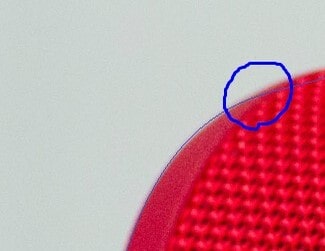
Click on the toolbar and select the Pen tool. Make sure it has the “Path” option at the top instead of “Shape.” Click on any corner to start making a path by dragging the cursor.
You will notice a straight elastic line between the two points. It will make uneven edges, but we will not need to worry about it since we eventually fix it.

When you have drawn the whole path to finish, drag the cursor on the first point from where you started. Notice a small circle there; clicking on its point lets you finish drawing your path.

Step 2. Refining Path
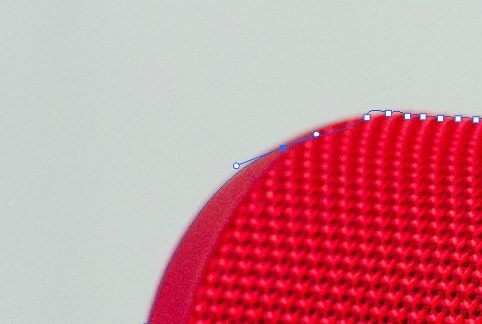
Pick the Direct Selection tool found under the tool named Path Selection.
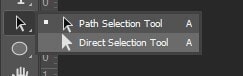
To activate it, you need to click on any point.
It’s time to become more careful in dragging the points to get them into their correct position. Therefore, you better zoom in on the subject. To change the curve angles, click on the handle ends.
Then, pull and push the endpoints and change the curve steepness.
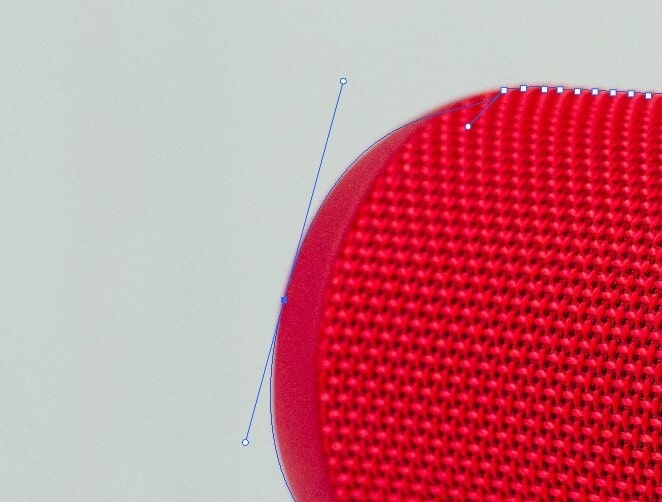
Step 3. Adding Points
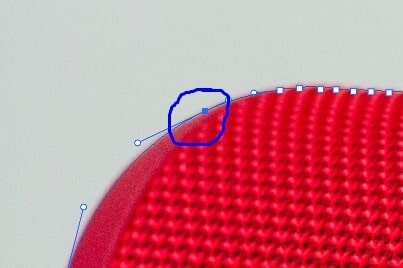
Dragging pints into tight areas will seem tricky enough for many curves.
Pick the Pen tool with a plus over it and add another point to get the points more precise.
Click and let go of the line wherever you want to add that extra anchor point. It will give you a new point.
Get your new point to the position properly to get an excellent curve.
Finally, refine the subject for one last time, just as we have already shown.
Step 4. Finishing Off
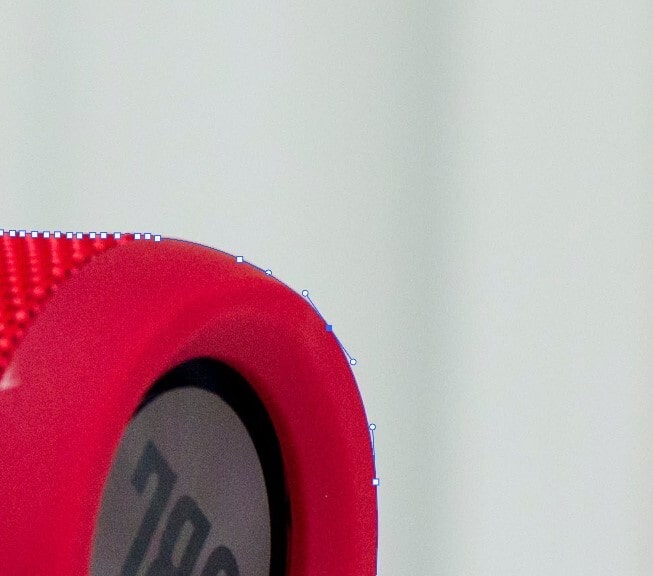
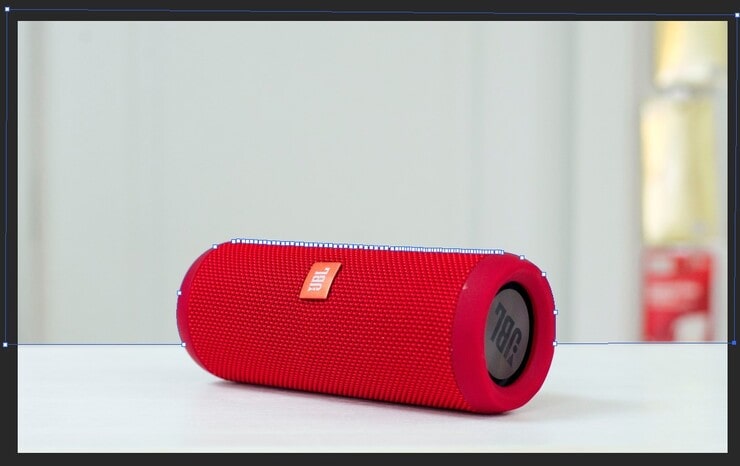
Now that you have finished refining, you have to move the points on the outside to cover the whole sky.

Keep dragging the corner points and reach the ends of the four corners.
Step 5. Making Selection from Path
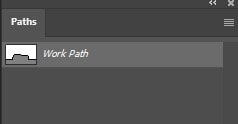
Click the Paths Panel. You will find the path named “Work Path.” If you want, it’s possible to use it as a clipping path and save it.
Now, compose this work in Photoshop by converting it to a selection and masking following the mentioned steps.
To select, press Ctrl and click over the work path from the paths panel.
You will then see a marching ants selection on the screen.

Now again, press Alt and create the inverted mask.

You have successfully cut out the subject image with the perfection that has the cleanest edges.

(Method 02)
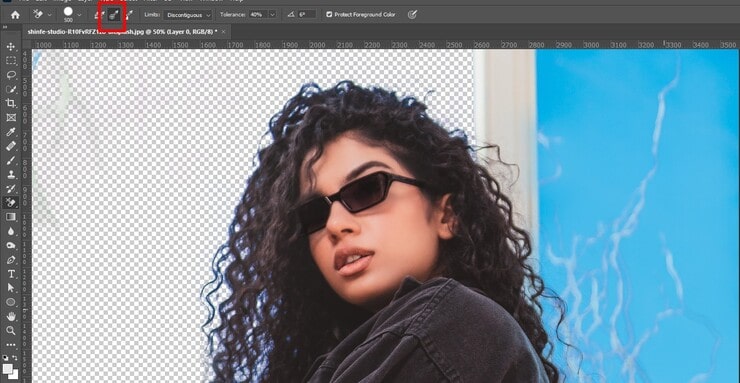
How to Cut Out Images Using Background Eraser Tool
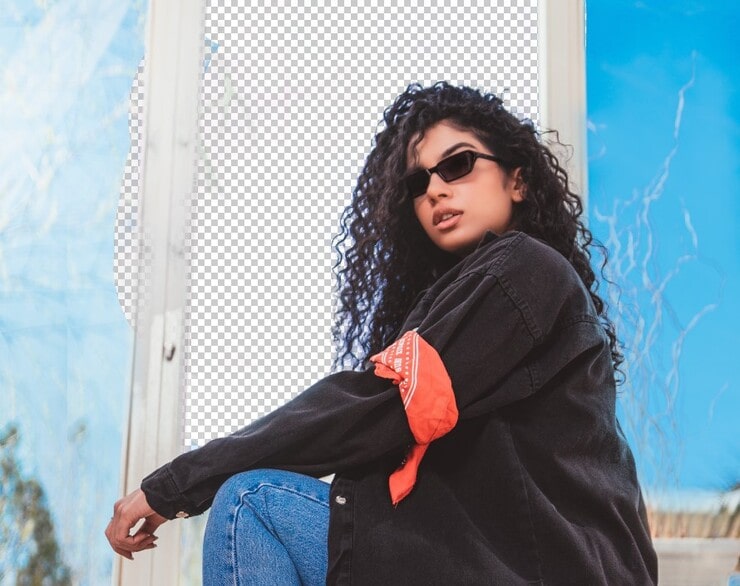
The Background Eraser Tool is also excellent for a perfect image cut-out. Erasing pixels on layers makes the parts that you want to remove transparent.
Wherever you drag the cursor, it will remove that part’s pixels and give the area transparency. It is known as image masking.
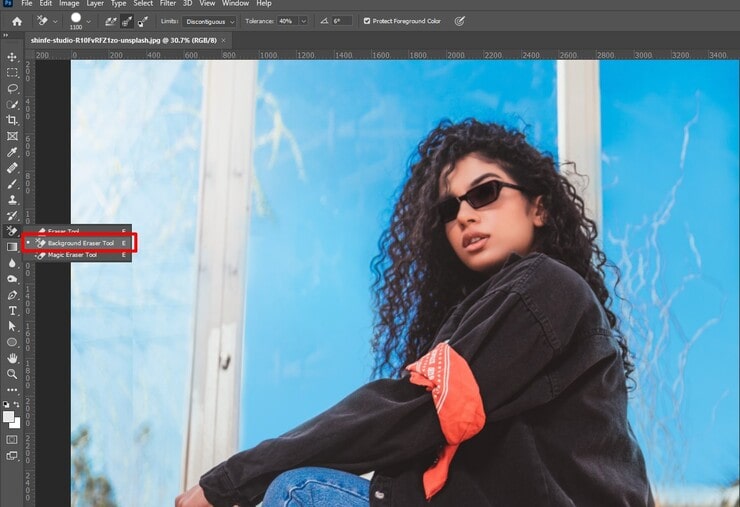
On the left in Photoshop, you will see an option labeled “Eraser Tool.” Click on it, and you will find the background eraser first.
Step 01. Select the Tool
After opening the picture you want to cut it out, find the background eraser tool from the Eraser submenu and select it.
Step 02. Select the Brush Size and Remove Image Parts
You need to ensure that you are erasing with the right size brush. Depending upon the subject edges, you need to fix the limit of your brush. To erase quicker, a larger-sized brush would work best.
But for the fuzzier edges, you should use a small brush and increase the hardness.
Now, place and click your brush on the color you want to eliminate. The matching hue within the tolerance will be removed with the brush moving. However, other colors will remain in the image, but we have a solution, too.
Step 03. Keep Sampling and Deleting
The Background Eraser Tool is, by default, set to Continuous Sampling. It means any color that matches the crosshairs will be removed if the image background contains various hues.
You have to keep deleting them after sampling—this way, the risk of making errors is reduced.
If you find your background has a color similar to the subject color, you might accidentally wipe the subject out. Select Protect Foreground Color and press and hold on to the Alt key to avoid this issue.
Then, with the help of the eyedropper that will pop up, you can rescue the hue you want from destruction.
(Method 03)
Cutout Photo in Photoshop Using Quick Selection Tool
The first method is simple and perfectly cuts out photos. You must only follow three easy steps to finish method 1 and get your expected result. So, let’s dive in.
Step 1. Open the Photo
Open Photoshop CC, click on File > Open > Choose an original Image.

Step 2. Make Selection
The more straightforward way is to select a background other than the subject. But if the backdrop is more complicated than the subject, you should select the image subject instead.
Then, drag the quick selection tool on the area you want to make a selection.
If you’re going to deselect it, press Alt and drag on the area. To ensure your subject is selected, inverse the selection by choosing Select> Inverse or press Ctrl+Shift+l.

Step 3. Refine The Edges of Selection
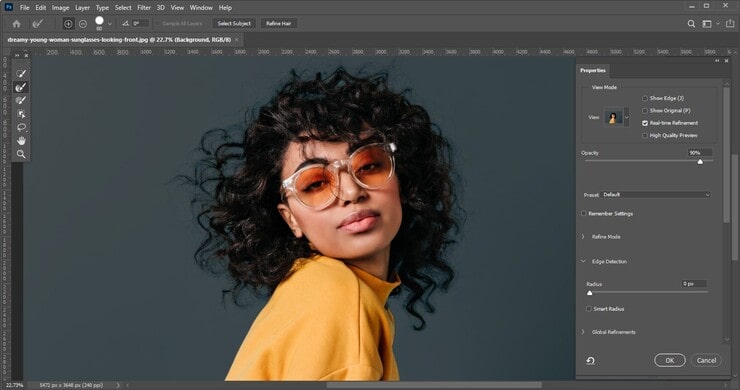
Click over the toolbar found at the top right and choose Select and Mask. To preview, you should make the backdrop invisible by increasing the transparency.
You need a view that can show you the edges the best. So, change the image view to white or black, depending on your preference.
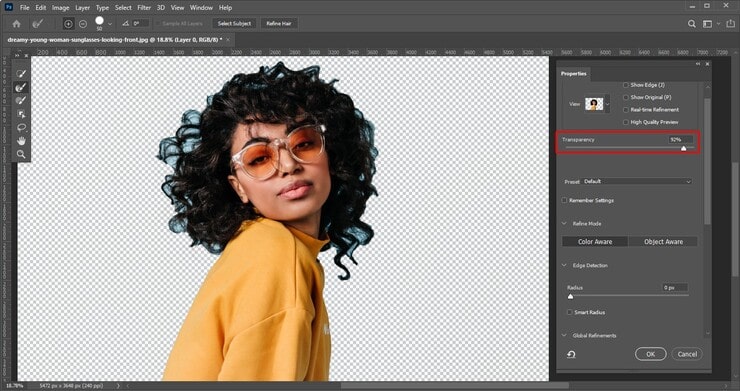
Pick the refined brush from the toolbar located at the top left. Then, start painting on the flyaway hair areas and make sure you don’t end up going too far but get only the ends of the edges of the hair.
This way, you can make the Photoshop AI understand better which is the background and which is the hair.

While refining, your selection edges are getting more transparent and better.
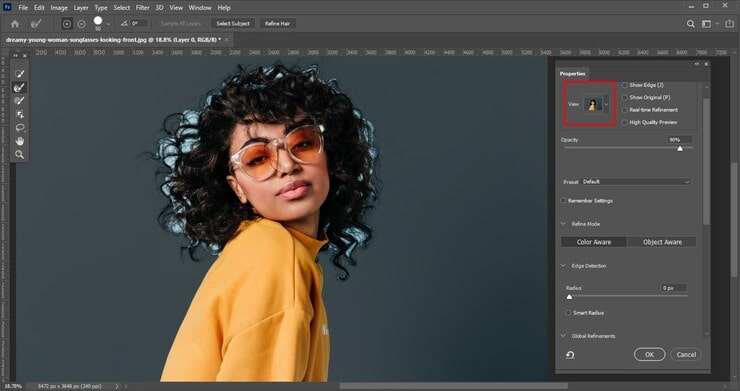
Let us share with you a secret of disappearing the color fringing issue. When refining, immediately turn the “Decontaminate Colors” option on and eliminate the color fringing.
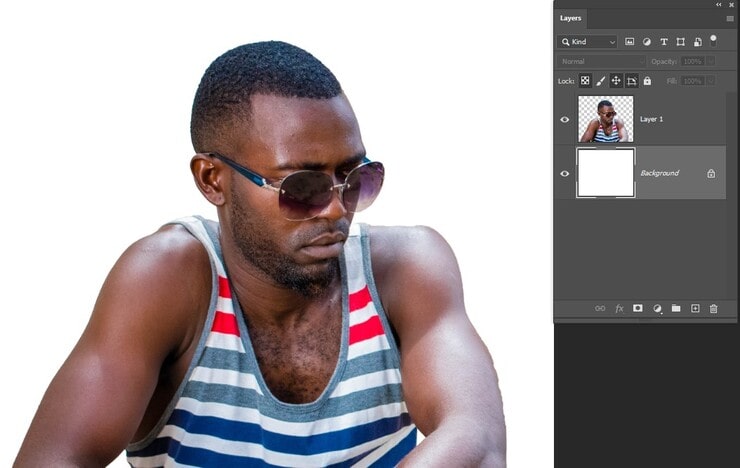
Finally, choose New Layer with Layer Mask and click ok to get the cutout.
You will get your subject cut out from its background accurately, on which you can do further edits.
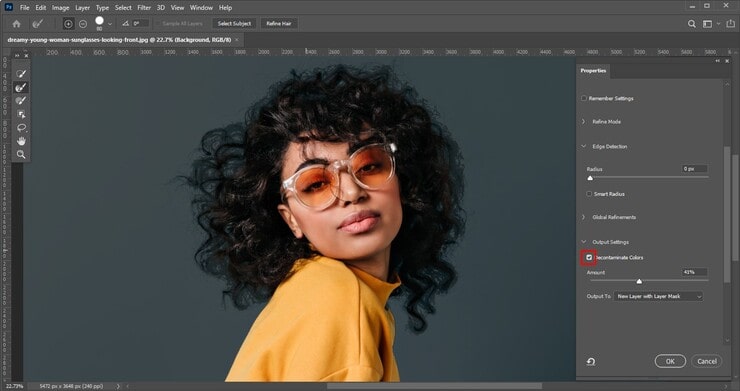
The result will look like the image below.

(Method 04)
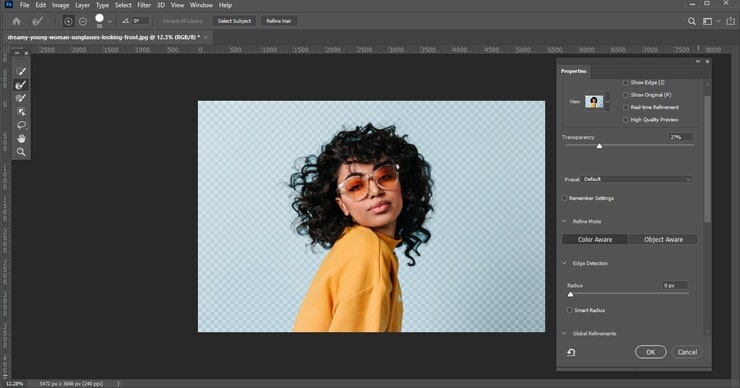
Cut Out Image in Photoshop Using a Subject Selection
Subject Selection is an incredible option in Photoshop. Its chief purpose is automatically finding the most eminent object in a photograph.
It outlines the selected subject to separate it from the background. You can find this tool with the Select Subject option located in Select and Mask.
Step 1. Selecting Subject
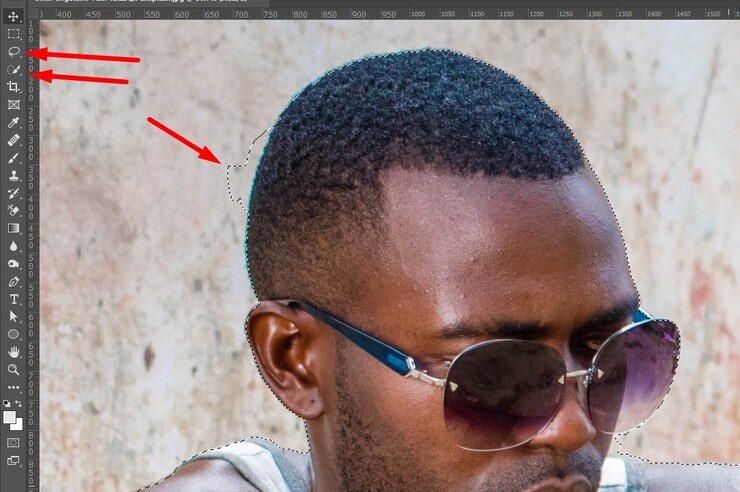
It’s considered the most effective and simplest method for pro photo editors to cut out images. First and foremost, open the image you want to work on in Photoshop by choosing Select > Subject and wait for a while for the selection.
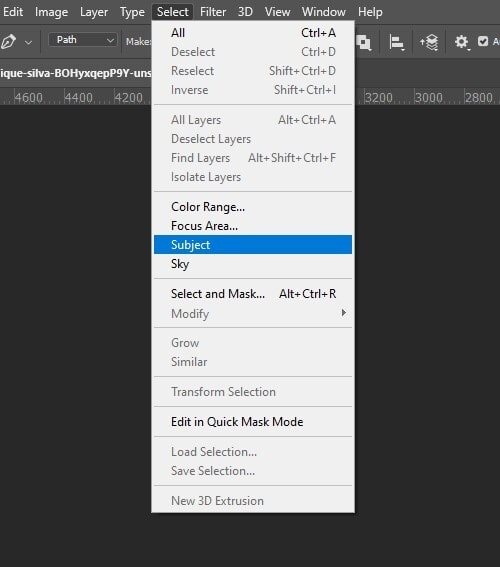
You will see an uneven line around the subject when the selection is ready, just like the below photo.

Step 2. Making a Precise Selection
You can use the Quick Selection Tool or the Lasso Tool to make the selection more specific. Use any tools and remove or add selection parts using the Alt and Shift Keys.
Step 3. Cut Out Image
Once the selection is ready, you can cut the photo out. Press Control-C to make a new document. To paste the photograph, press Control-V.
(Method 05)
Cut-Out Image Using the Rectangular/ Elliptical Marquee Tool
Image cutting is only possible by selecting the object you want to cut. The marquee tool is another tool that draws a selection around the objects.
However, it only makes selections in square and rectangular shapes. It’s located in the tools panel at the top of Photoshop software.
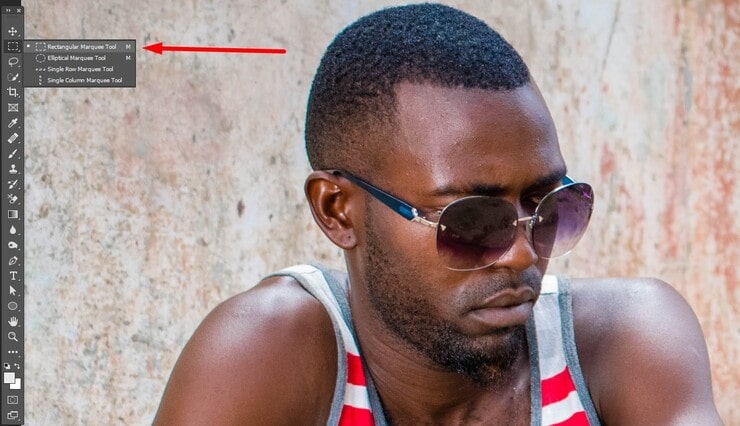
Step 01. Choosing one of the Tools
The rectangular/elliptical marquee tool is another powerful image-cutting tool. It’s called a Elliptical Marquee or Rectangular Tool. It’s a rough method; however, it helps make outstanding designs. Choose the tool from the Tools panel.
Step 02. Selecting a Part in Image and Cut Out
Select the image part that you want to cut out. After selecting the part to eliminate, click on Layer > New Layer > Layer Via Cut/Copy, and you will have the final output ready.

(Method 06)
Cut Out an Image Using the Layer Mask
When it’s about cutting out images with perfection, professionals choose Layer Mask. It doesn’t directly cut a picture, but it hides the unnecessary parts of an image.
Through this option, you can apply masks over the layers of photos and permanently delete them. In addition, it uses white color to reveal and black to conceal image parts. You can find this option in the Layers panel.
Step 01. Create a Mask
A popular way to cut out images to the image editing experts is by making a Layer Mask. For this method, you first need to make a selection. Then, use any of the techniques we mentioned earlier and click on the Add Layer Mask icon from the Layers panel.

Step 02. Use a Brush and Cut Out the Photo
To adjust the cutout, use a brush with black and white colors. Use white color, brush on the parts you want to keep and brush with black to remove the parts you want to cut out.
(Method 07)
Cut Out a Photo Using Color Range
Color Range works outstanding in cutting out complicated subjects like trees, liquid, and smoke. It keeps the colors accurate plus will quickly make the selection even if the picture contains a subject with holes.
These are the simple steps explained to cut out photos with the help of color range.
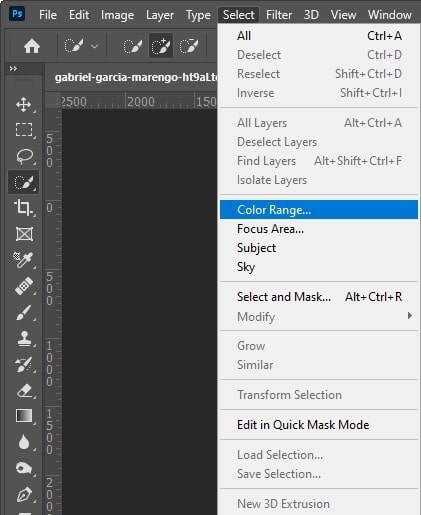
Step 1. Choose Color Range
Click on Select> Color Range to cut out the image with it.
After you have selected it, a dialogue box will pop up on the screen.
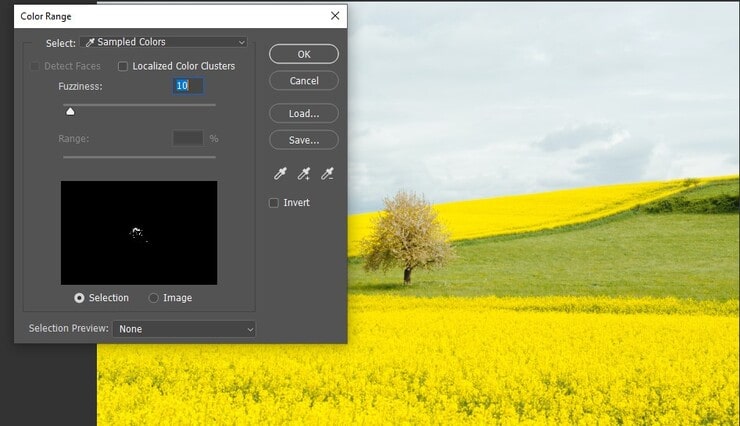
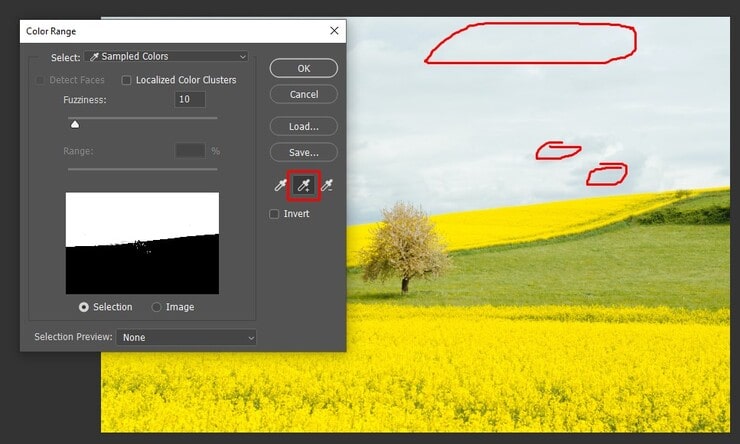
Step 2. Pick the Eyedropper Tool
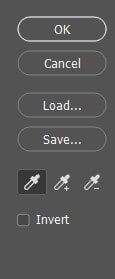
You will see three eyedropper icons, but you only have to select the one on the left.
After choosing, it’s time to pick the most usual color by clicking on the background. We have picked the sky blue color.
You will notice on the window of the color range that it’s showing you some white. It’s because those are also a part of the selected area.
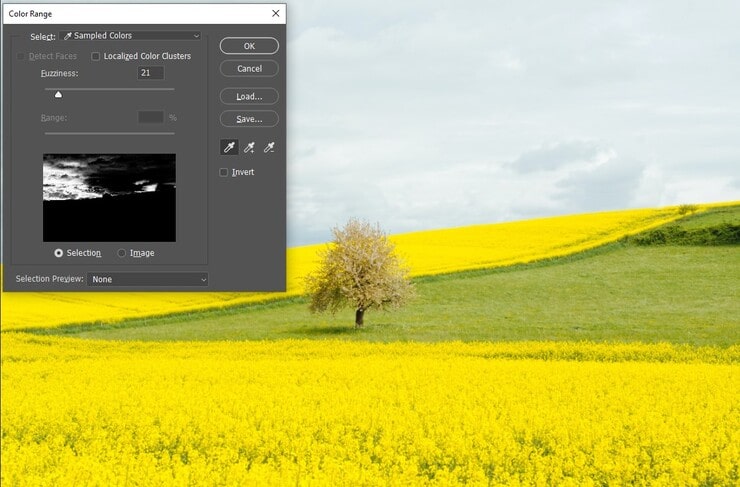
Step 3. Refining Selection
There’s another eye dropper with an A+ right in the middle. Click it and drag it across the backdrop to add it to the selection.
Here, we dragged the a+ eye dropper to the tree’s right side to choose all the whites and blues.
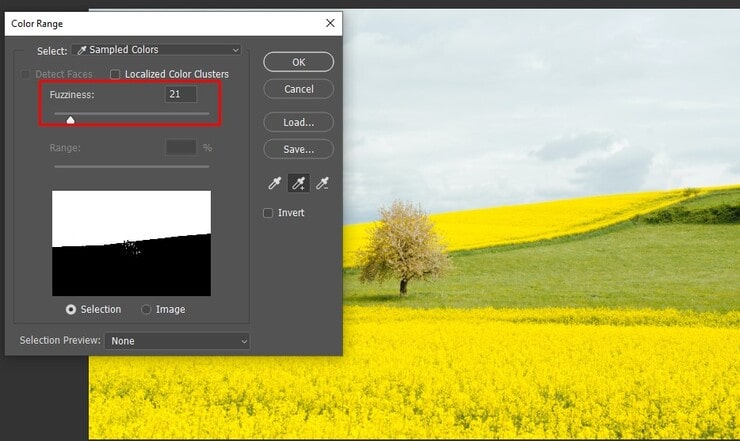
Step 4. Sliding the Fuzziness Slider
To get a white background and make your selection look more sociable, keep sliding the fuzziness slider until the selection is accurately refined. Now click ok after the final refining.
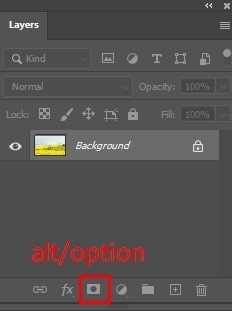
Step 5. Masking Selection
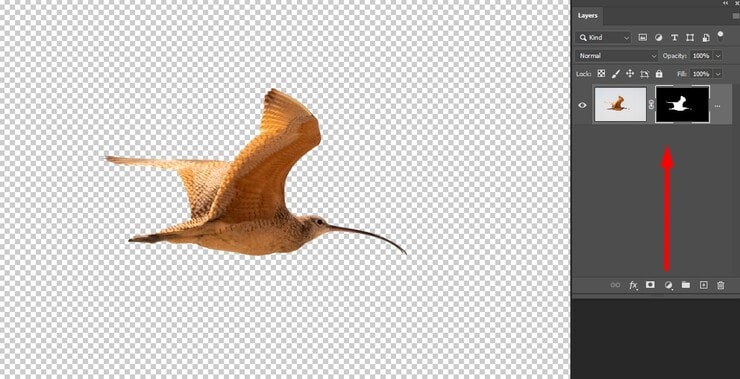
The background is selected after clicking ok. Hence, you can now cut out the selection. Your goal is inverting the cutout area. You must press the Alt and click over New Layer Mask for this. The subject will be selected.
You can see a newly created layer mask.
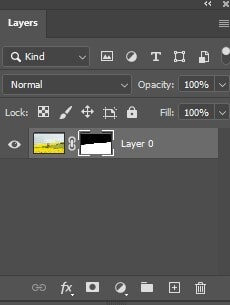
You will get a clean and delicate cutout like this one.
FAQs
To cut an image with the magic wand tool, first open it in Photoshop. Go to the toolbox and choose the magic wand tool. Click on the area of choice in an image you want to remove – it will automatically select areas based on color and similarity. Then, go ahead and paste it into any other layer or create a new layer.
The object selection cuts out images using object shapes. Open the image with Photoshop, pick the tool from the toolbar, then click-drag the rectangle around the subject matter you want. Cut/copy & paste your selected thing into a new document or anywhere else within your picture.
The Quick Selection Tool lets you draw a box with your mouse over any part of an image that needs cutting out. Based on color and texture contrasts, Photoshop will automatically create a selection for you.
Refine this selection with other tools, such as the refined edge brush. After selecting, you can cut or copy and paste it into another image or a new layer.
In Photoshop, some methods include the Lasso tool, Magic wand, Quick selection tool, Object selector, and Polygonal lasso tool, among others.
Another option is cutting particular shapes through shape tools in Adobe Photoshop CC while dashed lines are added around select and mask workspace selections.
Final Words
How to cut out images is a common question. However, since it’s better to learn through reading, we have prepared this article with details about cutting photos in Photoshop.
If you learn all those methods, you will never have issues with image cutouts. Now that you have learned them, we wish you the best of luck with your practice.
You may read:

Salim Ahmed is the CEO of Graphic Experts India, with over 25 years of expertise in photo editing, clipping path, image retouching, and eCommerce image editing services.