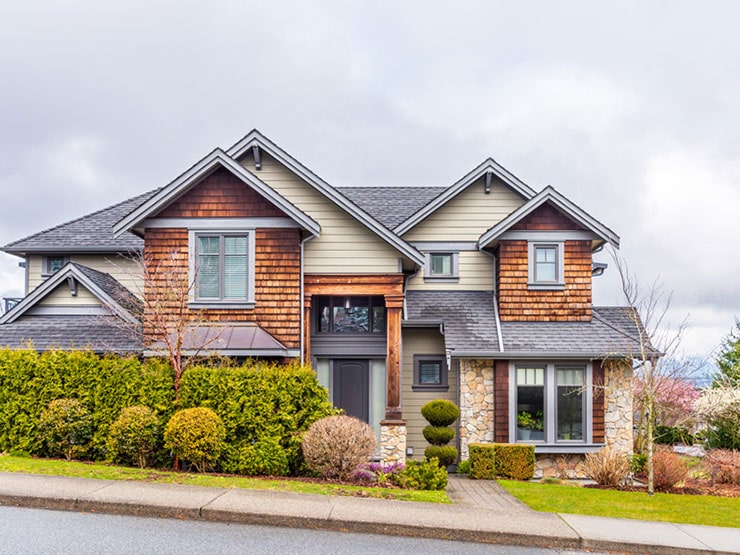
Replace Sky in Photoshop is a creative way to enhance your images. It makes the dull or overcast sky stunning and impressive. However, you may think this procedure a challenging task, but I can assure you that it’s simple.
This tutorial is about how to replace the sky in a photo using our best Photoshop sky replacement tool. First, we need to follow a few steps to accomplish this task.
This technique is widely used in landscape real estate photo editing. Besides, you can use this skill to change or remove the background.

Let’s start….
How to Replace Sky in Photoshop
First, we need to separate the sky from the image using a primary selection tool and a layer mask.
Then, the Advanced blending sliders from Adobe Photoshop will assist in hiding the original sky. And the new sky will take its place over the actual sky.
You might think I will use the Magic Wand or Color Selecting Tool to select the sky.
This tutorial will show you how to use the Advanced Blending Slider procedure while replacing the sky in a photo.
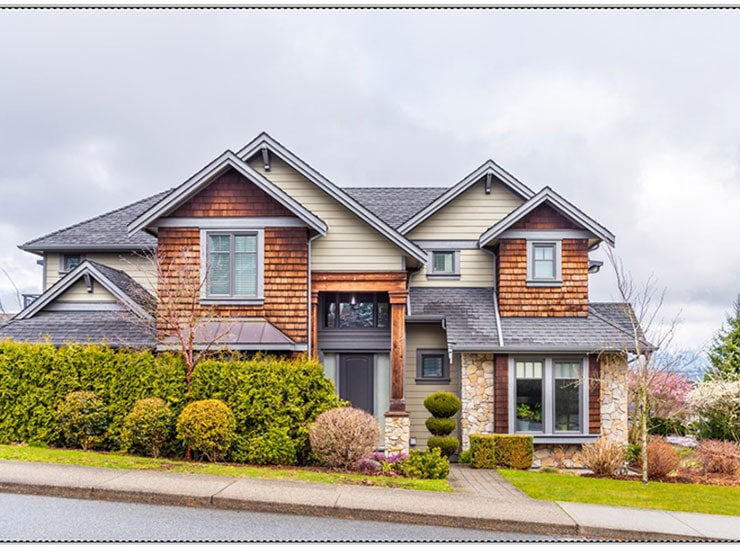
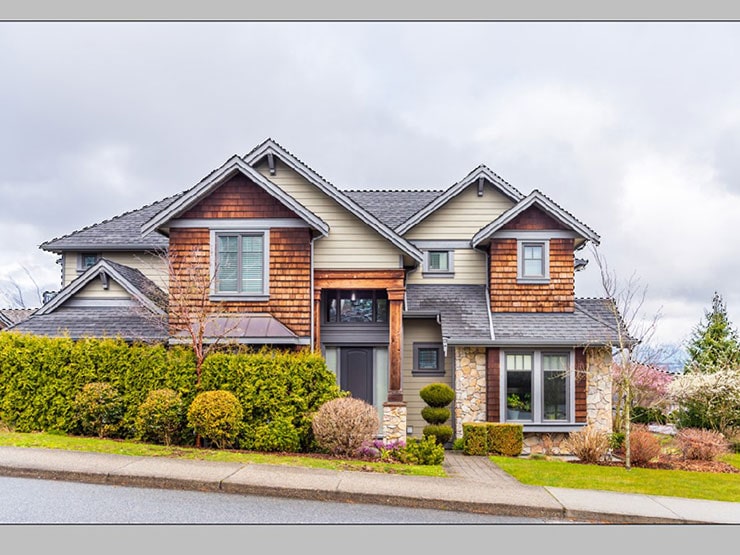
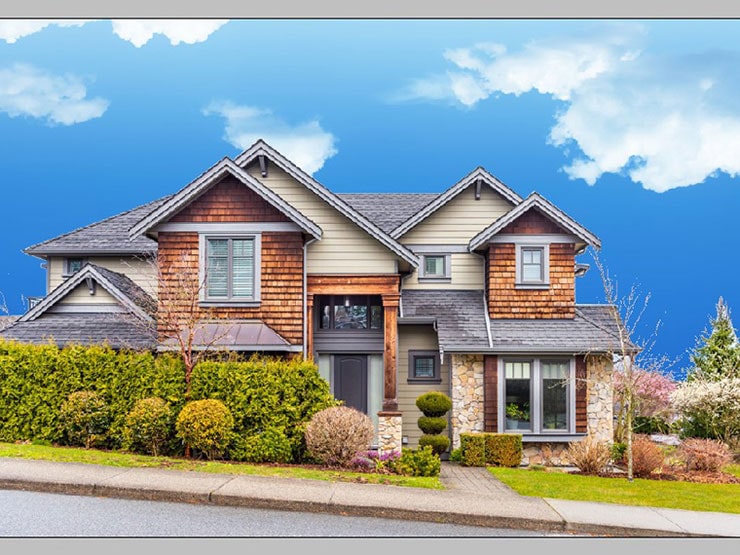
Below is another image that will be used to replace the original sky.

A significantly important note I would like to share is that the pixel dimension of both images is similar.
This point is very crucial.
If the photos are dissimilar, make sure to use the same width and length image before proceeding to the working procedure of replacing the skin in a photo using Photoshop.
Note: If you are new to Photoshop, you might find our guide on Photoshop tools helpful.
Step 01: Select and Copy the Actual Photo
Firstly, take both images in the same document to make blending easy. Then, you need to open both photos in Adobe Photoshop. While doing so, make sure the actual image document is active.
Press Ctrl + A in Windows and Command + A in Mac to select the actual image.
Around the edges of the image, the selection outline will appear.
To copy the image in the clipboard, hit Ctrl + C for Windows and Command + C for Mac.
Step 02: Paste the Actual Image Over the Sky Images Document
Go to the sky replacement images document and press Ctrl + V for Windows and Command + V for Mac on your keyboard. This way, the original photo gets pasted in the document.
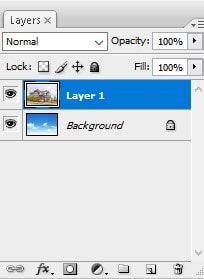
If you intently look at the layers panel of Photoshop, we will find the original photo named.
Layer 1 and take its place over the replacement photo.
Step 03: Duplicate the Layer 1
The benefits of the Advanced Blending Slider option of Photoshop are you can easily select and hide any areas of an image depending on the color.
It means the feature can easily hide the blue sky, and green trees will not be affected.
But one thing we need to take care of at this point is when you tell Advanced Blending Slider to hide all the blue colors of the image. The feature will select the sky and select the whole picture.
The feature will inspect the whole image and hide every area with a blue color. Please note that other colors can also contain blue colors. For example, white and gray are this type of color that has a blue portion in them.
So, if we don’t take a few steps to prevent Advanced Blending Slider from hiding the blue color from the whole image, the entire replacement process will not be successful. So, we need to work on it to prevent it from happening.
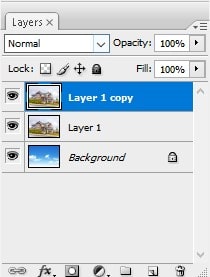
All you need to do is make a copy of the original image. But, of course, layer 1 has to be active at this point.
Press Ctrl + J in Windows and Command + J in Mac to duplicate the layer.
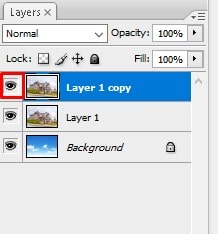
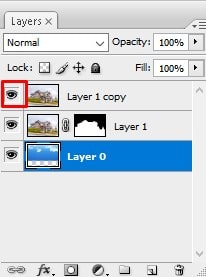
No major change will happen in the window, but you will see another copy of the Layer 1 named Layer 1 copy in the Layers Panel.
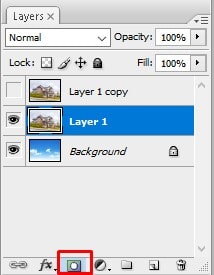
Step 04: Layer 1 Copy Need to be Turned Off
At this point, we don’t require a Layer 1 Copy. So, for now, we will turn off this layer. Click on the Visibility Icon to accomplish this simple task.
This way, the layer will get temporarily turned off and hidden from the document.
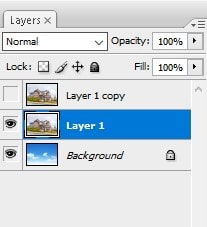
Step 05: Choose Layer 1
This step is to activate Layer 1. Simply click on Layer 1 from the Layers panel to make the layer active.
Step 06: Choose the Portion Underneath the Sky
Next, we will outline a selection around the image field under the sky. The selection is required to protect areas from Advanced Blending Slider. But, again, you can take assistance from the Standard Lasso Tool if you need it.
However, I will use the Polygonal Lasso Tool to complete this task.
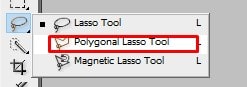
To do so, hover your mouse over the Lasso Tool icon placed in the tools panel and keep on holding the mouse until a drop-down menu appears. From the menu, select the Polygonal Lasso Tool.
Using the Polygonal Lasso Tool, outline the areas you want to protect from any changes due to the Advanced Blending Slider.
The majority of the time, I stay below what appears to be an area through the blue sky until it can be relatively loose with my selection through the trees.
While outlining the top of the house area, you need to be more precise with the selection, especially the top portion of the chimney area, where it comes in complete contact with the sky.
Unfortunately, the tone and color of the chimney and sky are quite similar, so you will need help with outlining.
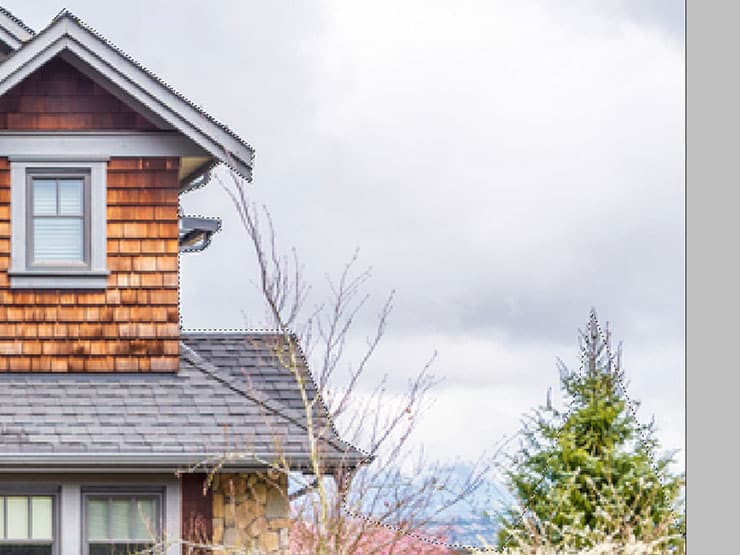
So, while outlining the chimney area, be careful with the selection.
Once you finish drawing the shape inside the outline, everything will be protected from the Advanced Blending Slider.
Step 07: Adding Layer Mask for Replace Sky in Photoshop
The protected area is selected, and we will convert it to a Layer Mask. Finally, the Layer Mask icon is placed at the bottom of the Layer Panel.
Once you do the Mask, you will find it in the Layers Panel area.
Now,
If you look at the Layer mask’s preview, the selected area has become white, which means the chosen location is still visible in the document. The black portion of the document means that the area is hidden from the view.
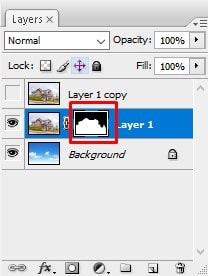
And the image that is available in the document window, quite sure that is the image that we are looking for.
The selected area is still visible, and the sky is hidden, and the new sky hides the original sky. We have already replaced the sky with a new one, but the image did not receive a professional look.
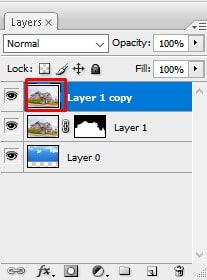
Step 08: Top Layer Selection and Turn On
In this step, we need to activate the Layer 1 copy. Simply click on the visibility icon of the layer one copy, and it will get turned on.
Here, You will find the whole original image in the document window.

Now, please hover your mouse to the Layer 1 Copy in the Layer Panel and double-click on it.
This way, the Layer Style dialog box will appear. In addition, you will find the Blending Options in the middle column.
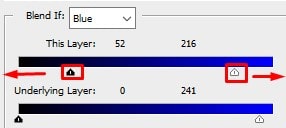
At the bottom of the box, there are two slider bars. You will find the “Blend if” option directly above those slider bars. This option is set as Gray; we need to change it to Blue.
Step 09: Opening the Blending Option and Change it to “Blue” from the “Blend if” option
Please hover your mouse over the Layer 1 Copy in the Layer Panel and double-click on it.
This way, the Layer Style dialog box will appear. You will find the Blending Options in the middle column. At the bottom of the box, there are two slider bars.
You will find the “Blend if” option directly above those slider bars. This option is set as Gray; we need to change it to Blue.
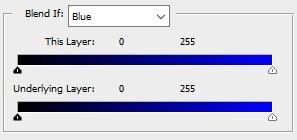
Step 10: Give a Professional Look by Setting the Tone and Color of the New Sky
Once you change the Option to Blue, the slider bar at the bottom will also change.
If you look intently at the slider bar, you will understand it has changed to black-to-blue from black-to-white.
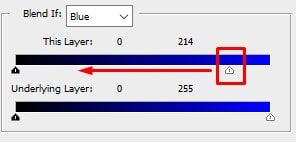
However, we will work on the “This Layer” slider bar and ignore the bottom slider bar.
Hold the small slider and drag it to your left side.
Once you do this, you will see magic. The original image’s sky is disappearing, and the new sky color is revealed. Continue dragging the slider until you are satisfied with the color and tone of the new sky.
Step 11: Eliminate Fringing by Adjusting the Transition Between Images
We are almost done with the process. The only problem is that many sharp ends and fringing are out there in the trees and leaves.
We need to fix that, and transition fixing between 2 images will assist.
- Don’t drag the slider at this moment. Then hit “Alt” in Windows or “Option” on Mac and hold it for a while.
- Holding the key, go back to the slider option and drag it to the left. Thus, the slider will split into two portions.
- Using two separate sliders, you can drag these two options independently. You can release a finger from the “Alt” or “Options” key.
If you increase or decrease the distance between the two new sliders of the “This Layer” option, you can regulate the softness between the two images.
Note: While you do this, keep a close eye on the changes, as adjusting more may create an issue with the quality of the image.
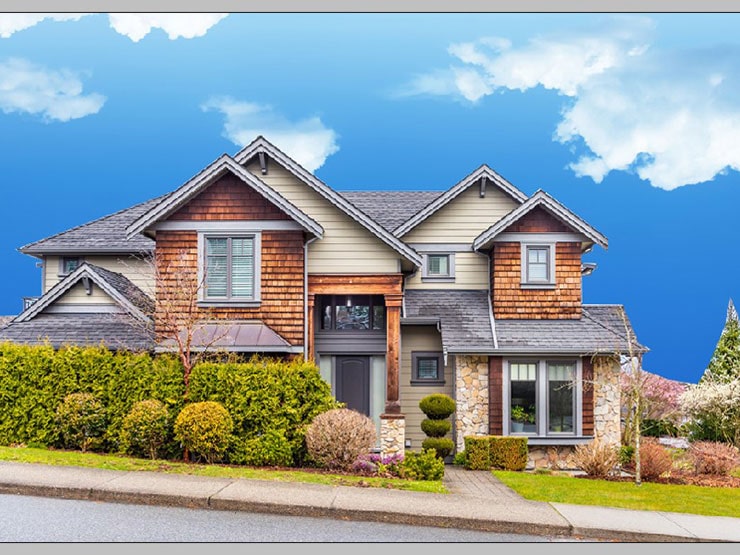
Once you are satisfied with the result, click OK, positioned in the top right corner of the Layer Style dialog box.

Thus, the dialog box will be closed. Below is the final image.
Importance of Sky Replacement in Photoshop
Sky Replacement in Photoshop is a critical process in professional photography and design. Its importance lies in its ability to enhance or change the mood and tone of the sky in a photo.
Sky Replacement saves valuable time and effort, as there is no longer a need to wait for perfect lighting conditions to shoot.
Adding a vibrant sunrise or a starry night to a dull injects life and drama into the picture. It can also correct common lighting issues and add depth to an otherwise flat photo.
If the sky in a picture is dull or blown out, replacing it with a vibrant and detailed sky can instantly increase the overall aesthetic appeal of the image.
By manipulating the sky, the retouchers can either adjust or remove the different elements of a photo to make it more captivating.
FAQs
To use the sky replacement tool in Photoshop,
1. You first need to select the image you want to work with.
2. Then, go to ‘Edit’> ‘Sky Replacement.’ Photoshop automatically creates a new layer for the replacement sky.
3. You can then choose from the various sky presets provided or import your sky.
4. Finally, adjust the brightness and the layer stack of the sky replacement to match the foreground.
To add a sky image in Photoshop CC, you can utilize the sky replacement feature in Photoshop. Simply go to ‘Edit’> ‘Sky Replacement.’ Photoshop will automatically identify and replace the existing sky with a new layer of sky. You can either go with the sky presets provided in the software or import your sky according to your requirements.
Final Verdict
Hope, from this step-by-step guide, you learn how to replace dull, unattractive skies with vibrant and breathtaking ones. It is perfect for beginners who are completely new to Photoshop.
Even without any experience, this guide can help transform a simple photograph into a stunning image.
Following the above steps, we can easily replace the sky in a photo using Photoshop. Thus, enhance your Photoshop skills and bring out the best in your photos.
This type of Photoshop sky replacement work is a great way to enhance the beauty of real estate images. First, however, do practice the process. Soon, you will also be an expert on this technique for sure.
You may read:

Salim Ahmed is the CEO of Graphic Experts India, with over 25 years of expertise in photo editing, clipping path, image retouching, and eCommerce image editing services.