The photo editing process has become straightforward nowadays because of Photoshop. You can easily insert an image into Photoshop. Following several techniques in many Photoshop services, companies add a vibe to an image.
Adding new objects or elements to an image is getting popular daily. Using the layer option, you can accomplish this task easily. It is an excellent technique where the integrity of the original image remains unchanged. And you can insert any additional image, text, or even vector graphics.
However, if you are a professional, you should know how to insert an image into an existing layer in Photoshop. Or a novice also can learn this technique to take themselves to the next level.
Let’s start the discussion without delay.
The procedure of Adding an Image to an Existing Layer in Photoshop
Well, adding an image to an existing layer in Photoshop is a tricky task. While following this task, be sure that you didn’t miss anything. So, read through every step intently.
Only doing COPY and PASTE will let you assist in accomplishing this task. This way, the 2nd image will inevitably seem in a new layer.
To do this, follow the below steps.
How to Insert an Image into an Existing Layer in Photoshop
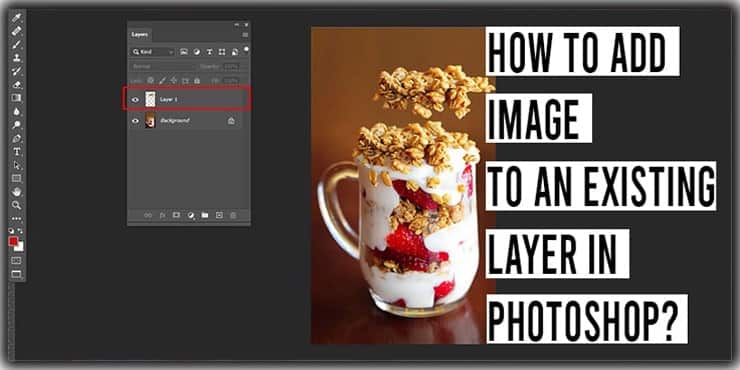
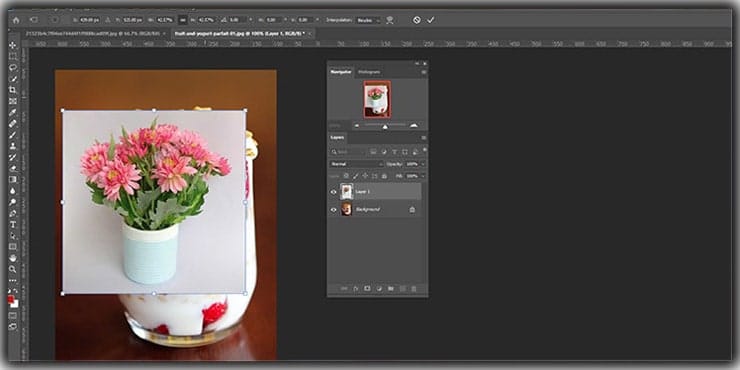
- Open an image in Photoshop to Insert an Image. Create a new layer. Be sure the layer enclosing the photo is selected. (If you proceed with one layer, the 2nd image will act as a background layer).
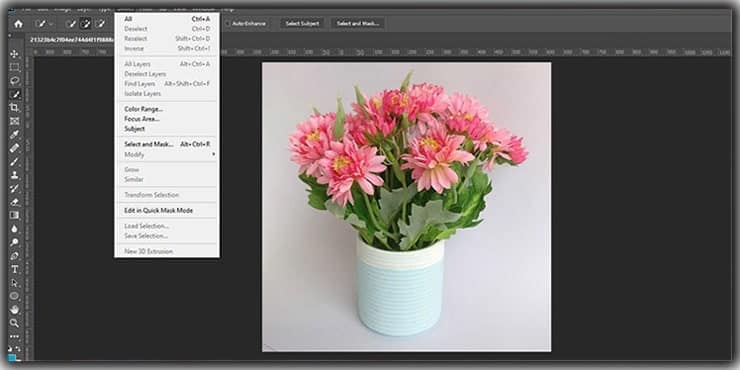
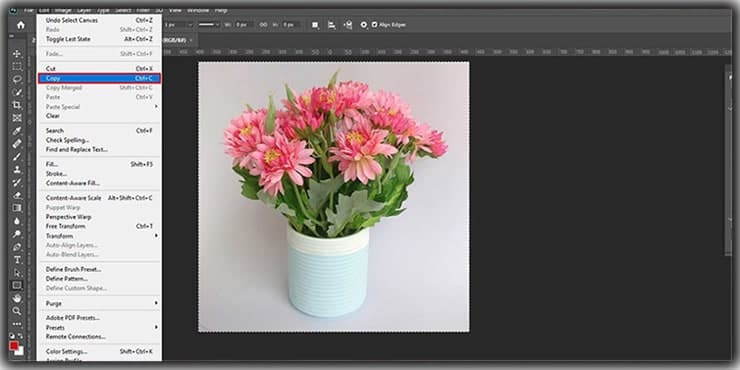
- Now, click on the “Select” option from the top menu bar and click “All” to select the whole image. Or you can follow the shortcut key “Ctrl + A.” Next, copy the image going to the Edit and Copy option. Also, you can do it by pressing “Ctrl + C” together.
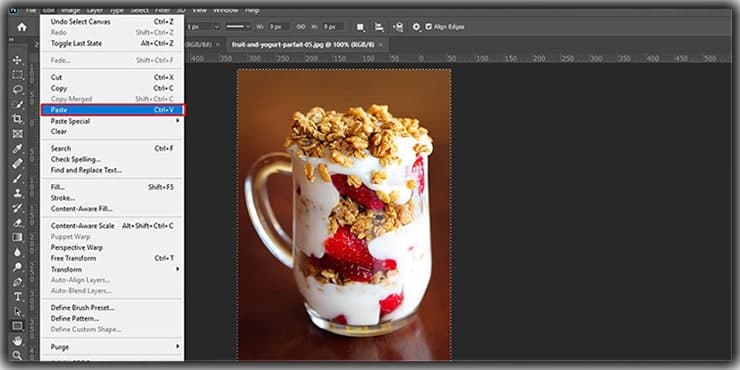
- Then go to the 2nd image, where you are looking to Paste the image. Click on Edit and Paste. Or easy pressing on Ctrl + V.
- You don’t need to do additional work because the image will appear as a new layer without hassle.
Pasting a portion of an image is also possible into a new layer. To do this, follow the below steps.
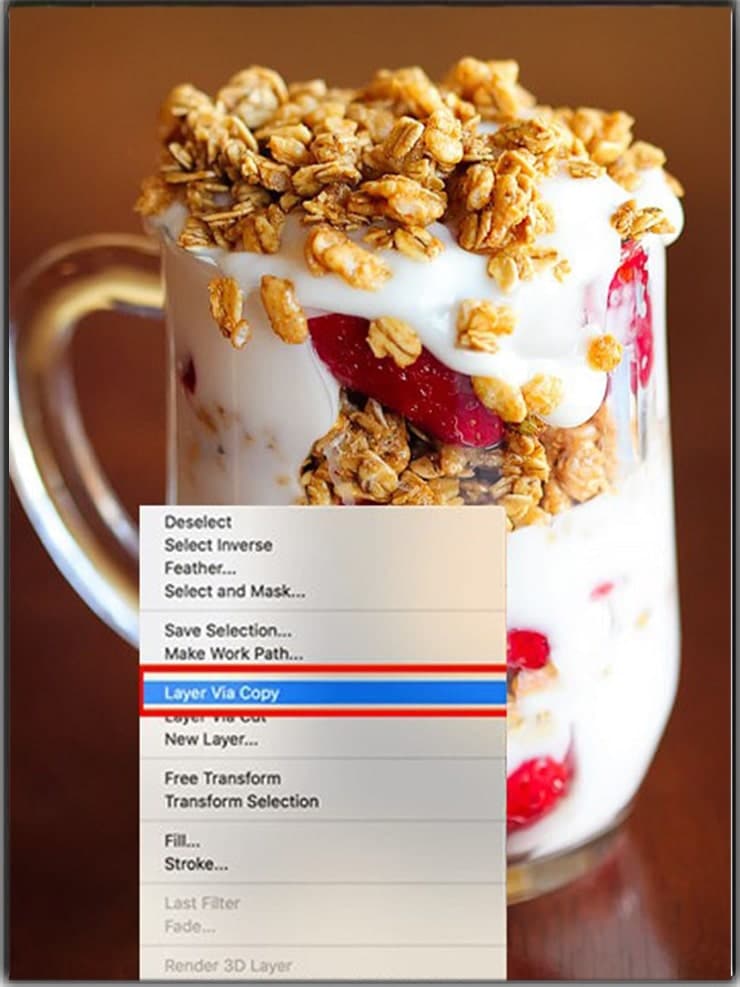
- Choose any selection tools such as Magic Wand, Marquee, or Lasso tools. You can select a portion of an image with any of these selection tools.
- Make sure; the Layer panel selects the background layer. Hover the mouse on the image, and right-click on your photo. Then you need to select “Layer Via Copy” from the “Resulting Menu.”
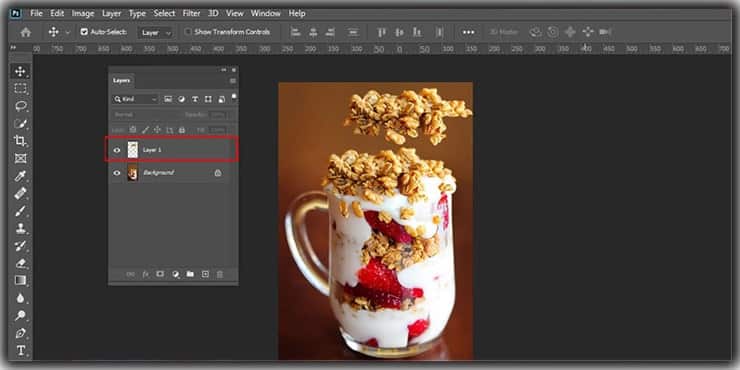
A new layer will appear that you have selected in the above steps. From this layer, you can quickly move off doing any modification in the copied portion. And no need to worry about any background affecting.
Different Types of Layers in the Photoshop
Undoubtedly, Photoshop layers can make your life easier by saving you valuable time. Below, I am discussing different types of layers and their usage.
Image Layers
The RAW image and any imported image into your document reside in an Image Layer. Also, by merely copying and pasting, you can create a new layer following another folder.
If you want to move the image layers above or beneath the other layer, drag the image layers up or down in the layer’s panel.
Adjustment Layers
Using a non-destructive or non-permanent way, you can add a destructive layer to edit the photo. Then, later, if you decide you want to get rid of hue or saturation and contrast or brightness, you can remove the layer from the layer’s panel.
Let me tell you how you can insert this type of layer.
Go to the Layer option and select New Adjustment Layer, and the option will come. Pick anyone from there. You can generate as many layers as per your requirement. For example, in the layers below, the adjustment will create any effect. So, if you wish, you can remove them and target a specific image.
Fill Layers
Do you want to add a fill layer to your image like a gradient to darken, or do you wish to tint your background with sky color?
To do this, click on the Layers, then New Fill Layer, and next is gradient. If you choose any gradient points to be transparent, a transparent quality will be visible in a few portions of the fill layer.
Type Layer
This layer is absorbing as you can make fun with this type of layer.
Using this tool, you can generate text on your image. By default, in Photoshop, the text is vector-based. It means editing and resizing are significantly relaxed during the formal process.
Smart Objects Layer
This layer option will let you alter photos, writings, or items to a Smart Object Layer.
You can do the following
Layer > Smart Objects > Convert to Smart Object.
In Smart Objects Layer, it saves every image in your documents and creates a list so that you can track the changes and follow them if necessary. This means the image will not get any chance of getting removed.
The most beneficial feature of this layer is that even if you save any changes, you are allowed to do so if you need to redo them.
Important Notes About Layers
During post-production, layer panels are crucial to making your editing process successful.
- While working with the layer in Photoshop, you can separate the portion of an image, and editing is also possible. Even the editing will not create any problems for the other layers.
- Adding multiple layers is also possible; you can do this on top of every layer. Moreover, you can create a group to track them easily.
- Drop shadow, color adjustment, and other filters can also be applied in layers.
- Reducing opacity is not a difficult task in the layers’ option. It is required when you need to fine-tune the edit to generate a refined look.
- Using the Blend Mode option, every layer’s appearance will change automatically.
FAQs
Copy and paste is the most straightforward route. Select the image you want to add, hit Ctrl + A to select all, then Ctrl + C to copy. Switch to your destination document and press Ctrl + V. Photoshop drops the pasted image onto a new layer automatically, leaving everything underneath completely untouched.
Not if you handle it correctly. That’s precisely the advantage of working with layers — each one sits independently. The original image stays exactly as it was on its own layer while the added image occupies a separate one above or below it. You can move, resize, or delete the new layer at any point without disturbing anything else.
Yes. Use any selection tool — Magic Wand, Marquee, or Lasso — to isolate the specific area you want. Then right-click and choose Layer Via Copy from the menu that appears. Photoshop creates a new layer containing only that selected portion, leaving the rest of the original image alone.
An Image Layer holds the raw photo data as it is. A Smart Object Layer wraps that data in a protective container that logs every change you make, letting you reverse or modify edits even after saving. For anyone doing complex compositing or resizing work repeatedly, Smart Objects are the safer and more flexible choice.
Adjustment Layers apply changes like brightness, contrast, hue, or saturation without permanently altering the pixels underneath. If you change your mind later, you simply delete or modify the adjustment layer rather than trying to reverse a destructive edit. They’re one of the most valuable tools in Photoshop for non-destructive workflows.
Click directly on the target layer in the Layers panel to select it before making any changes. Photoshop only applies edits to whichever layer is actively highlighted. Working on the wrong layer is one of the most common mistakes beginners make, so checking the panel before each edit is a habit worth building early.
Yes, and it becomes genuinely useful once a project has several layers stacking up. Grouping related layers keeps the panel manageable and lets you apply effects or opacity adjustments to the entire group at once rather than handling each layer individually.
Conclusion
Now the ball is in your court. I have shared the procedure; all you need to do is practice. If you don’t do this, you can’t become a PRO or even do any simple editing in Photoshop. You may need to run toward a Photoshop service agency.
You may also read:
- How to Remove Background From Image in PowerPoint
- Best Backgrounds for Car Photo Editing
- How to Make Background Transparent in Photoshop
- A Guide to Remove White Background Using Photoshop Tools
- A Guide on How to Extend Background in Photoshop

Salim Ahmed is the CEO of Graphic Experts India, with over 25 years of expertise in photo editing, clipping path, image retouching, and eCommerce image editing services.