Everyone wants to look perfect in both real lives and pictures. But it’s pretty impossible to hide the double chin you have while clicking a portrait image. For this reason, people who have a double chin in real life are fed up with taking pictures.
We understand how you feel, so we will explain how to remove the double chin in Photoshop. Eliminate that annoying double chin from your face with some clicks. You can do it yourself if you carefully follow our guidelines. So, without further ado, let’s get down to the business.
The Easy Steps to Remove Double Chin in Photoshop
You need to reshape the image to fix the double chin. This process is known as Photoshop liquifying technique. It’s pretty easy to go through the 11 steps of removing the double chin in Photoshop. So, let’s begin.
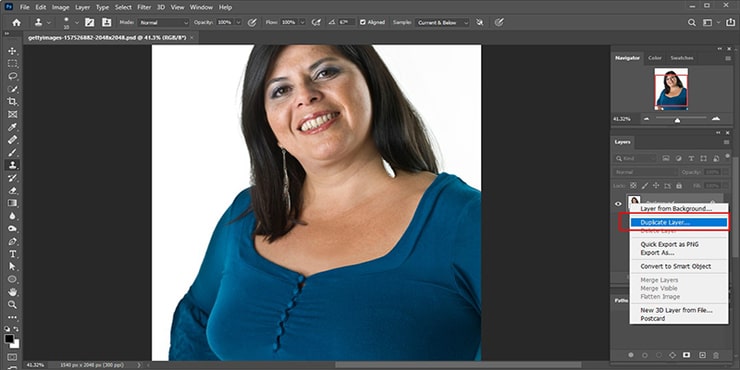
Step 01. Make Duplicate Layer to Remove Double Chin
Insert the picture you are willing to edit. Then, make its duplicate layer so that the original image is safe from unnecessary changes. To create one, click the option Layer and choose Duplicate Layer. Without a duplicate layer, it’s impossible to get rid of the double chin.
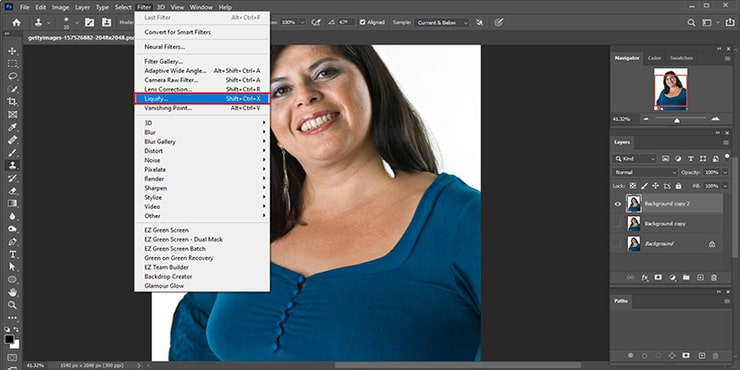
Step 02. Pick Liquify Tool
The liquify tool in Photoshop is the only tool that eliminates a double chin. Choose this option by clicking Filter > Liquify from the menu bar on top. To get this done more easily, click Shift + Ctrl + X.
Step 03. Select Forward Warp Tool
Since we will make changes to the face, we need to use the forward warp tool. It’s usually used in modifying facial functions. Go for the tool in the liquify menu.
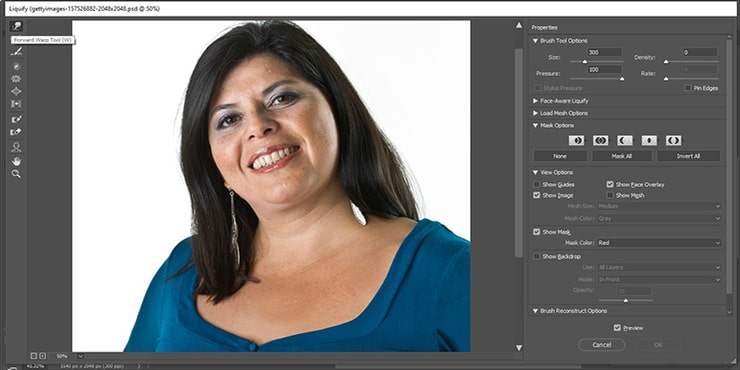
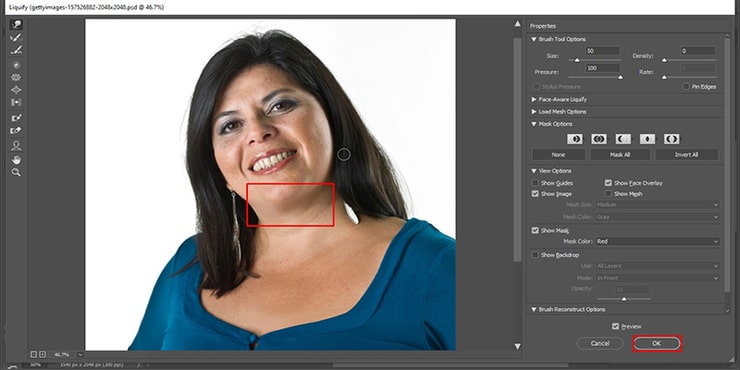
Step 04. Prepare the Picture
Before you directly start the editing, make sure to prepare the photo. It means you need to adjust image density, pressure, size, and intensity. Depending upon the photo, the required values will differ. So keep making changes from the settings until you get the right values.
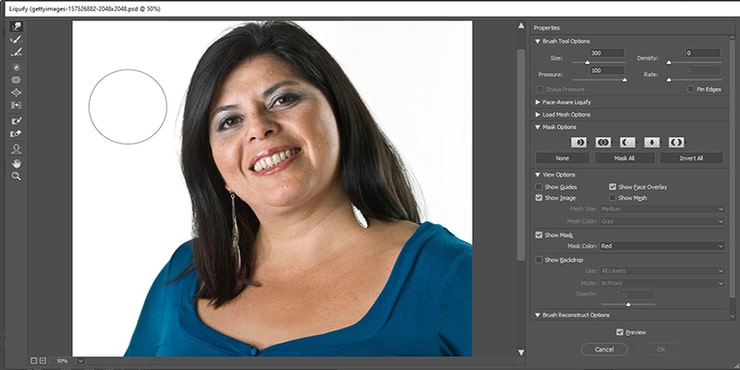
Step 05. Using Forward Warp Tool
Now that you have prepared the photograph, you are ready to remove that annoying double from your pretty face. Use the forward warp tool, drag, and click on the chin regions. Don’t edit too much, or the picture will lose its realism.
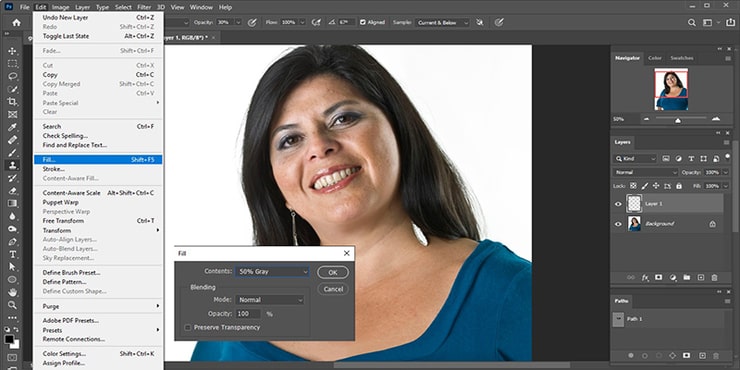
Step 06. Create Layer
You have reshaped your face; this small edit will be visible if you add subtle texture. Add a little noise to your photo to give it a subtle texture and hide that your face shape is changed.
One more thing to do in this step is, add a layer and fill it with grey color. Select the Edit from the menu and choose Fill. The computer will open a new window with settings to make changes, shown below.
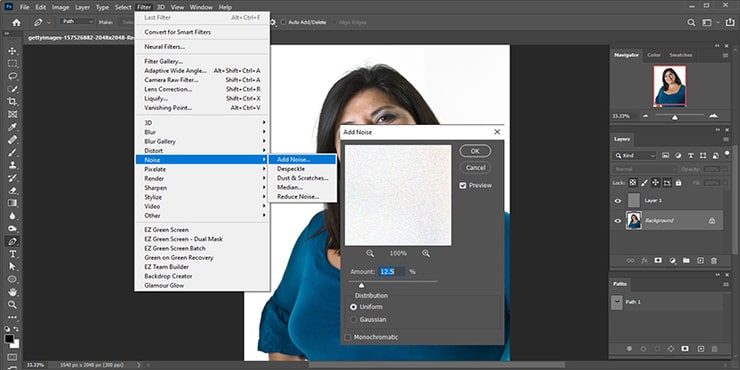
Step 07. Add Noise
After creating the layer, you should add some noise. Go for the Filter option and click Noise > Add Noise. The computer will open a window to set the amount of noise you want to apply. Start adding the noise.
Step 08. Apply Blur
When you add noise to your image, you will find the picture looking a little harsh. It makes the image look like a poor-quality picture. So, you have to balance it by applying a little blur effect. Select Filter > Blur > Gaussian Blur found on the top bar and start applying to add some blur.
Play with the blur amount until you find the suitable value that will give your image a prominent view with the blurriness.

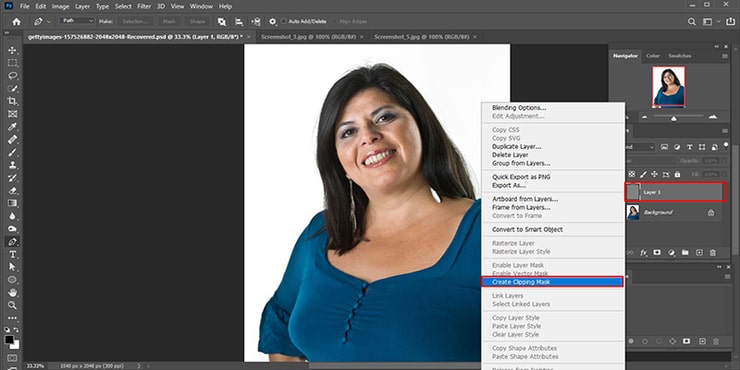
Step 09. Create Clipping Mask
To bring more realistic vibes to the picture, you must add a shadow over the edited place. But before that, it’s necessary to create a clipping mask by right-clicking on the option labeled as Layer > Create Clipping Mask.
Step 10. Add Shadow
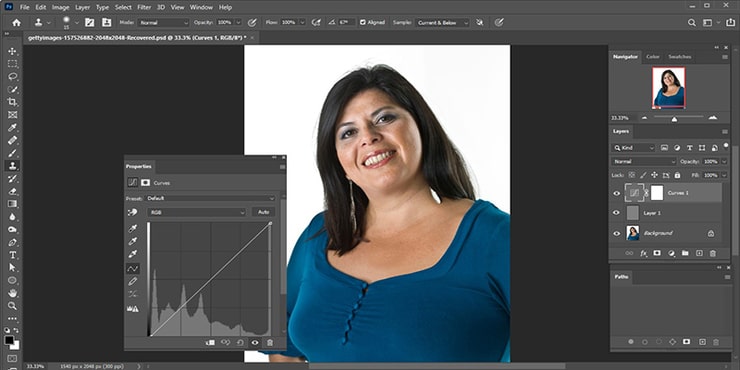
Adding shadow is a straightforward process. It’s called the shadow creation technique. Add the shadow to your picture by changing the curves from the adjustment layer. Click Layer > New Adjustment Layer > Curves. Pick a point and start darkening it by dragging the curve down slowly.
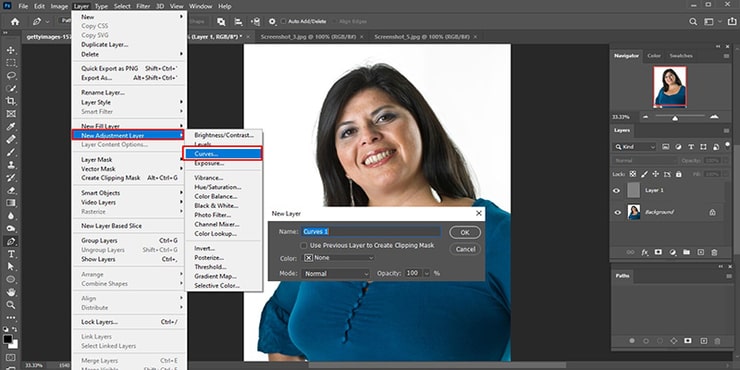
Stop dragging the curve at the point you think you have got your result. To give this a realistic vibe, add on a layer mask. Fill the new layer with black color. Create shadows on the chin and neck areas.
Step 11. Brighten Some Area
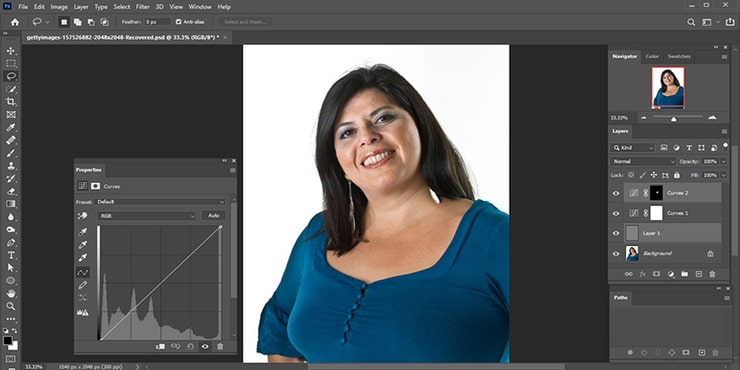
Except for the chin and neck parts of the body, you need to brighten up the other parts in the image. This is to give the image the right light balance. This step is similar to step number 10. The only difference is instead of dragging down the curve, you have to drag it up.
FAQs
You can get rid of a double chin using Adobe Photoshop. It has an incredible tool named liquify tool. You can utilize it and, following some effortless steps, remove your double chin from any photo.
Yes, from any picture, a double chin can be removed. The popular Photoshop software can do this job for you; however, you need to operate it independently. Go through some simple steps and get a slim face. Read the article to know the steps you need to follow.
The Photoshop app gets rid of double chins. It has a special liquify tool used to eliminate the double chin on a face.
Final Words
Double chin pictures can ruin your image to friends and family members. People will have a bad impression of you. You don’t want to feel low by sending or uploading such unattractive pictures.
Hence, following our guidelines, fix your photos today. Our complete answer on removing double chin in Photoshop will help you get the task to finish sooner.
You may read:

Salim Ahmed is the CEO of Graphic Experts India, with over 25 years of expertise in photo editing, clipping path, image retouching, and eCommerce image editing services.