Product images on e-commerce generally need a white background. At first glance, a white page may not seem like a big deal. This is important for eCommerce, wedding photo albums, and web pics. Thus need to know how to whiten background in Photoshop.
In Adobe Photoshop, it’s easy to create a white background. It can be difficult for you if you aren’t familiar with the tools and approaches. Most websites will do nicely with a white-bordered image.
Here, you will learn how to whiten background in Photoshop. So let’s know the facts.
Why Do You Need a Pure White Background?
Photos on a pure white backdrop serve numerous uses. eCommerce sites must have this one because it is crucial to their success. Examine all available marketing products on websites. All of the pictures of the goods are white.
This is also a crucial prerequisite for successful online advertising. If you don’t comply with this condition, you won’t be able to upload photographs of your products. Amazon strictly requires all images to have a white background. A wide variety of other e-commerce sites do as well.
Pictures with a white background are popular on stock picture websites. The design community adores it. You can replace white with any other color or picture. You can swap out the original background for whatever you’d like.
Moreover, you can pick whatever color you like right now. On a white backdrop, the focus is entirely on the subject or product of the photo. That’s an excellent example of how to present a product.
White backgrounds look amazing with the addition or alteration of shadows. This cast shadow is here to a single subject. A white background makes it easier to isolate an object. Then, feel free to use shadows any way you like.
Displaying your product or photo item on a white background can give you more choices. The method is also useful for combining multiple elements into a single picture. You can use it for whatever you choose.
How to Choose the Right Photo for Whiten Background?
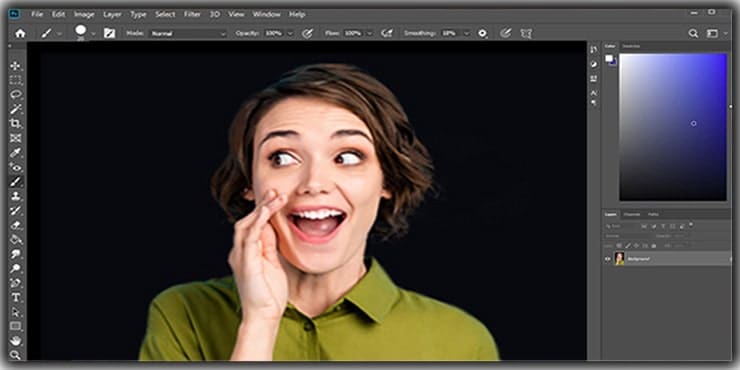
The first thing you should do is select a picture. Changing the background color of an image to white is more straightforward than in others. Place your subject against a plain, clutter-free background to improve your photos.
Having an object that stands out against a well-contrasting background is also beneficial. It can more readily isolate the foreground object from its surrounding environment.
There may be too much going on in the background. Photoshop’s tools like the quick or magic wand tool won’t cut it for this job. And fixing it will take more of your time.
It’s preferable to have your subject move away from any distracting elements. Because of this, you can set your aperture as small as necessary. Your emphasis will be entirely on your subject, while the surrounding will be blurred.
Get an excellent, crisp focus on the edges of your subject. As a result, we should get better extraction results. The Photoshop techniques will be less accurate if the subject’s edges are blurry.
How to Whiten Background In Photoshop?
With Photoshop, several options exist for changing the color of an image’s background to white. Every strategy begins with the same foundational step—introduction to Photoshop and the import of your photo.
Before starting the tutorial, you have to follow some basic steps.
● Open Photoshop on your PC or Mac. From the top menu bar, select File. From the dropdown menu, select Open. Then, select your image and hit Open.
● Now, you have to duplicate the background layer. You can click Ctrl+J (Windows) or Command+J (Mac).
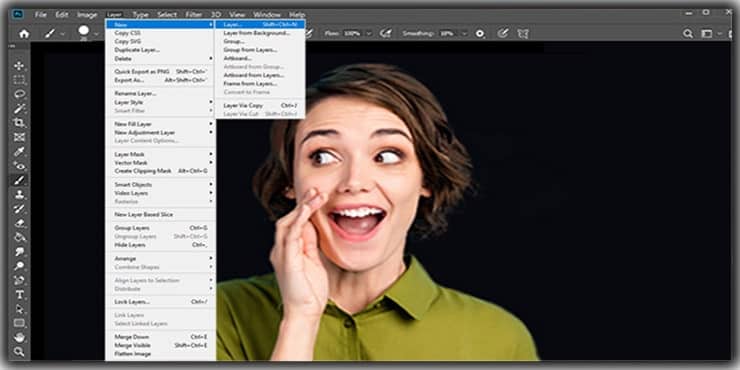
● You can also select Layer from the top menu bar. Click New>>Layer.
● You can drag the original layer to the layer icon. This will also duplicate the layer.

Now, let’s see the main process of whitening the background.
Whiten Background In Photoshop Adjusting Levels
You can modify the image’s color levels in Photoshop to create a clean white background. For most pictures with basic backgrounds, this procedure is straightforward. You can achieve a white background by reducing the image’s saturation.
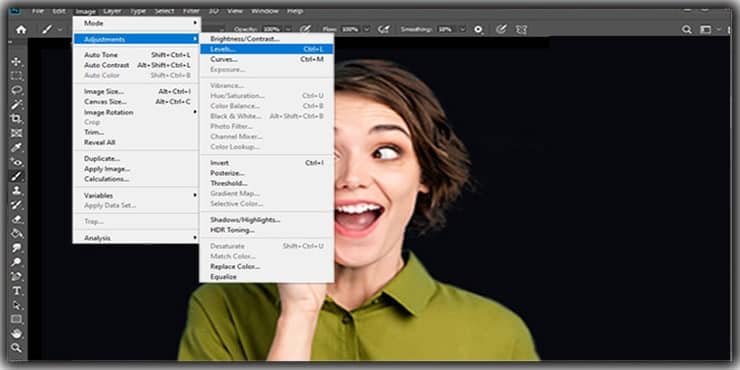
Step 1: Open the Level Slider
Select Image>>Adjustments>>Levels from the top menu bar. Then a new window will pop up. You will see the primary color with the Level slider in this window. The primary colors are red, green, and blue.
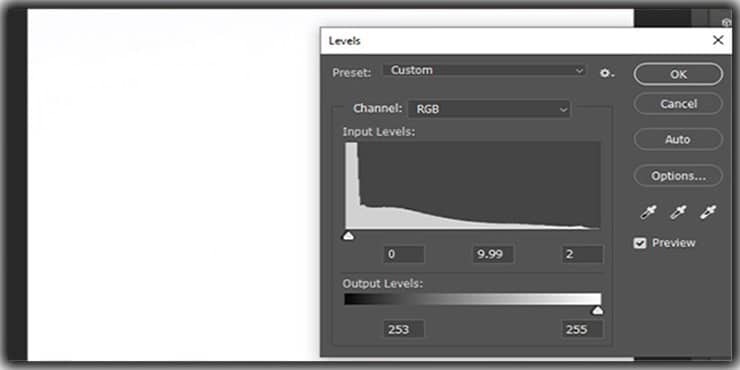
You have to adjust the slider range. To make sure the white background. This process will apply to the whole image. This desaturates the colors.
Step 2: Mask and Reveal the Background
Now, you have to mask and reveal the background of the image.
You have to duplicate the original image again. Just follow the previous steps. After that, you must organize the layers per the image below.

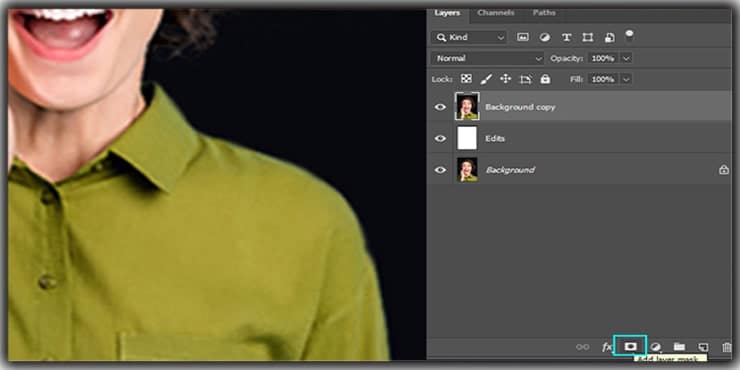
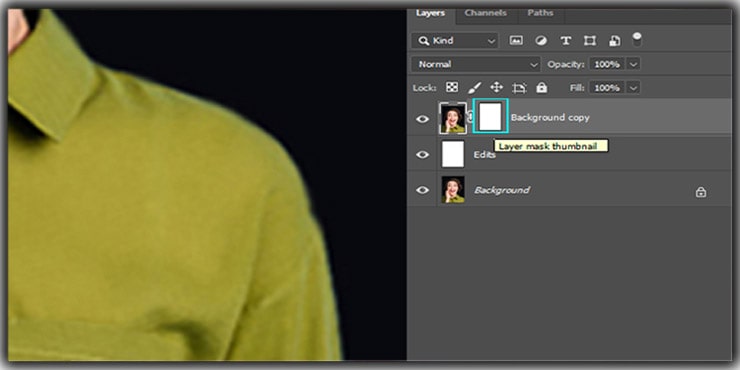
Now select the new duplicate layer. From the bottom panel, select the rectangle with a circle icon. A white layer mask will create.
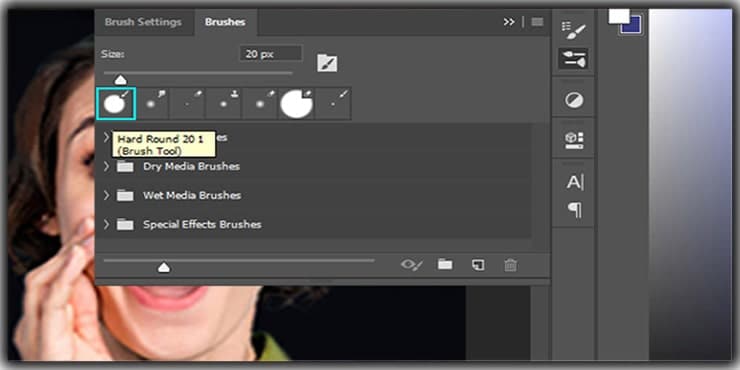
Now you have to go to the brush tool. You can also use keyboard B to go to the brush tool. Click the right side of your mouse. You will see many brushes available there.
Select the Hard Round Brush. Remember, keep the brush’s opacity and flow to 100%. You will find them in the top bar.
Step 3: Whiten Background in Photoshop
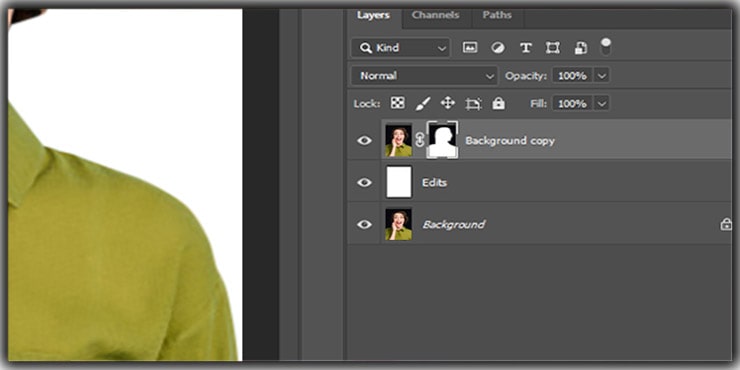
It is the main step. You have to reveal the background here. Focus on the background and foreground color selecting the mask.
If you keep the white color to the foreground color, it will delete background. If you use the black color in the foreground color, it will reveal the white background.
But don’t apply it to the object. Apply this only to the background part. You can alter the foreground and background color using the keyboard shortcut X.
It is a long time and critical work. So, have patience. After you finish this, save the image to your computer.

One more thing, if you want to use something other than levels. You can use the Fill option to white the background.
How to Whiten Background In Photoshop Selecting the Subject
The method, as mentioned earlier, is straightforward. There may be instances when making your white background look convincing when using Layer Masks to manually remove background.
There is a lot of possibility for error. An alternate method is utilizing Photoshop’s in-built selection capabilities.
Step 1: Using Select and Mask
After importing, from the top menu bar, select Select. Then click on Select and Mask.

A new window will pop up. From the bottom right side, there is a Viewing Mode option available.
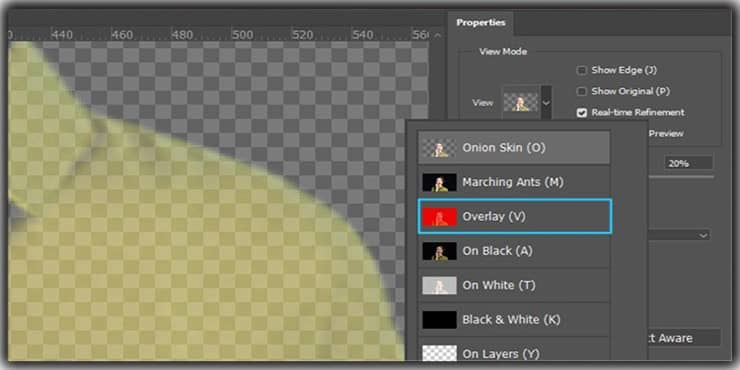
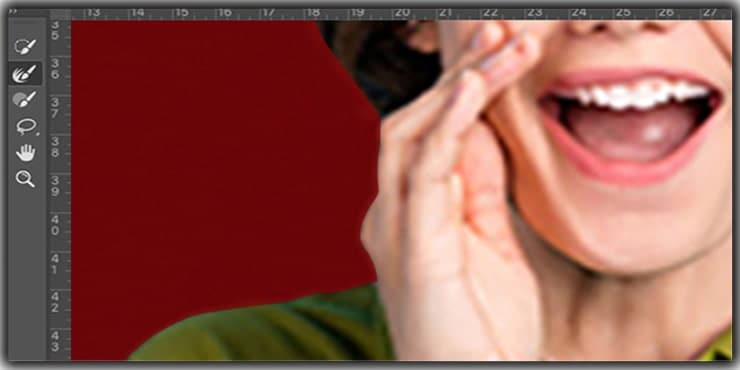
From the dropdown box, select Overlay. This shows the changes that you make in the image. Your image will be entirely red.

Step 2: Process to Whiten the background
Now, you have to select the subject. Firstly, from the left side, select Quick Selection Tool. This will help you to select your subject. This has AI technology to detect pixels.

Use the Refine Edge Tool. It will maintain the sharpness of the edges. Your image will not lose any detail.
After finishing this, it’s time for the output. In the right panel, you will see the Output option. Select New Layer with Layer Mask from the dropdown box. Then, hit OK.
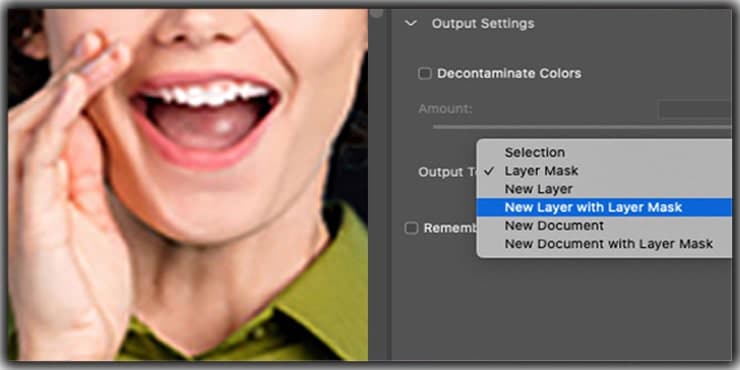
This process will remove the background from the object. You will get a transparent background.

Make White Background
Now, create a new layer just below the mask layer. You can create a layer by clicking Layer from the bottom panel. After that, select Edit from the top menu bar. Then select Fill. Select the white color and hit OK.

Final Finish
The edges of the image may be flawed. Use a black brush to reveal the edges to get the perfect edges. Just follow the previous masking steps. It is a tedious and time-killing process to do.
You can use another easy process. From the top menu bar, select Layer. Then, select Matting>>Defringe. A new dialogue box will pop up. You have to put a value of your pixels.
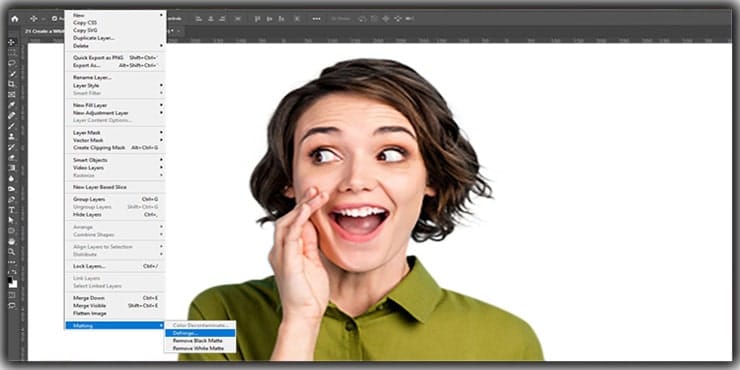
These pixels mean removing edge pixels. You have to put the value that suits your image. Don’t forget to save the image.
How to Check If Your Background Is White?
Now, it’s time to clarify the work. You can see whether your background is perfect or not. Sometimes it may seem white, but actually, it doesn’t. You can check that with some simple process.
Firstly, from the top menu bar, select Layer. Now, select New Layer Adjustment>>Threshold. Hit OK in the dialogue box.
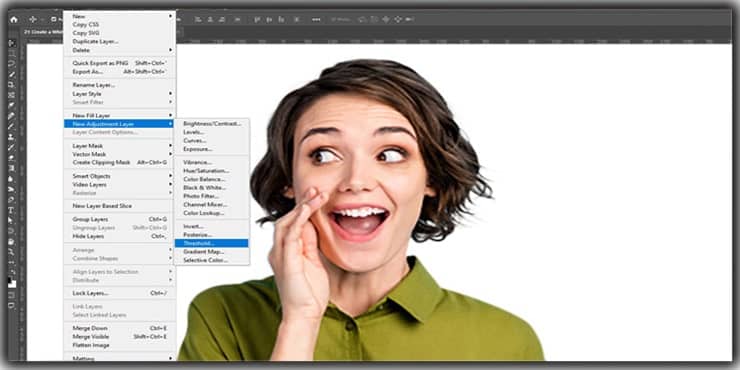
Now take the slider to the left. Now focus on your background. If it contains any back area, your background isn’t entirely white.

So that’s how you can check whether your background is 100% white.
FAQs
Yes, white background is cost-effective. It is easy to create and modify. This is also affordable, and the pros rate cheap to make these backgrounds. This also suits all perspectives.
You can use the Threshold adjustment layer to check whether the background is perfectly white. You have to follow some simple steps in Photoshop. The process is mentioned above. You can check them out.
Yes, it does. A white background is a standard for any product. It’s the standard method for all sorts of items whether it is on mobile or iPhone.
Because there is nothing else to detract from the focus on the product. A white background helps maintain uniformity and draws attention to it.
Final Words
In this context, it shows how to whiten backgrounds in photoshop. For this task, you can employ any number of available alternatives. Many experts rely on Photoshop to achieve excellent outcomes quickly and easily.
An unproductive and messy appearance will result from the use of AI. Carefully consider the border of your frame as well. Nothing less than white will look off when placed on a white background. Time is a significant factor in achieving the desired quality.
Follow the above techniques properly. Practice it then you can get the best from it. Just give it a shot and see if you can nail it.
You may read:
- How to Whiten Teeth in Photoshop CC (A Helpful Guide)
- A Guide to Remove White Background In Photoshop
- Photoshop Layers Tutorials – A Beginner’s Guide
- Best Photoshop Services for Photographers
- Outsource Photoshop Editing Services (15 Secrets)

Salim Ahmed is the CEO of Graphic Experts India, with over 25 years of expertise in photo editing, clipping path, image retouching, and eCommerce image editing services.